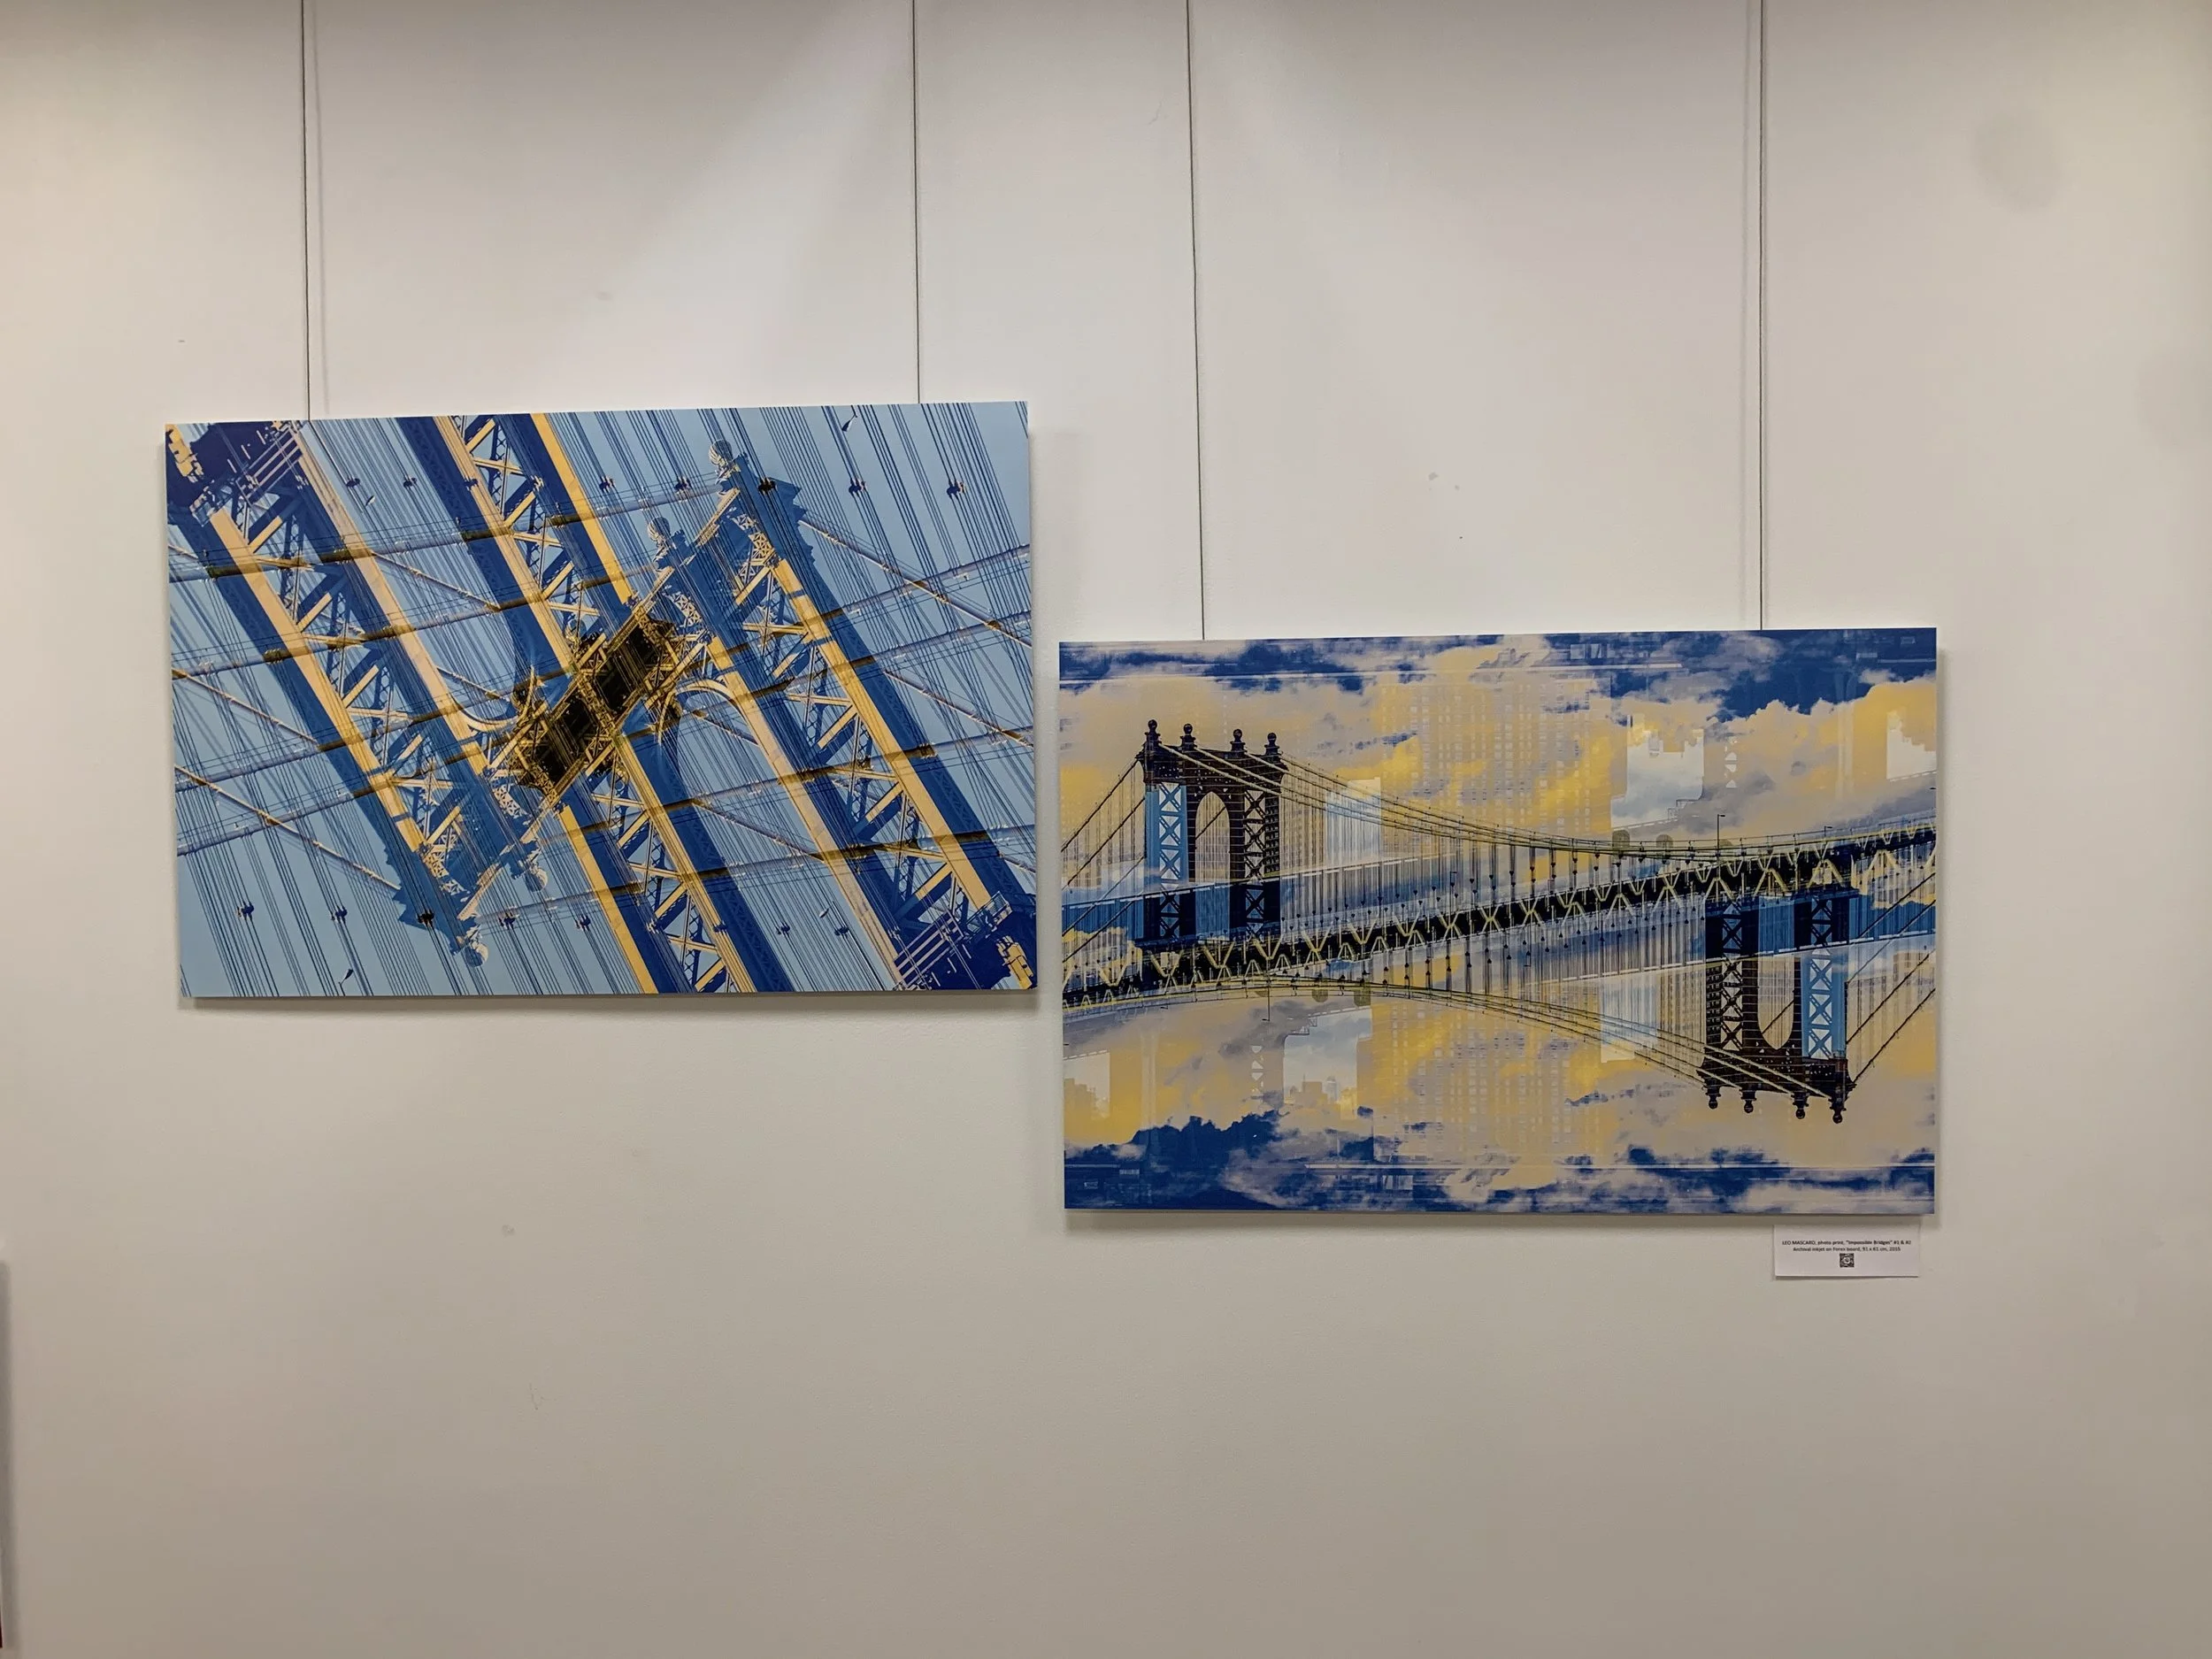
I was recently invited by fellow photographer Paul Clemence to participate in the group show Bridging Horizons, a collective exhibit that celebrated the many faces of Brazilian Contemporary Photography. The show first opened at the Brazilian Consulate in NYC, followed by another run at the Florense showroom, where I also participated in a panel discussion.
new york city
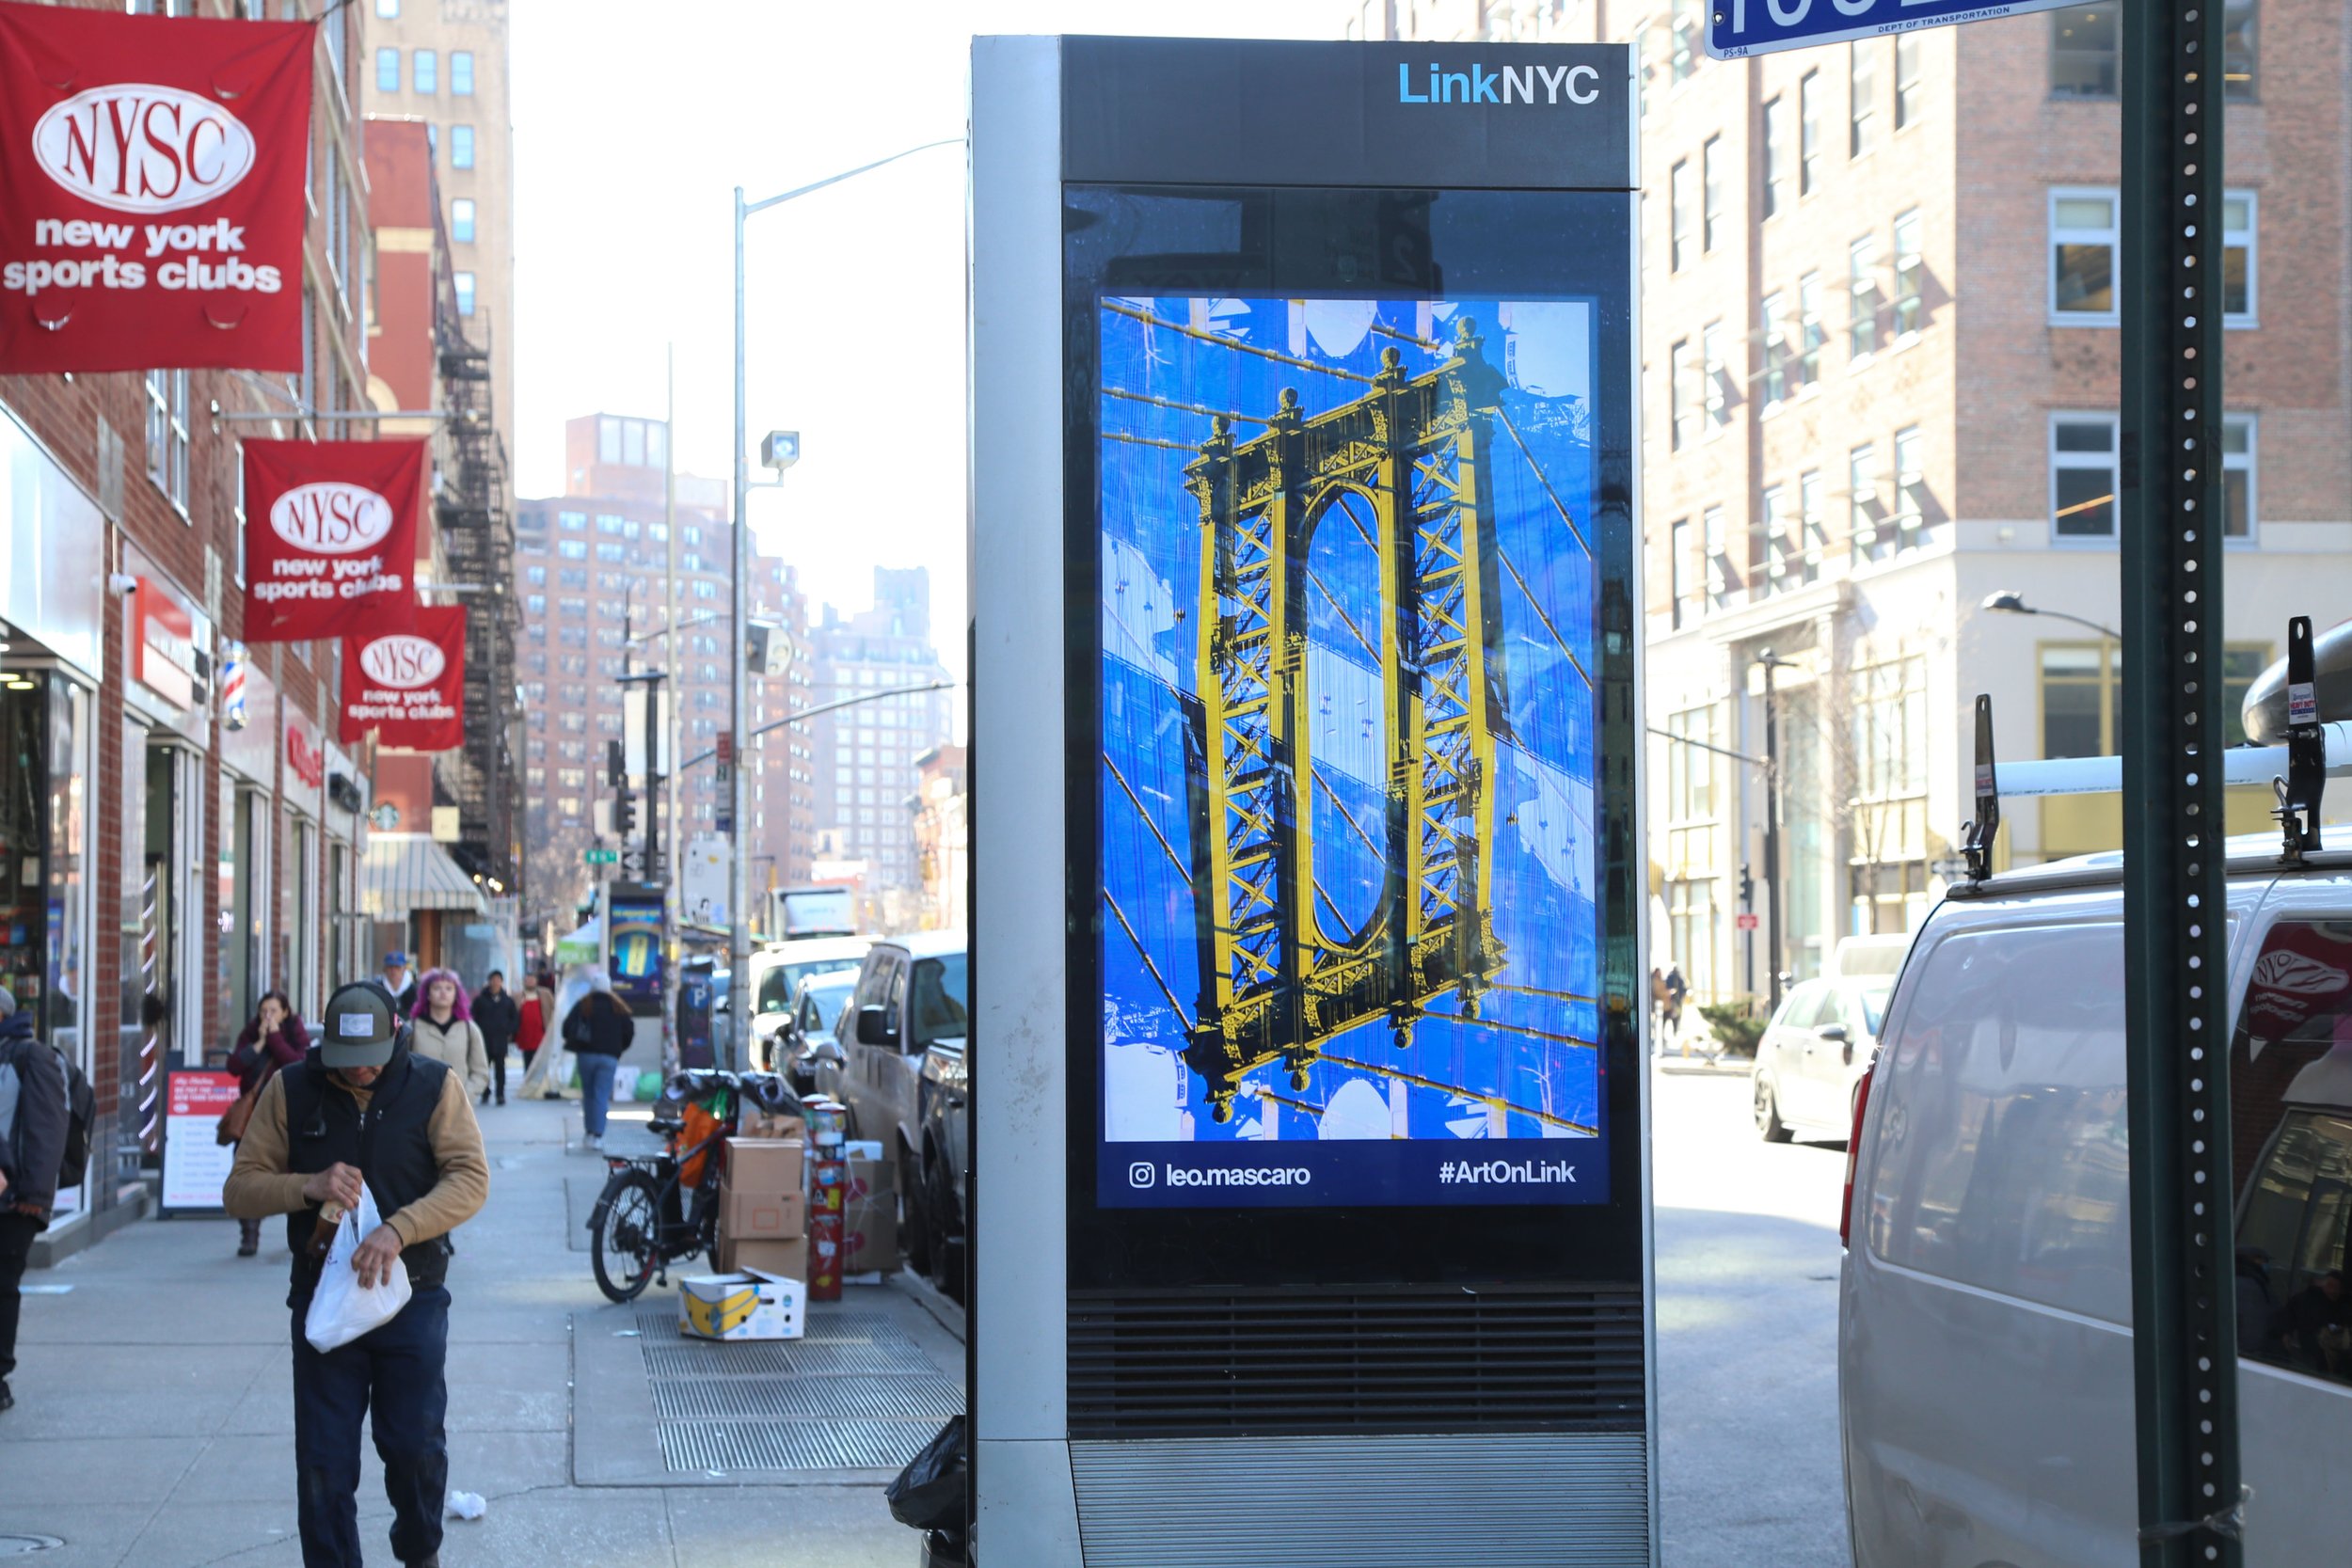
ArtOnLink: Impossible Bridges
My series Impossible Bridges was recently featured all around New York City as part of the ArtOnLink program. Such an excitement seeing my work being displayed like this! Here are a couple of shots captured in different locations:
Hope to get the chance to be featured again soon!
New project: New York Photo City!
New York Photo City is a publication that aims to bring visual inspiration to your day in a simple way, through one photograph at a time, delivered directly to your inbox every Monday, Wednesday, and Friday.
This newsletter is an invitation for you to look at my work in a more intimate way, without the distractions that social media feeds have. By receiving it in your email inbox, you’re in control of when you want to open it, how much time you want to spend looking at the photograph, and how you want to interact with it.
The content of New York Photo City will be a mix of recent and archival work, with occasional related career updates and more. Subscribe below for free to receive it in your inbox. Hope to see you there!
📸 Spring in NYC
After many months at home, I finally took my camera out for a stroll in the city. The destination was Roosevelt Island, with the intention of seeing the last breath of the cherry blossoms. All images were taken with the combo Fujifilm X-T2 + Fujinon 16-55mm 2.8
An Afternoon in Midtown Manhattan
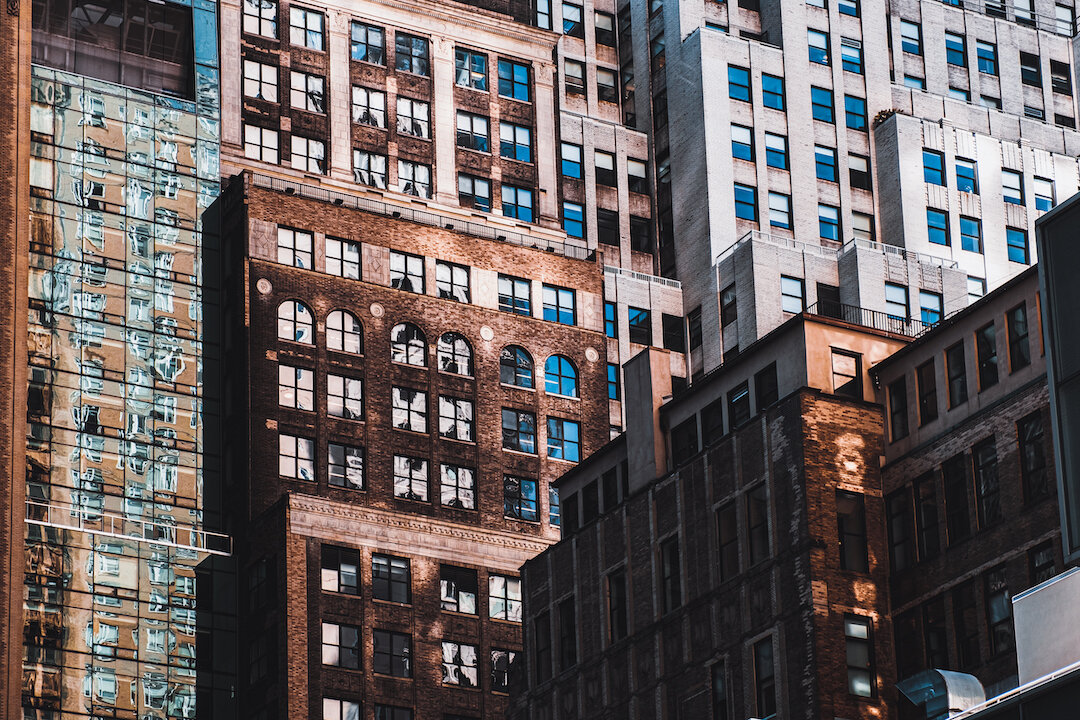
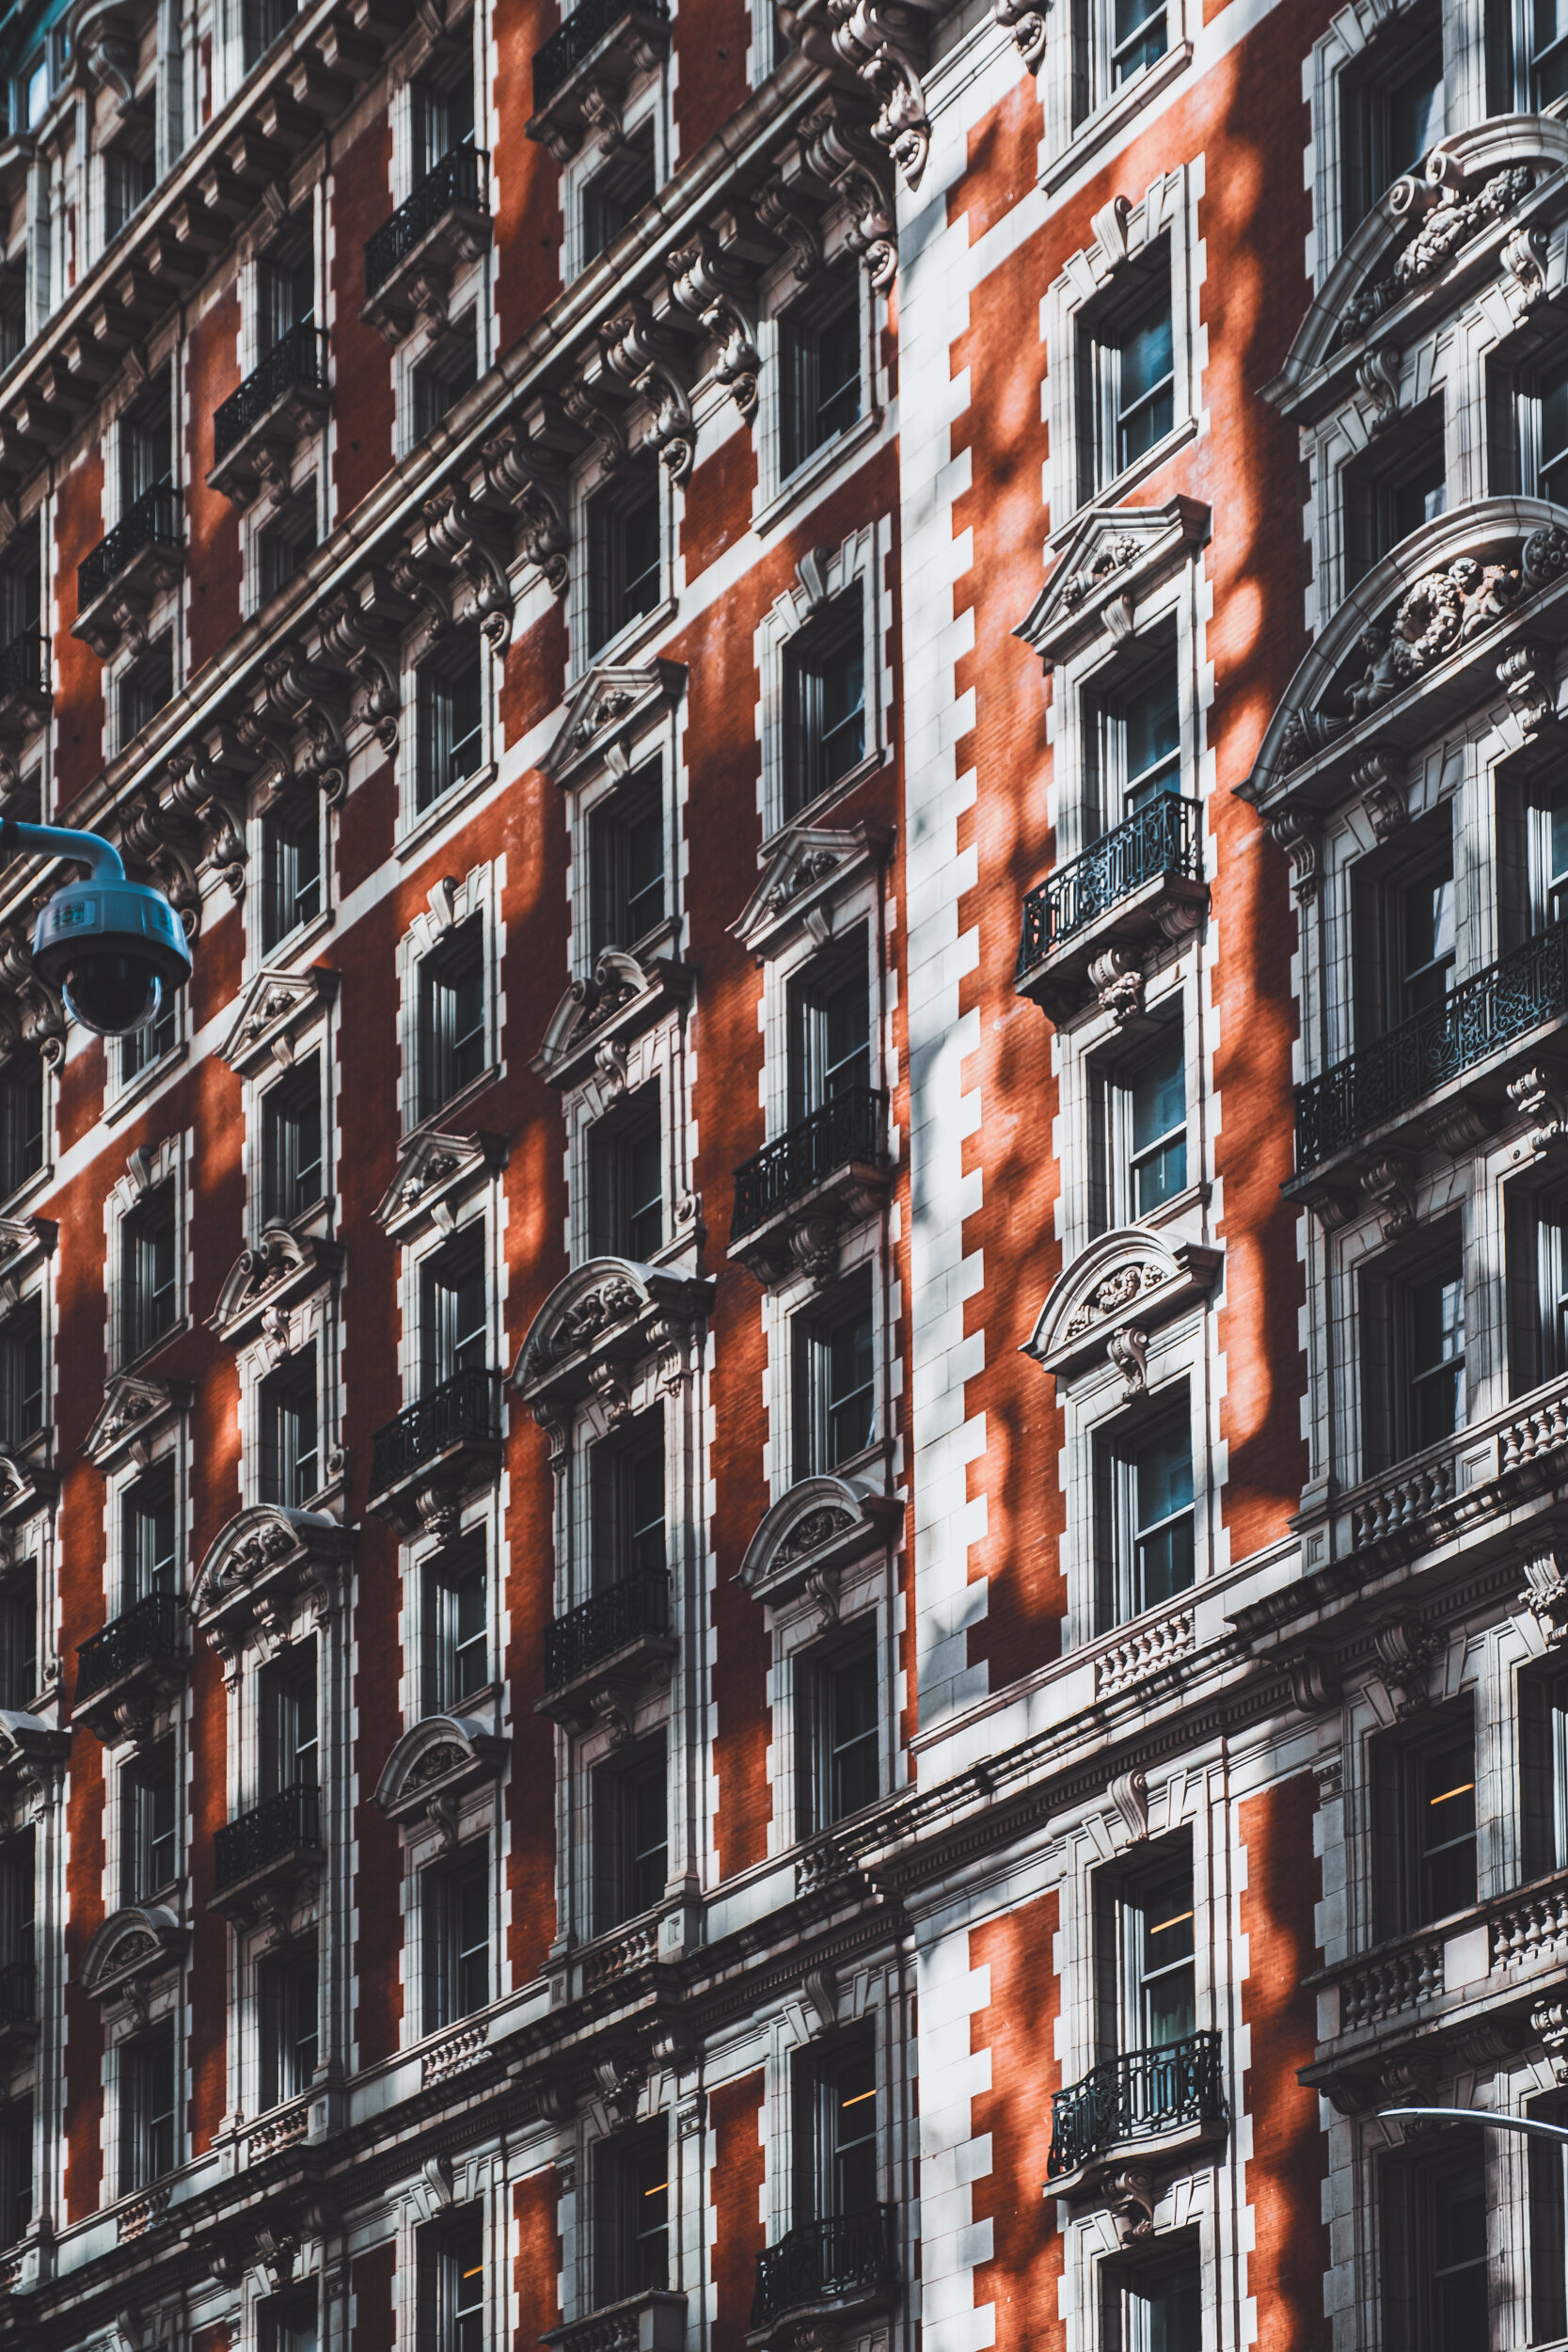
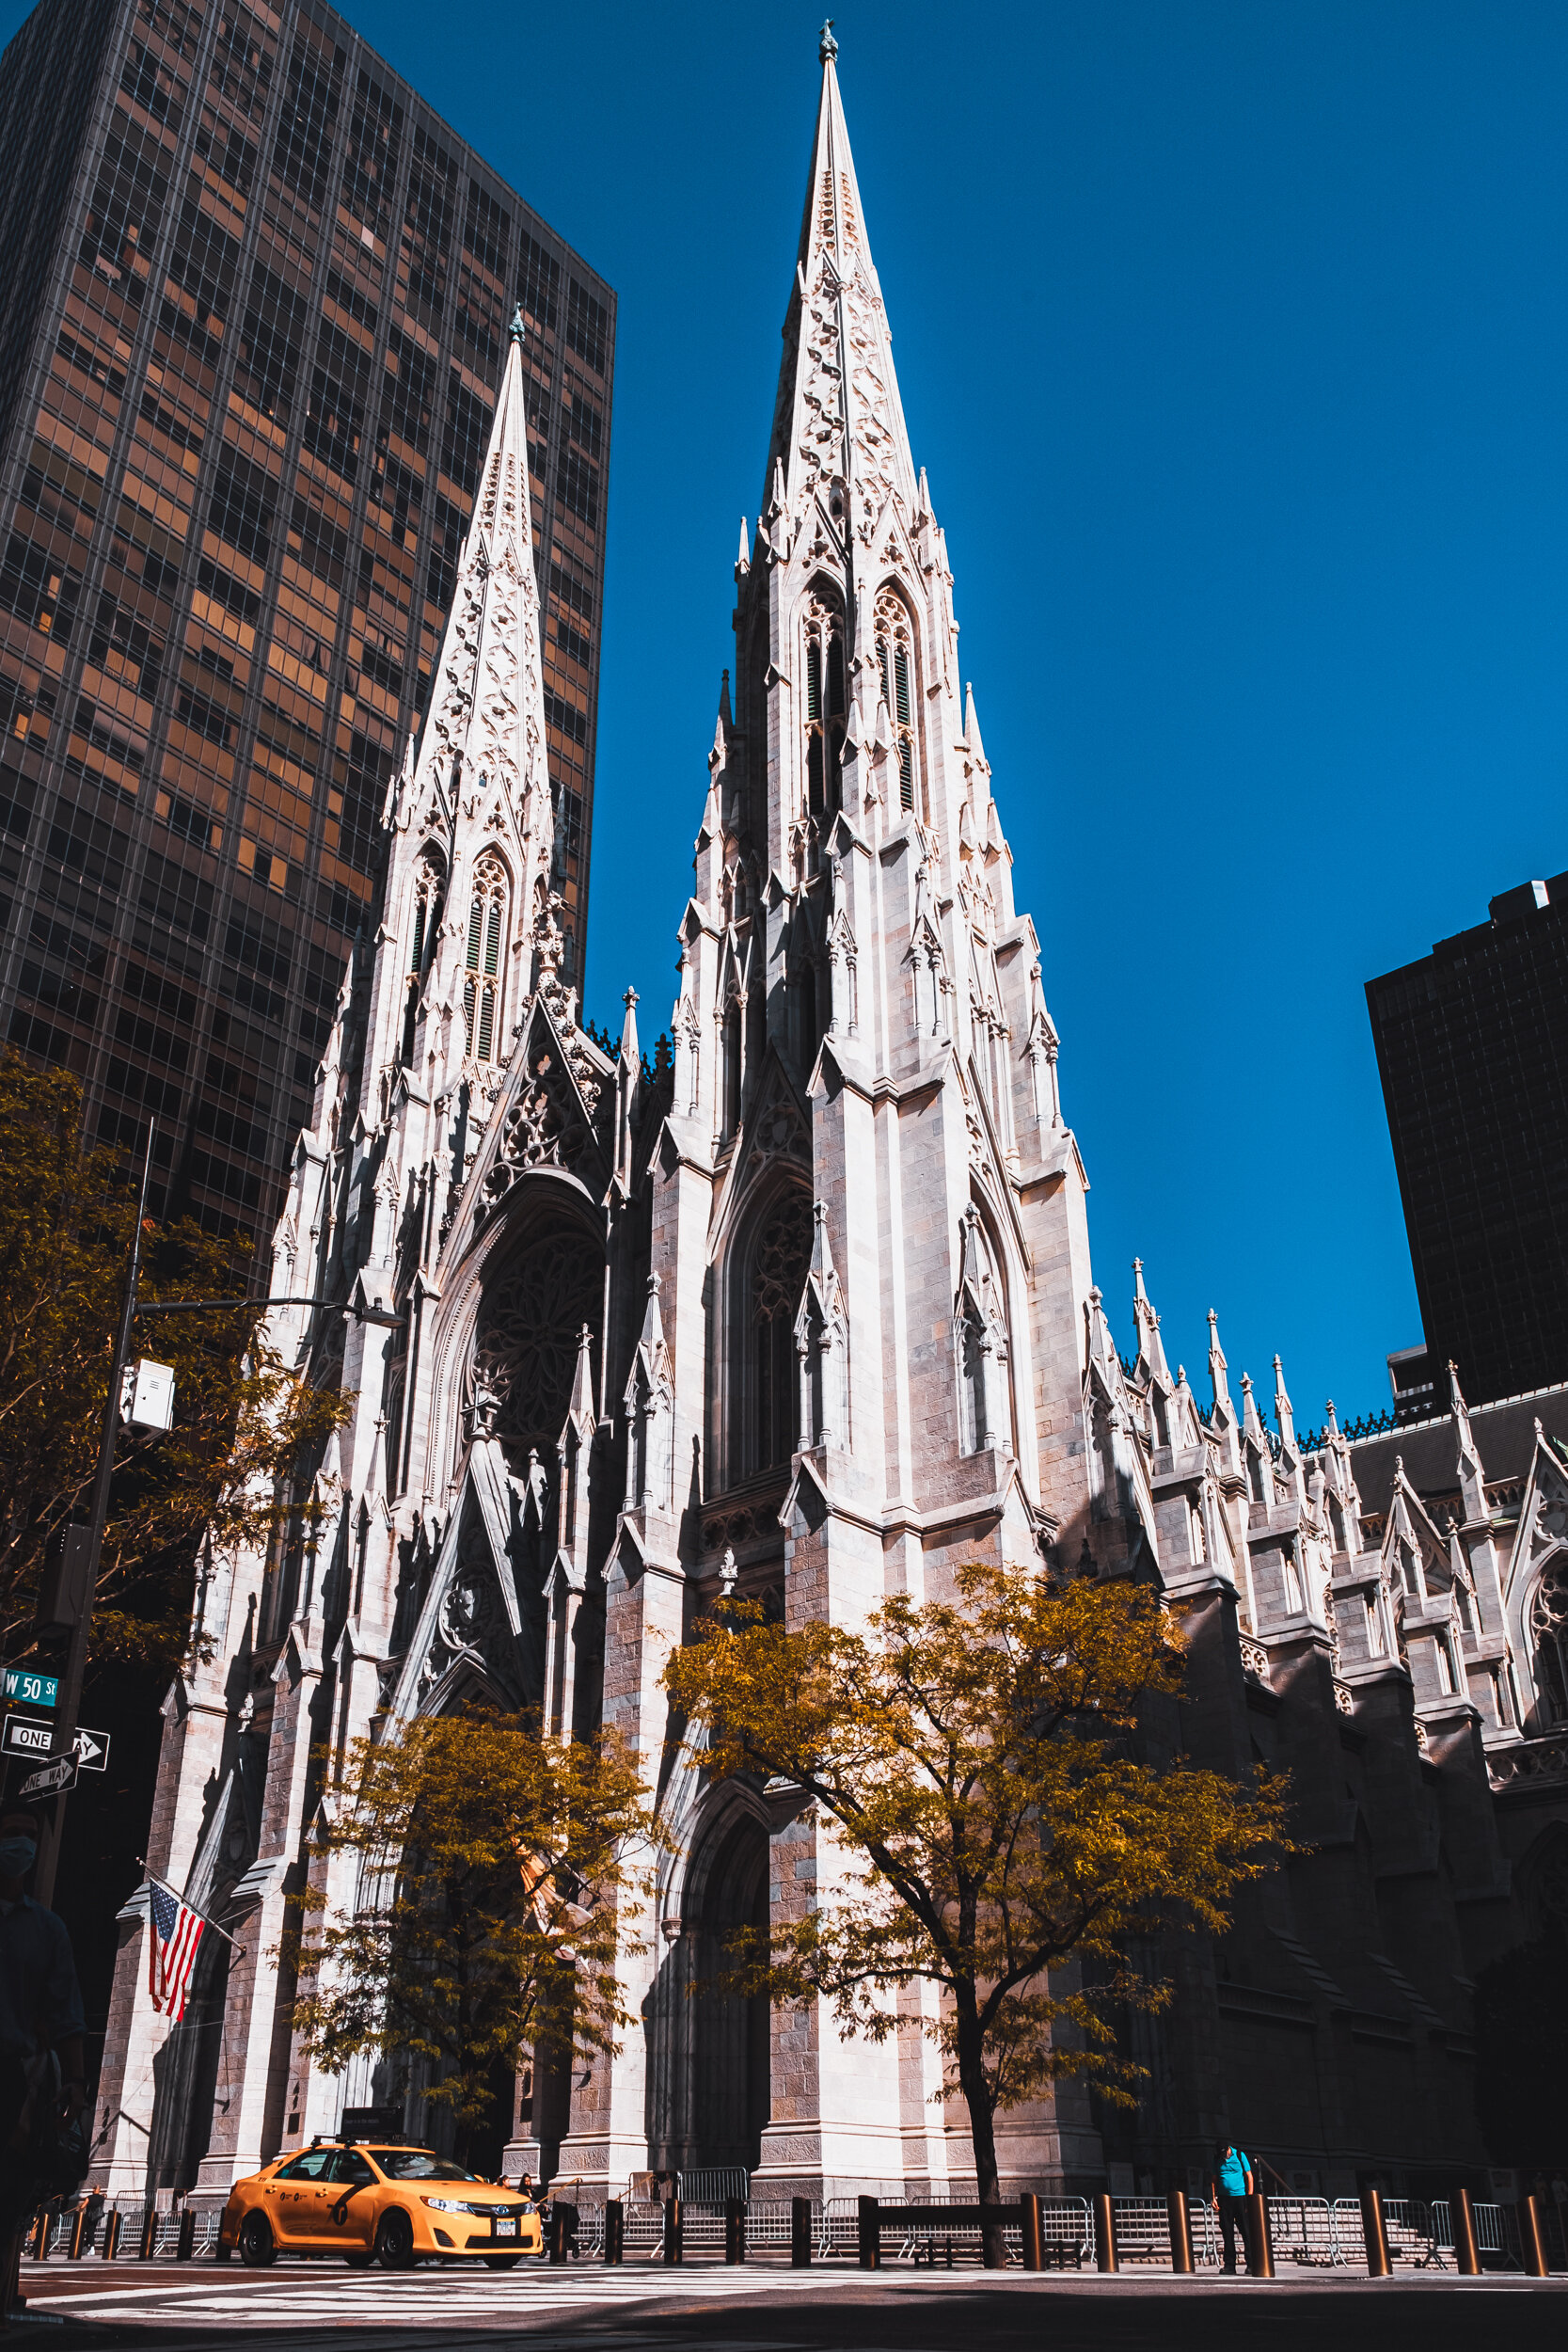
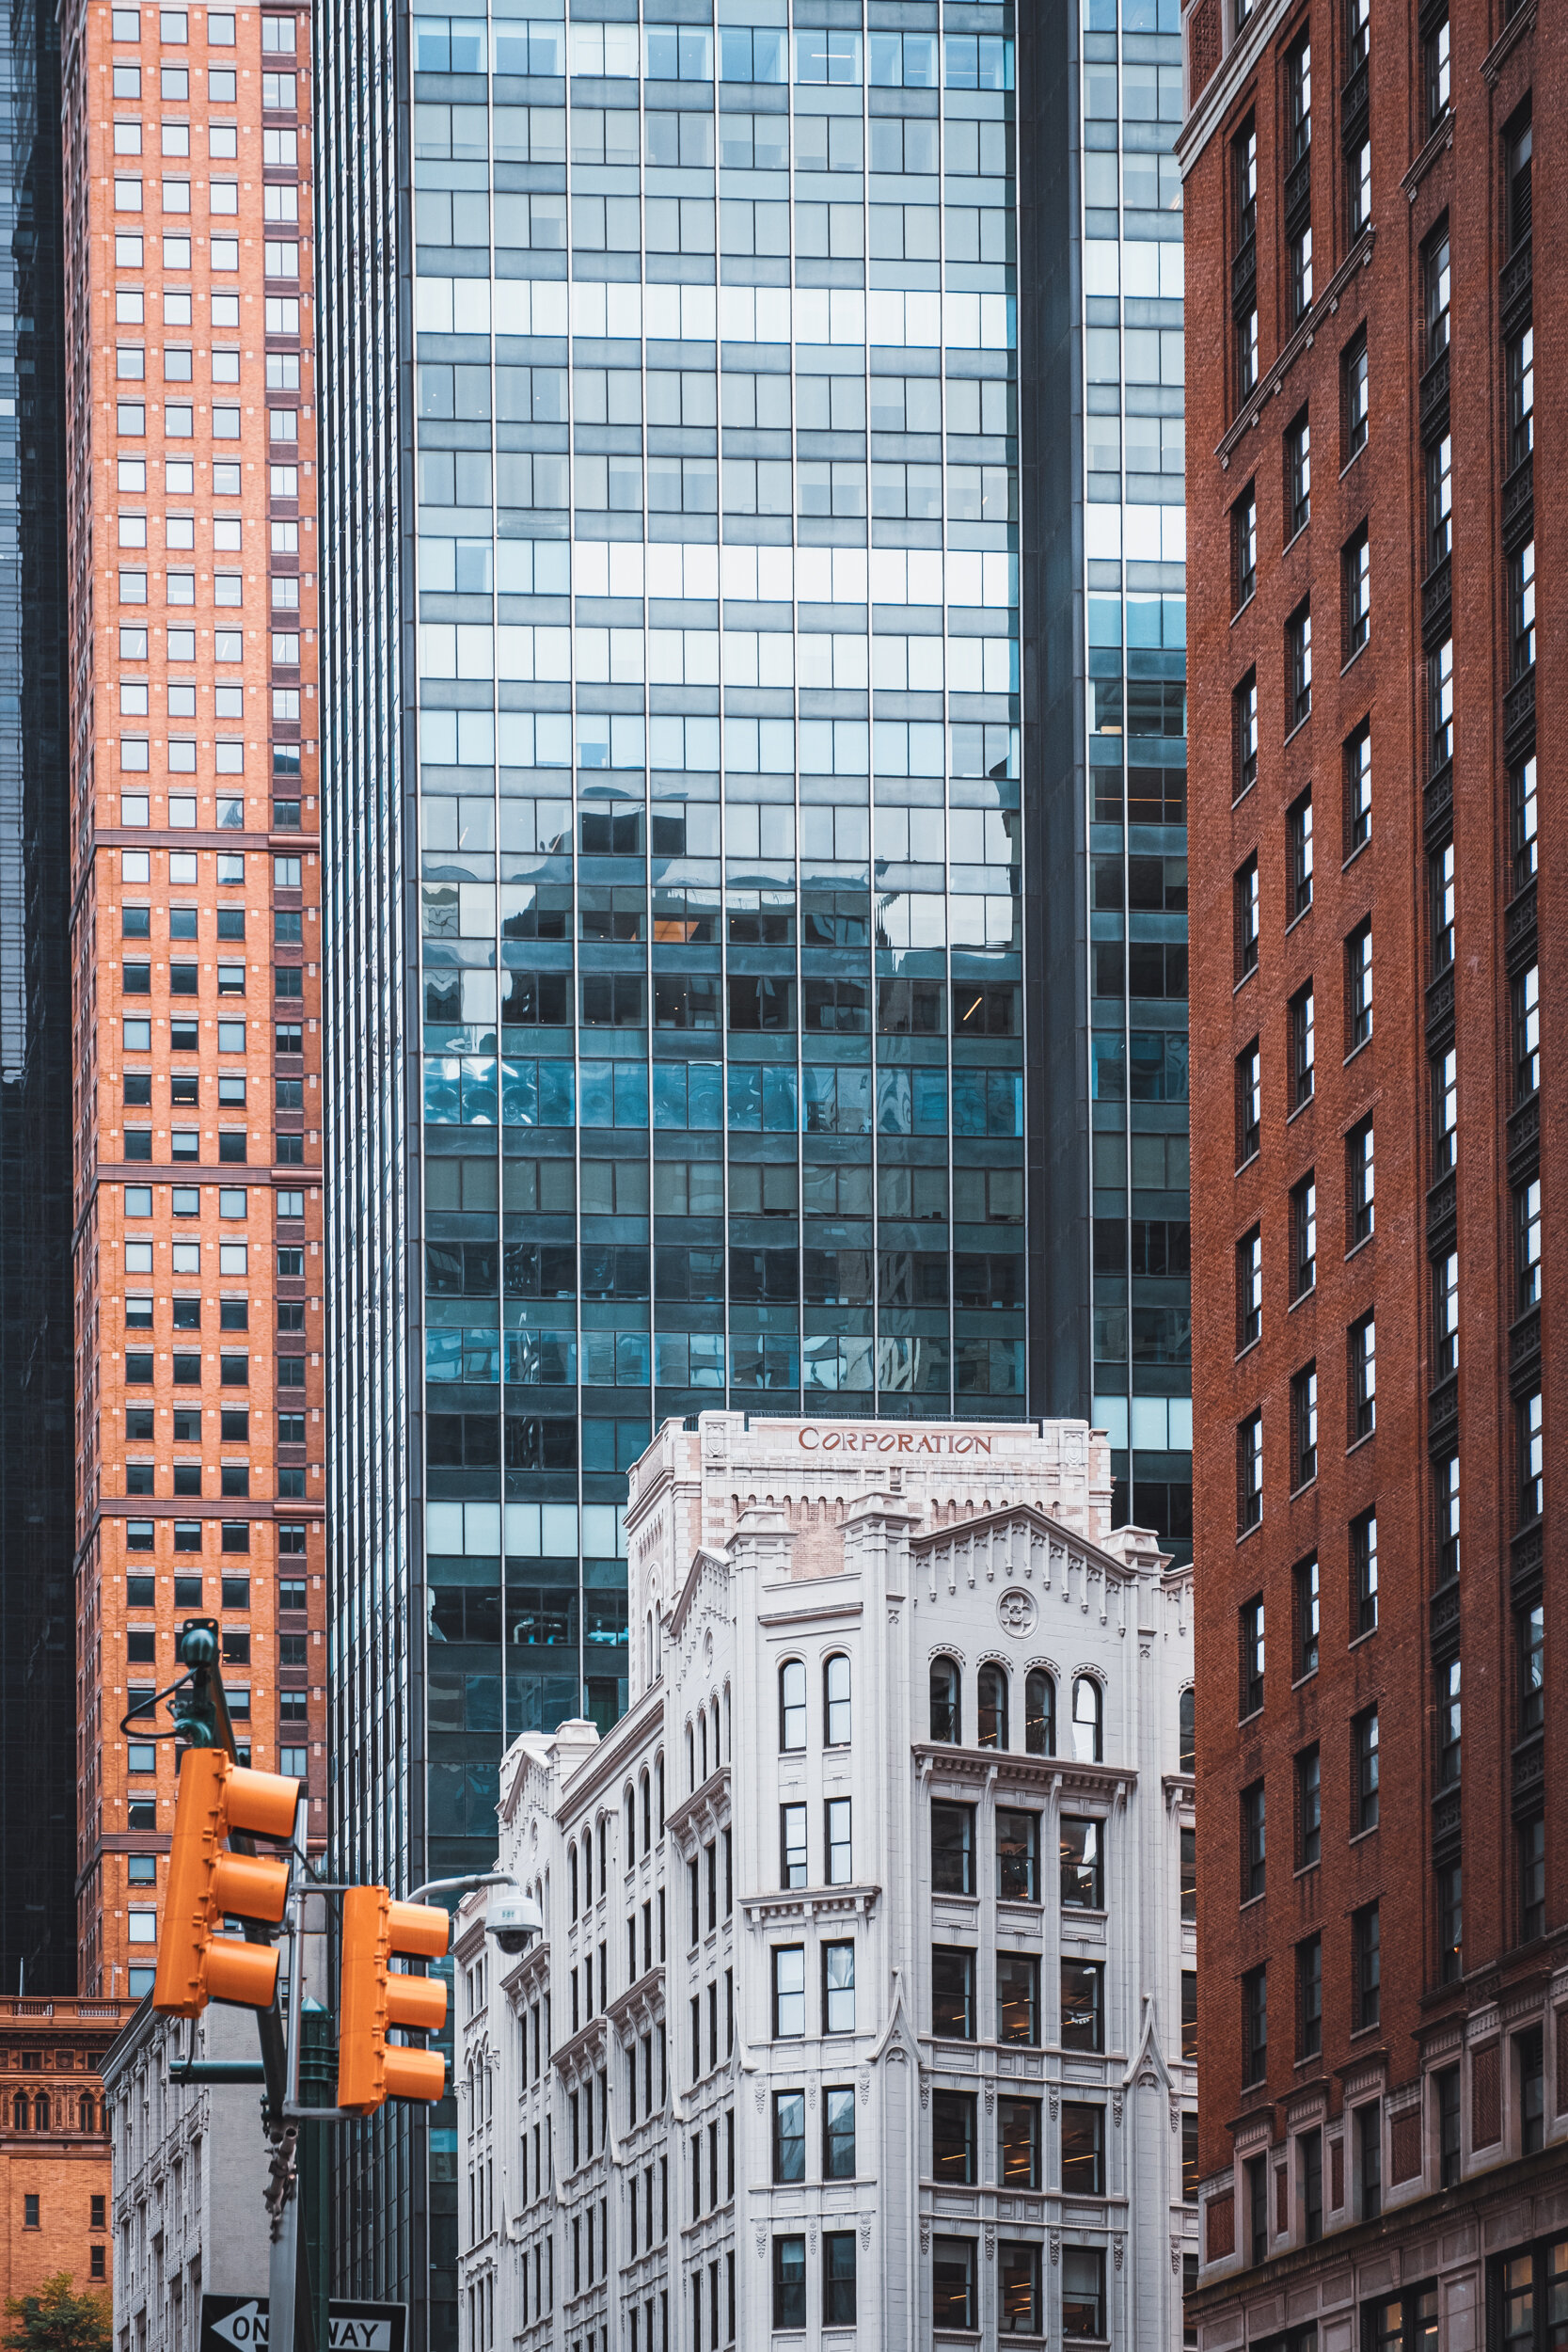
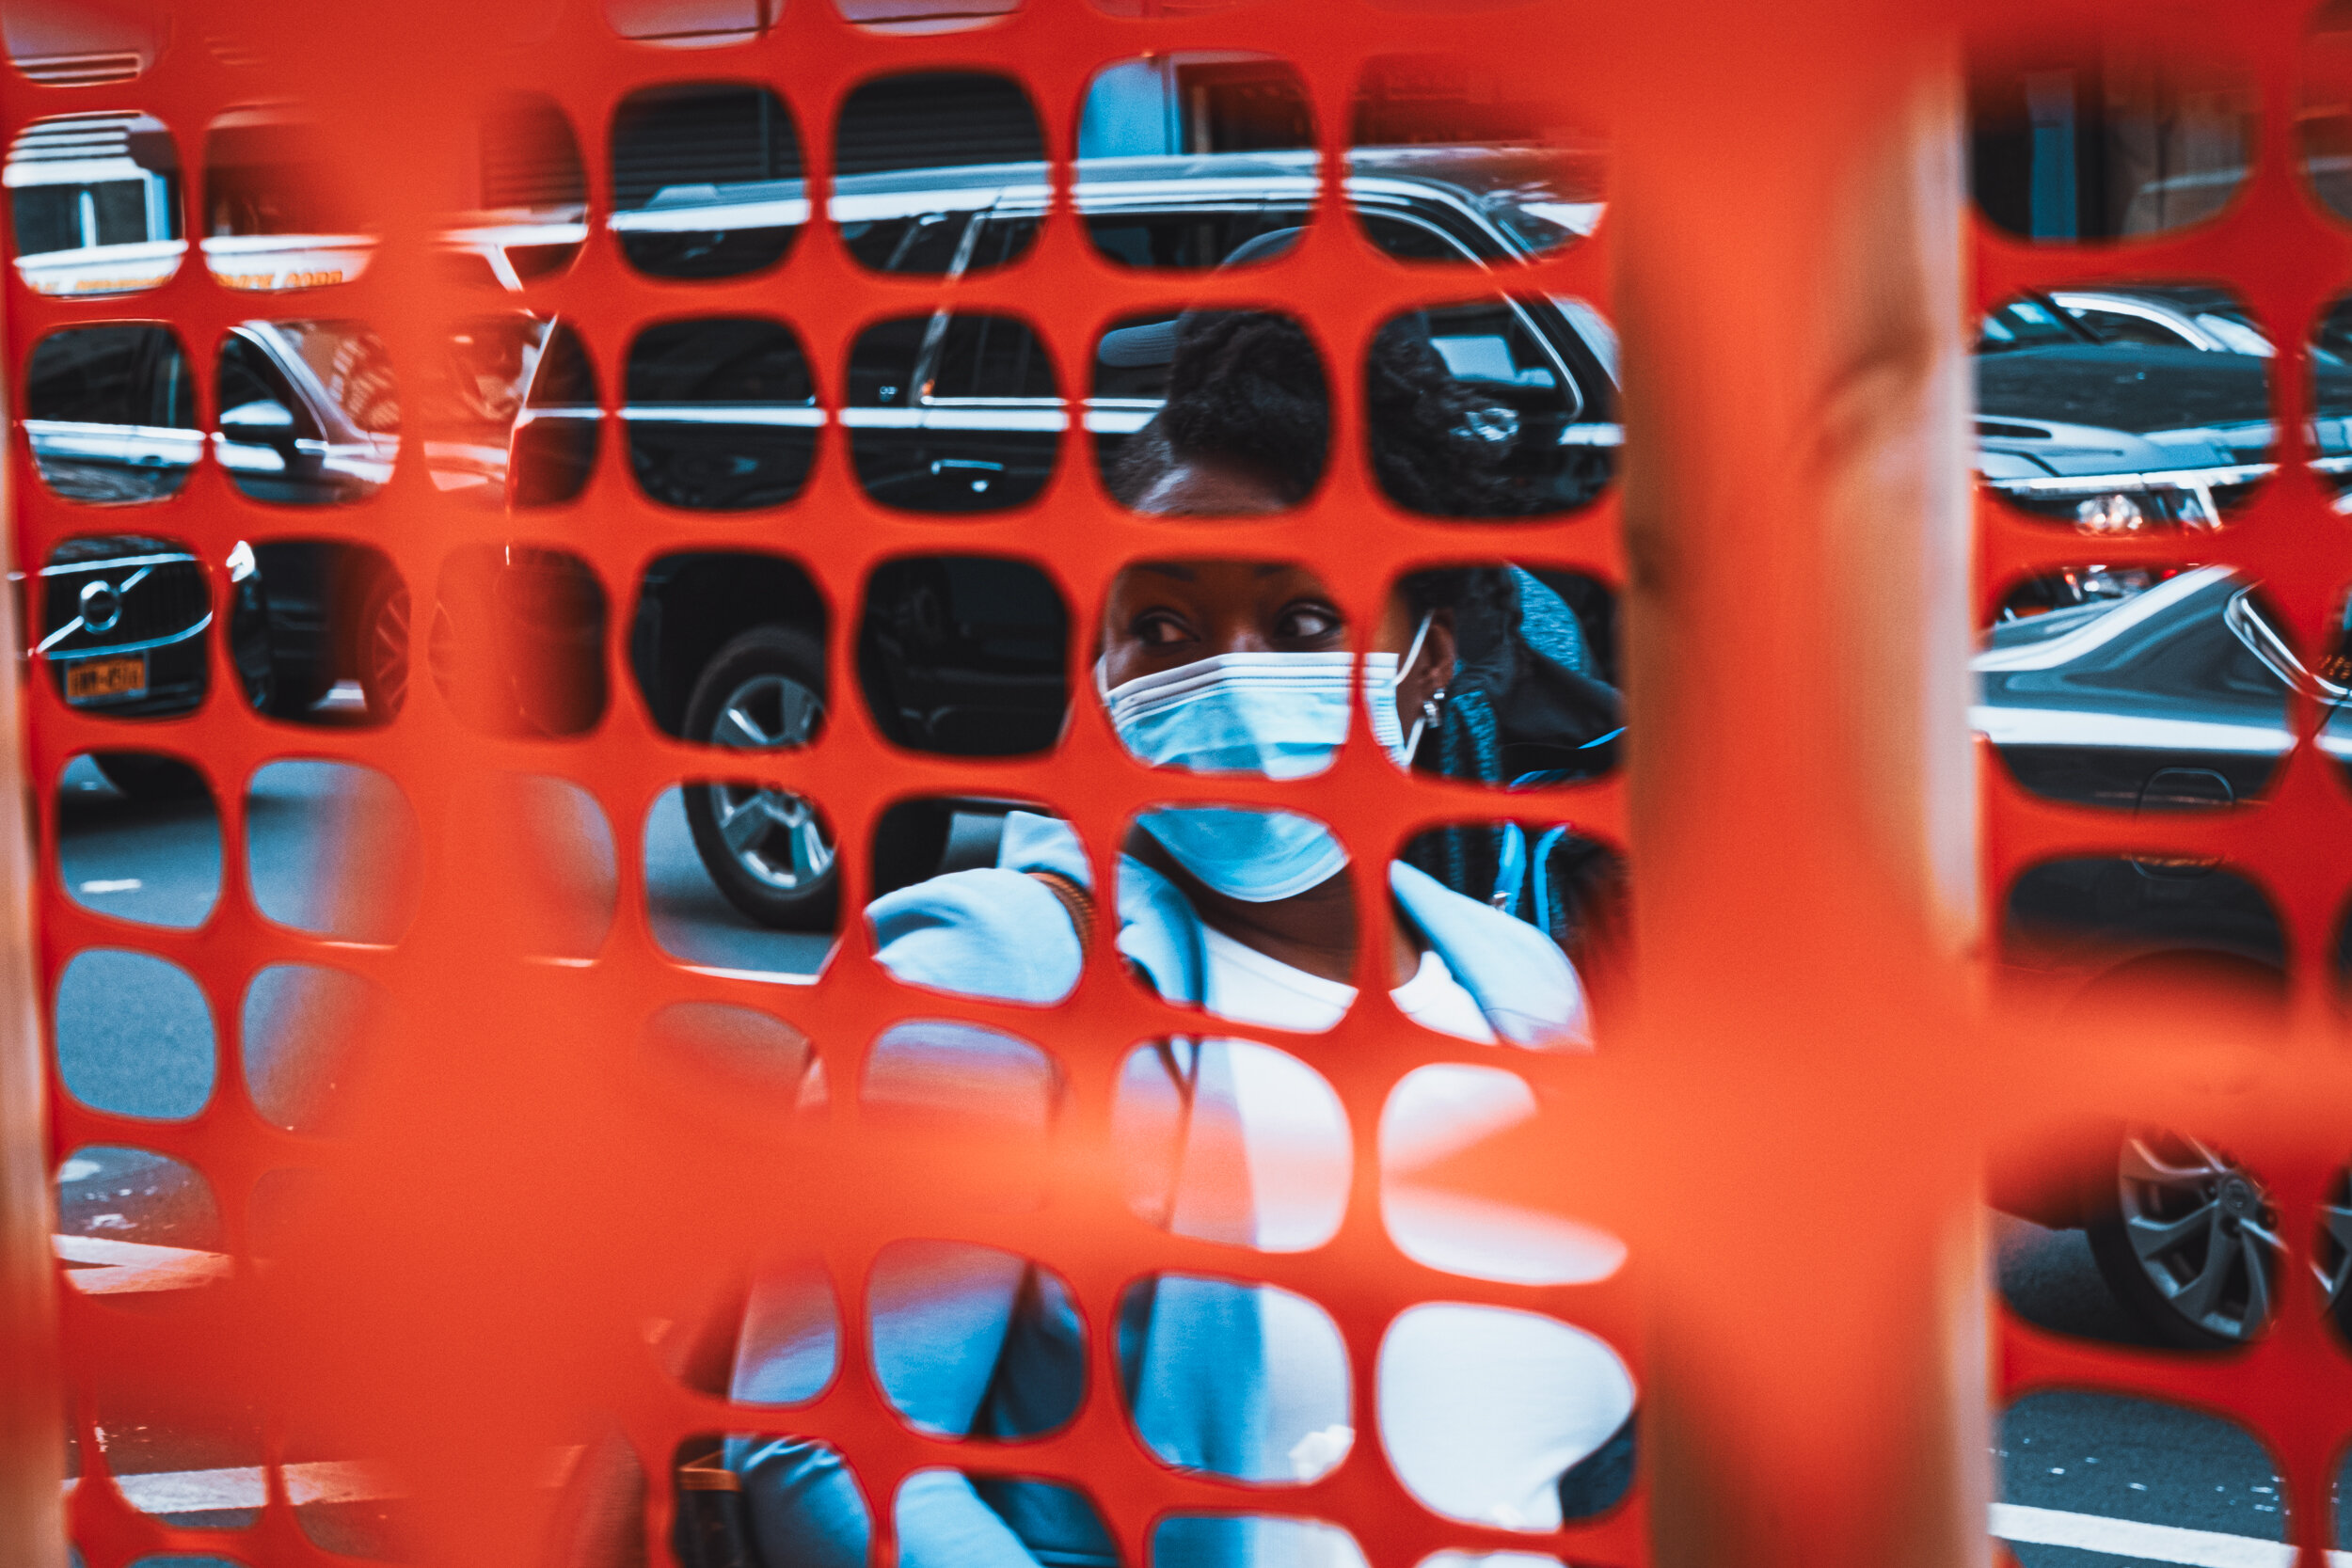
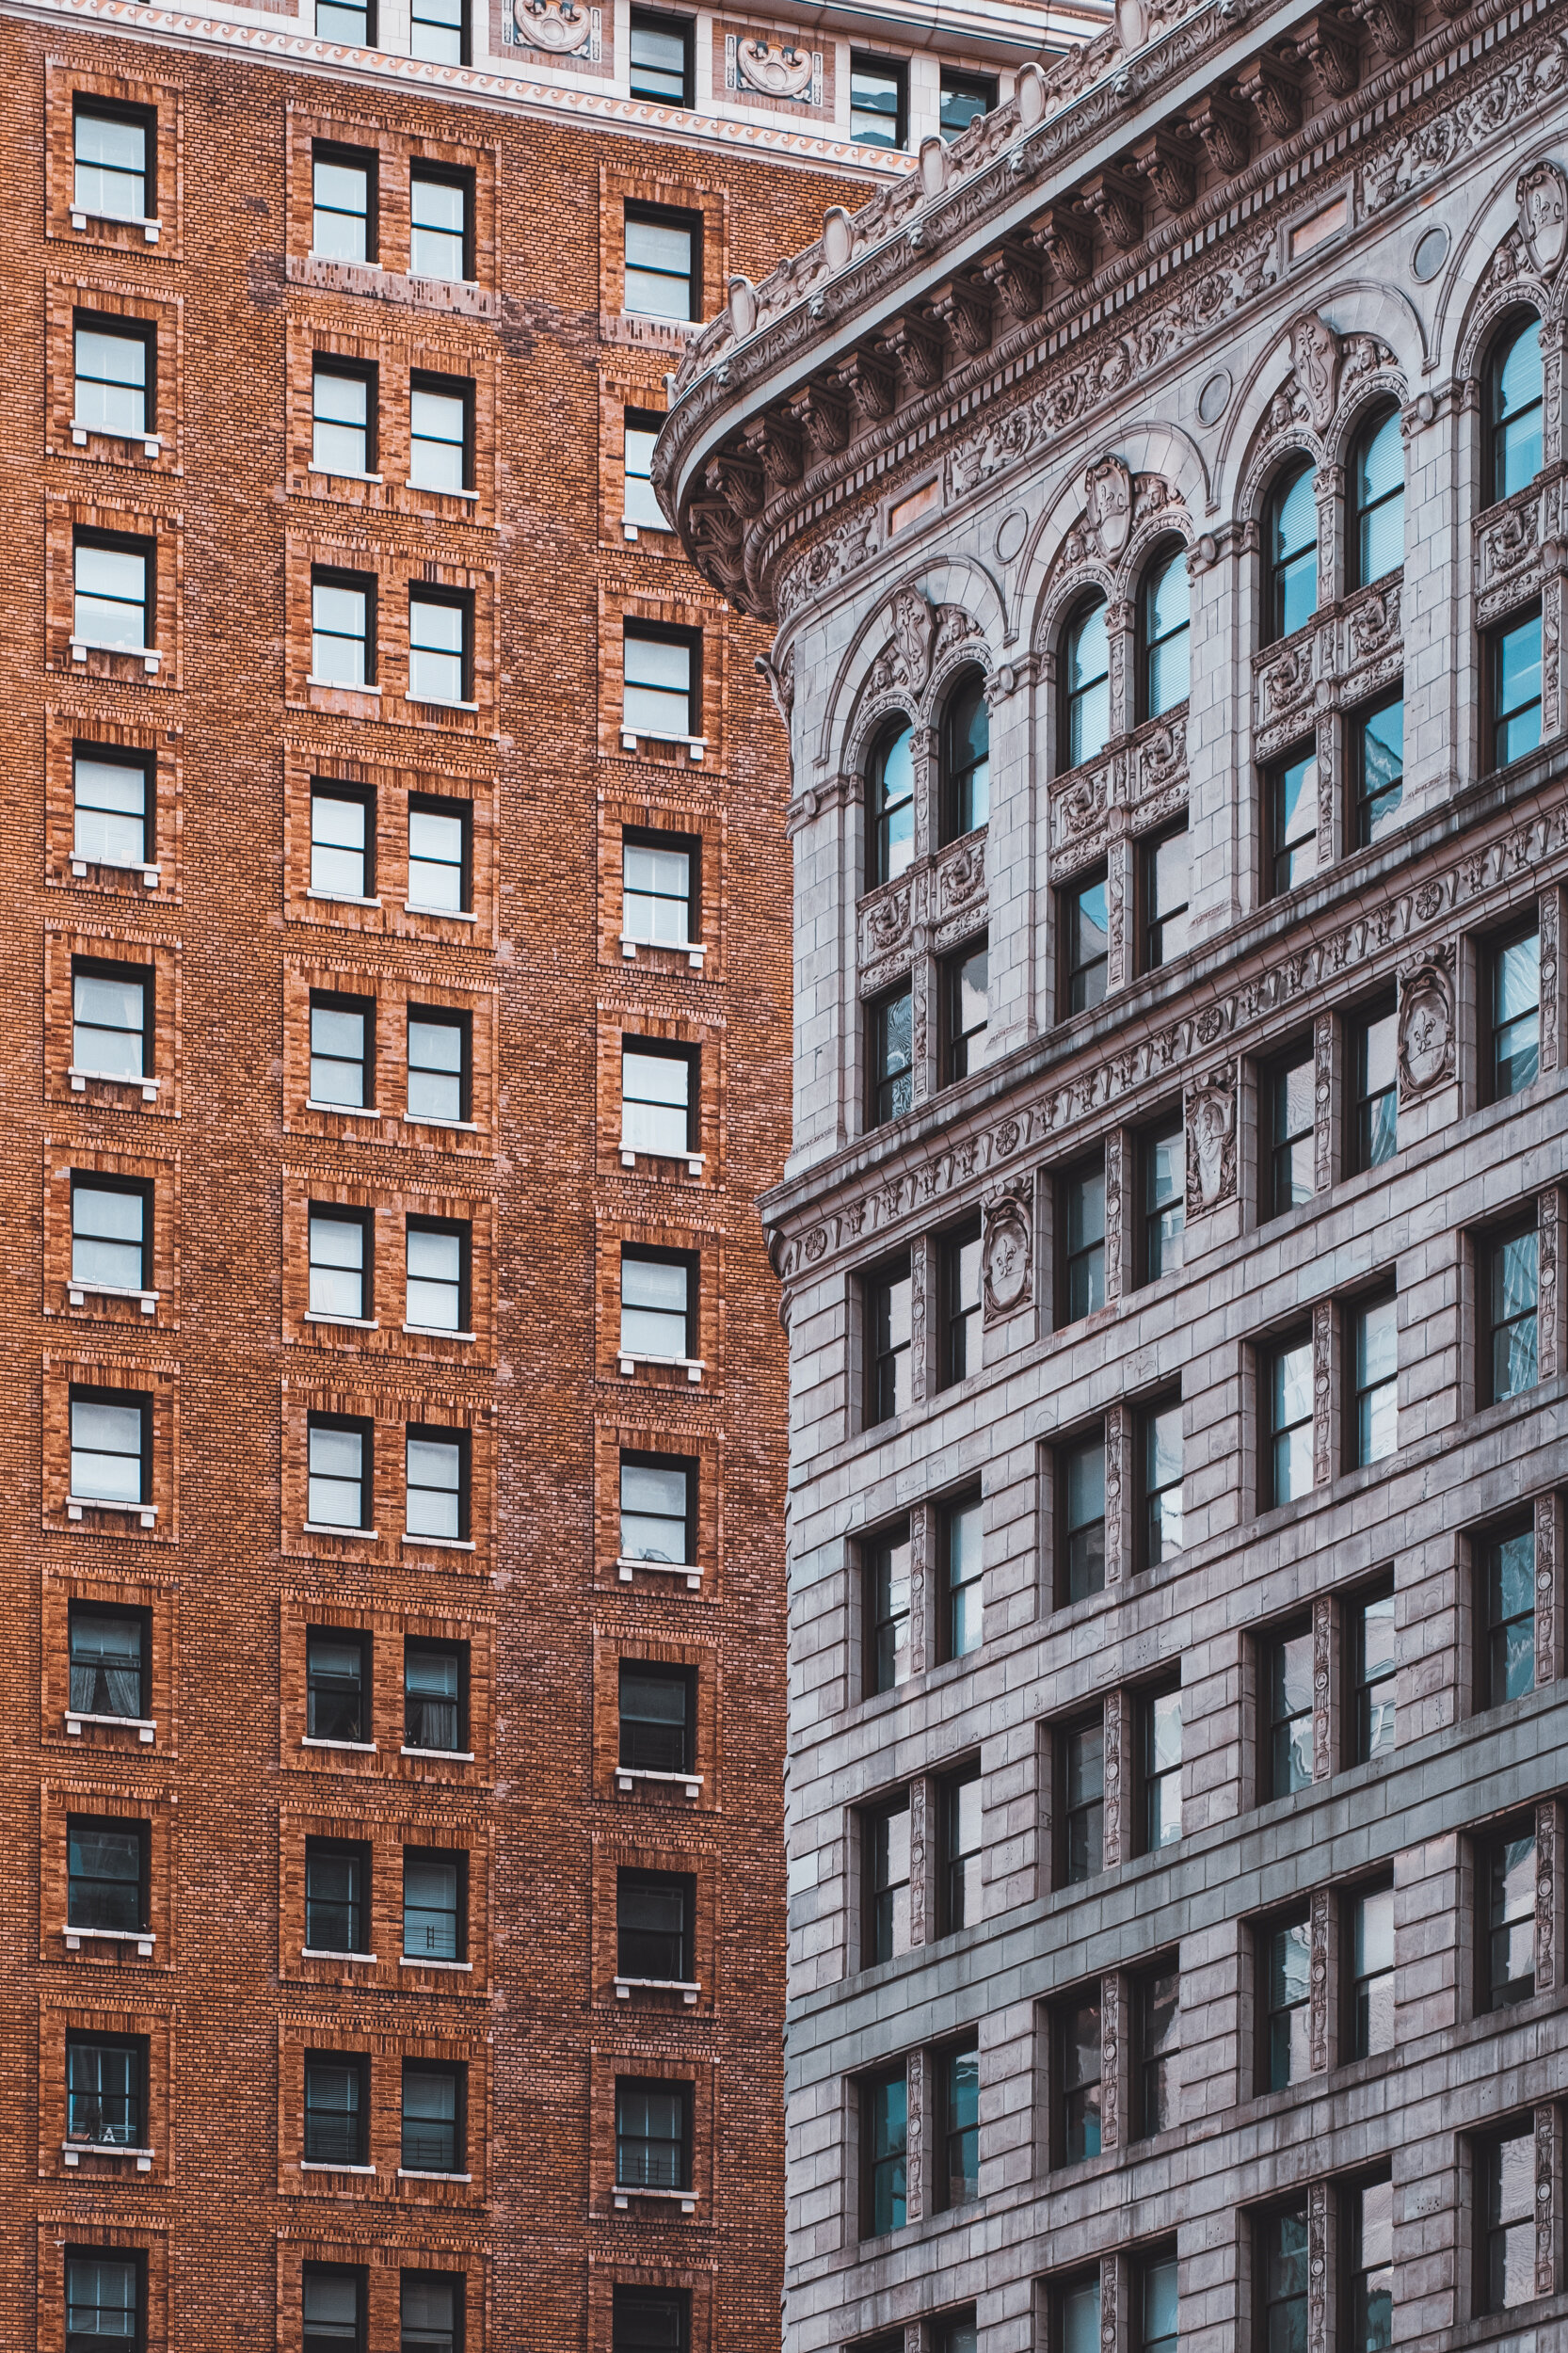
After reconnecting with Photography last month, I’ve been slowly regaining my confidence and enthusiasm to be out there photographing around the city again, something that honestly I didn’t really see coming until it happened. Since that time I’ve been out a couple more times, the last one being last week, when I decided to take my loyal Fujifilm X-T2 for another walk. And what a productive one it was! I started around Bryant Park, in Midtown Manhattan, going all the way up to east 59th Street and down to the 30s. Even though I started things at the park, I barely shot any nature, leaving my focus almost exclusively to chasing interesting architecture and street scenes, the latter being something that I’m not so used to doing. As a result, here’s a collection of photographs from that day. All shot with my go-to combo Fujifilm X-T2 + Fujinon XF 16-55mm and edited in Adobe Lightroom. Hope you like it!
Infrared Photography with the Fujifilm X-T2
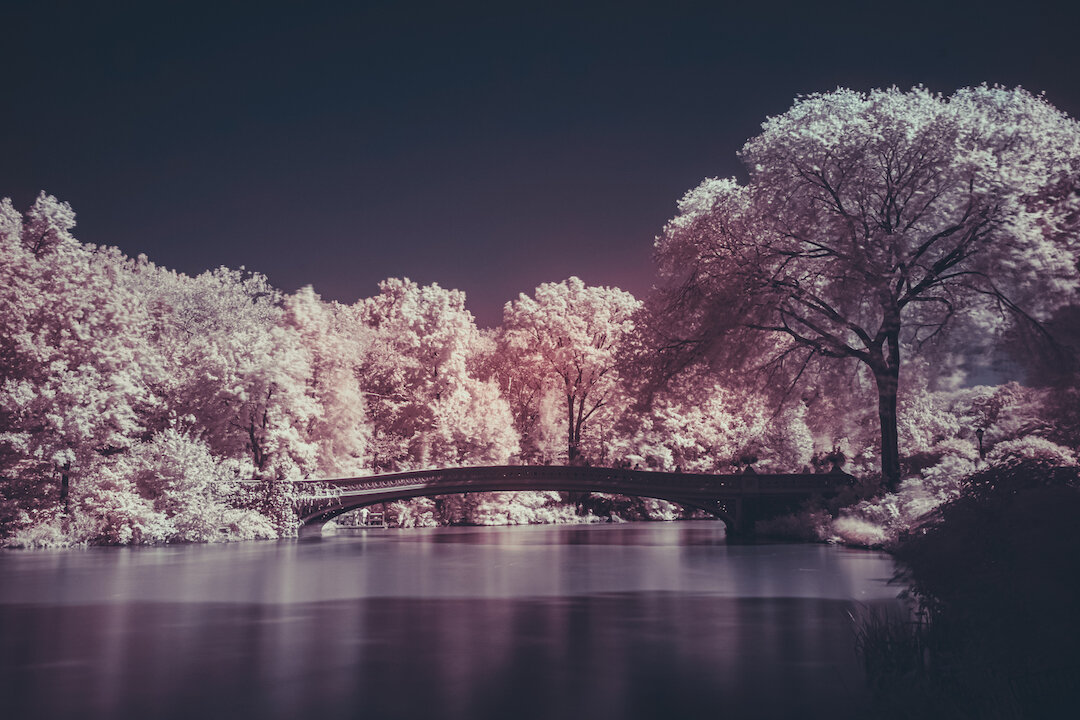
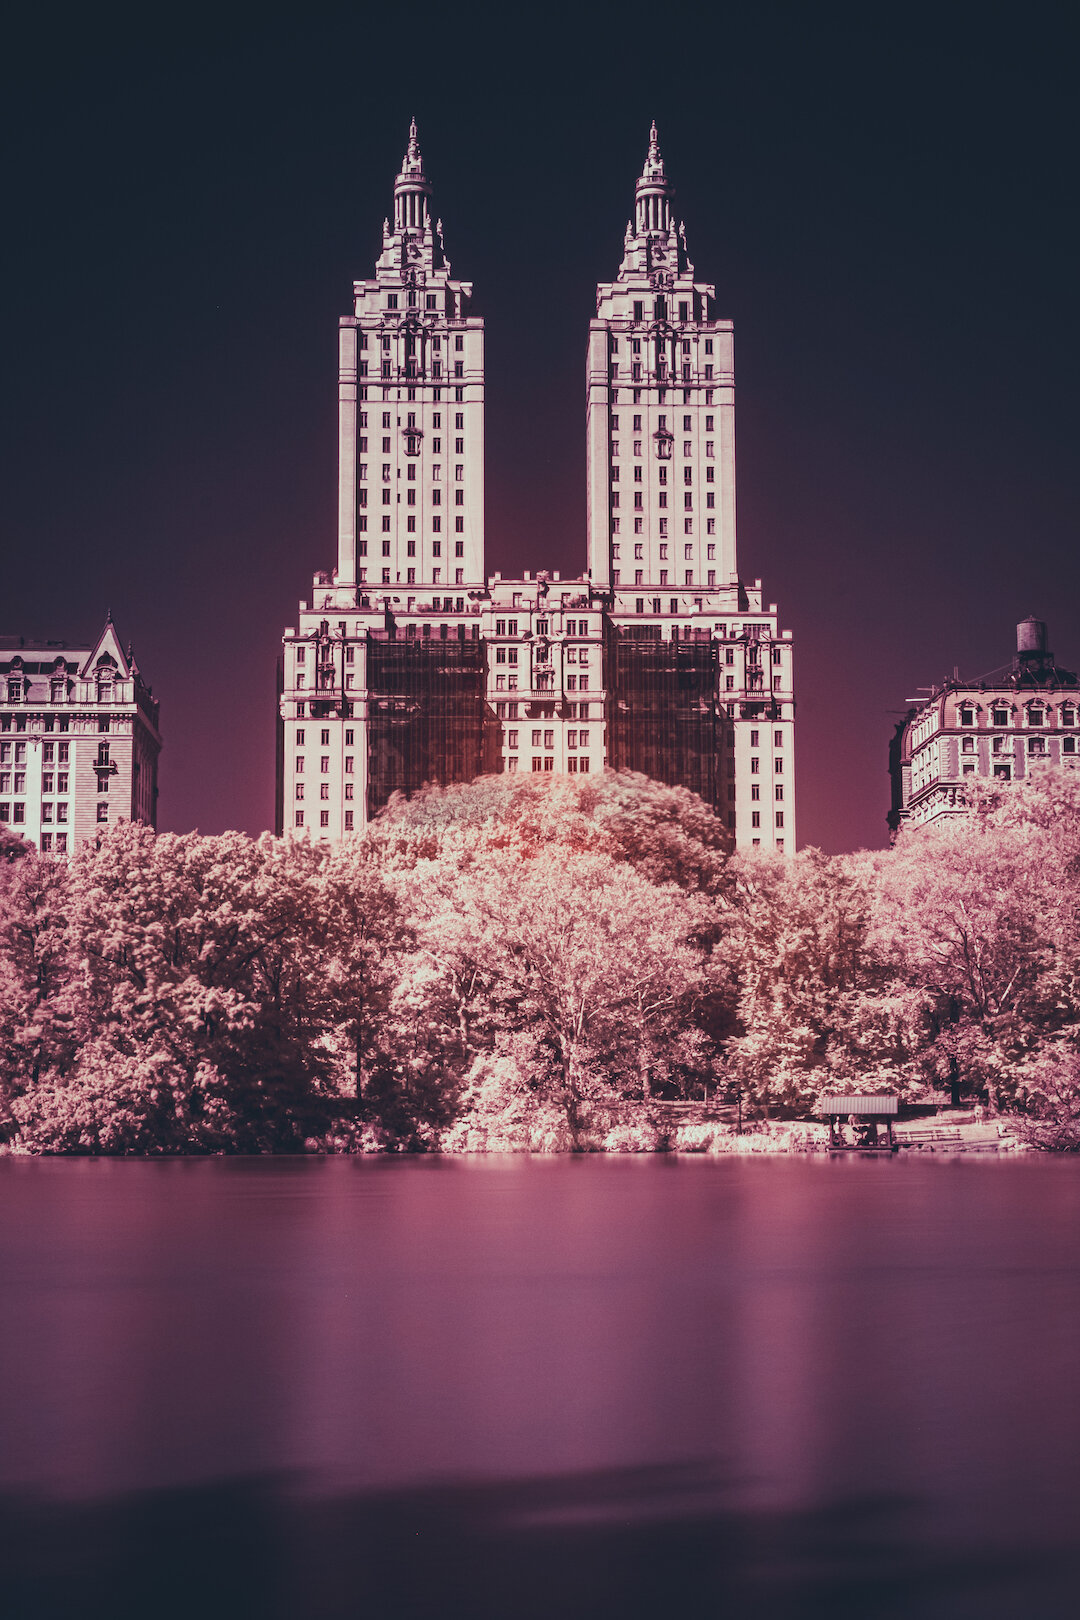
Infrared Photography is the ability of your camera sensor (or film) to see light in a much wider range than our eyes can see. This can be obtained by using infrared film, infrared filters (attached to digital cameras), or by converting the sensor of a camera to be always seeing light like this. If you have a digital camera and are curious to try this out, I suggest you start by using a lens filter, as opposed to converting your camera sensor forever.
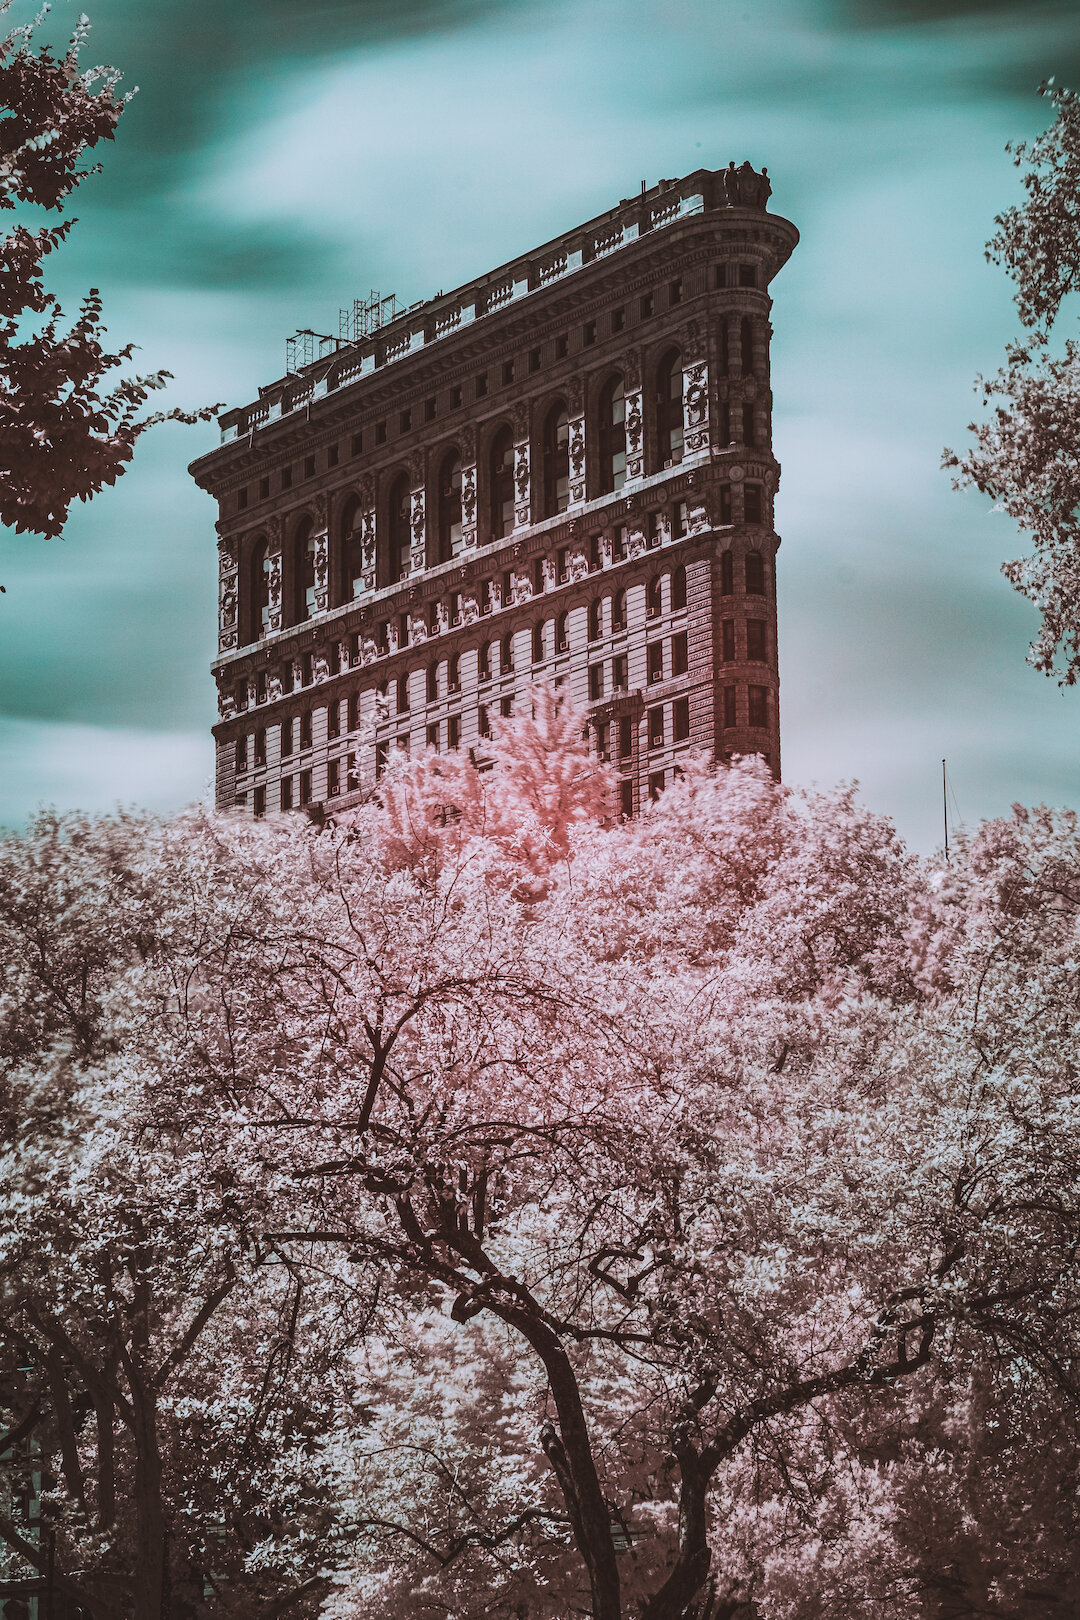
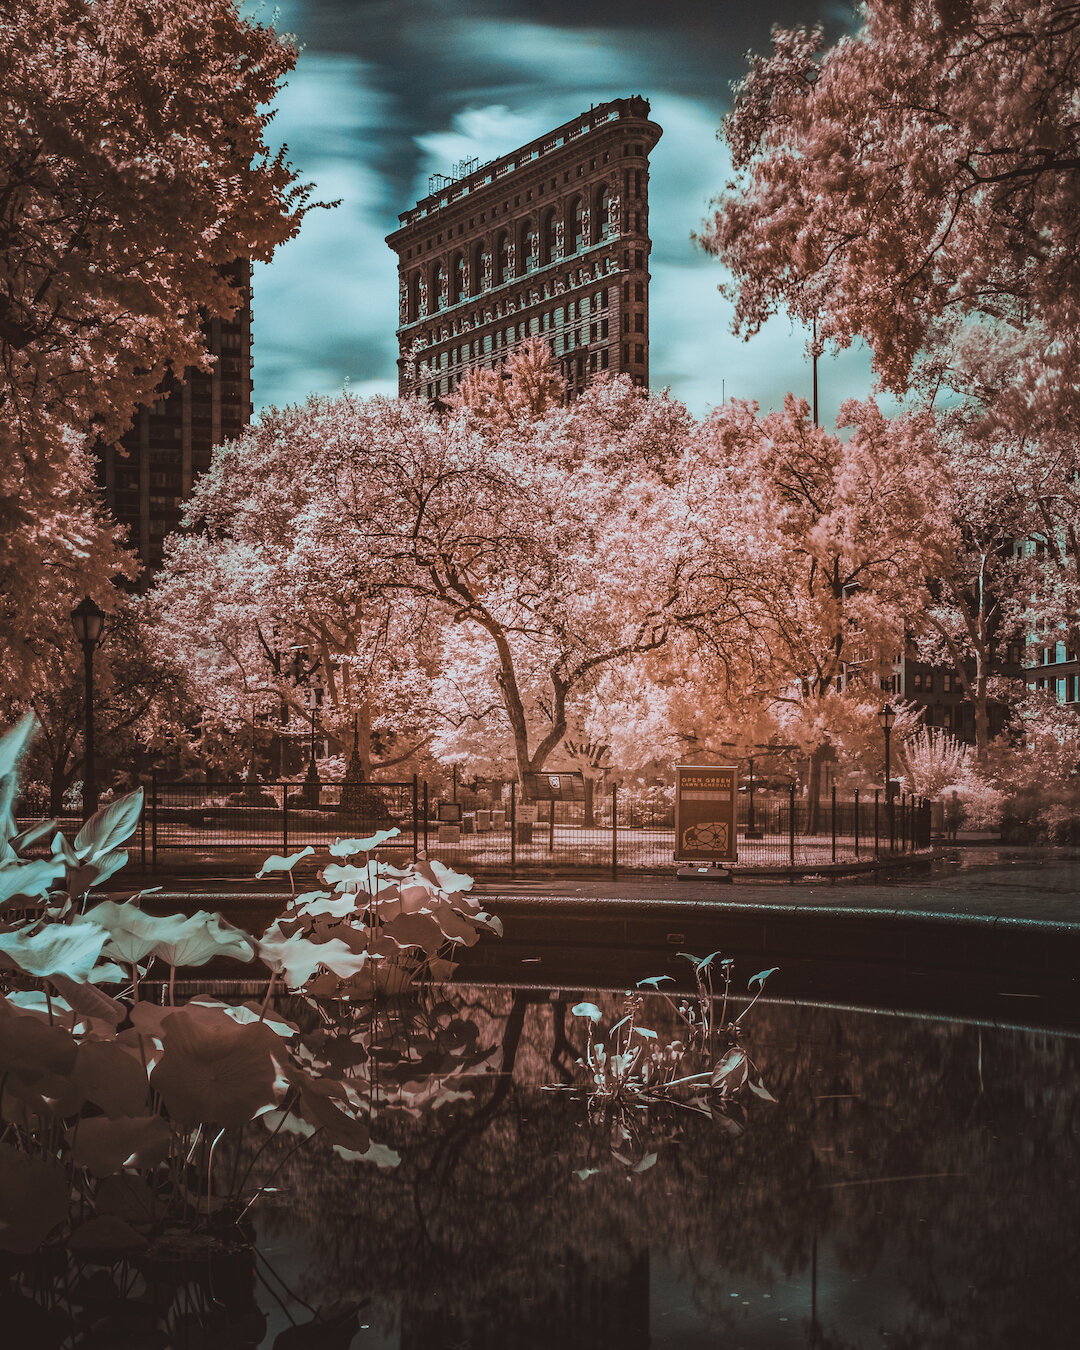
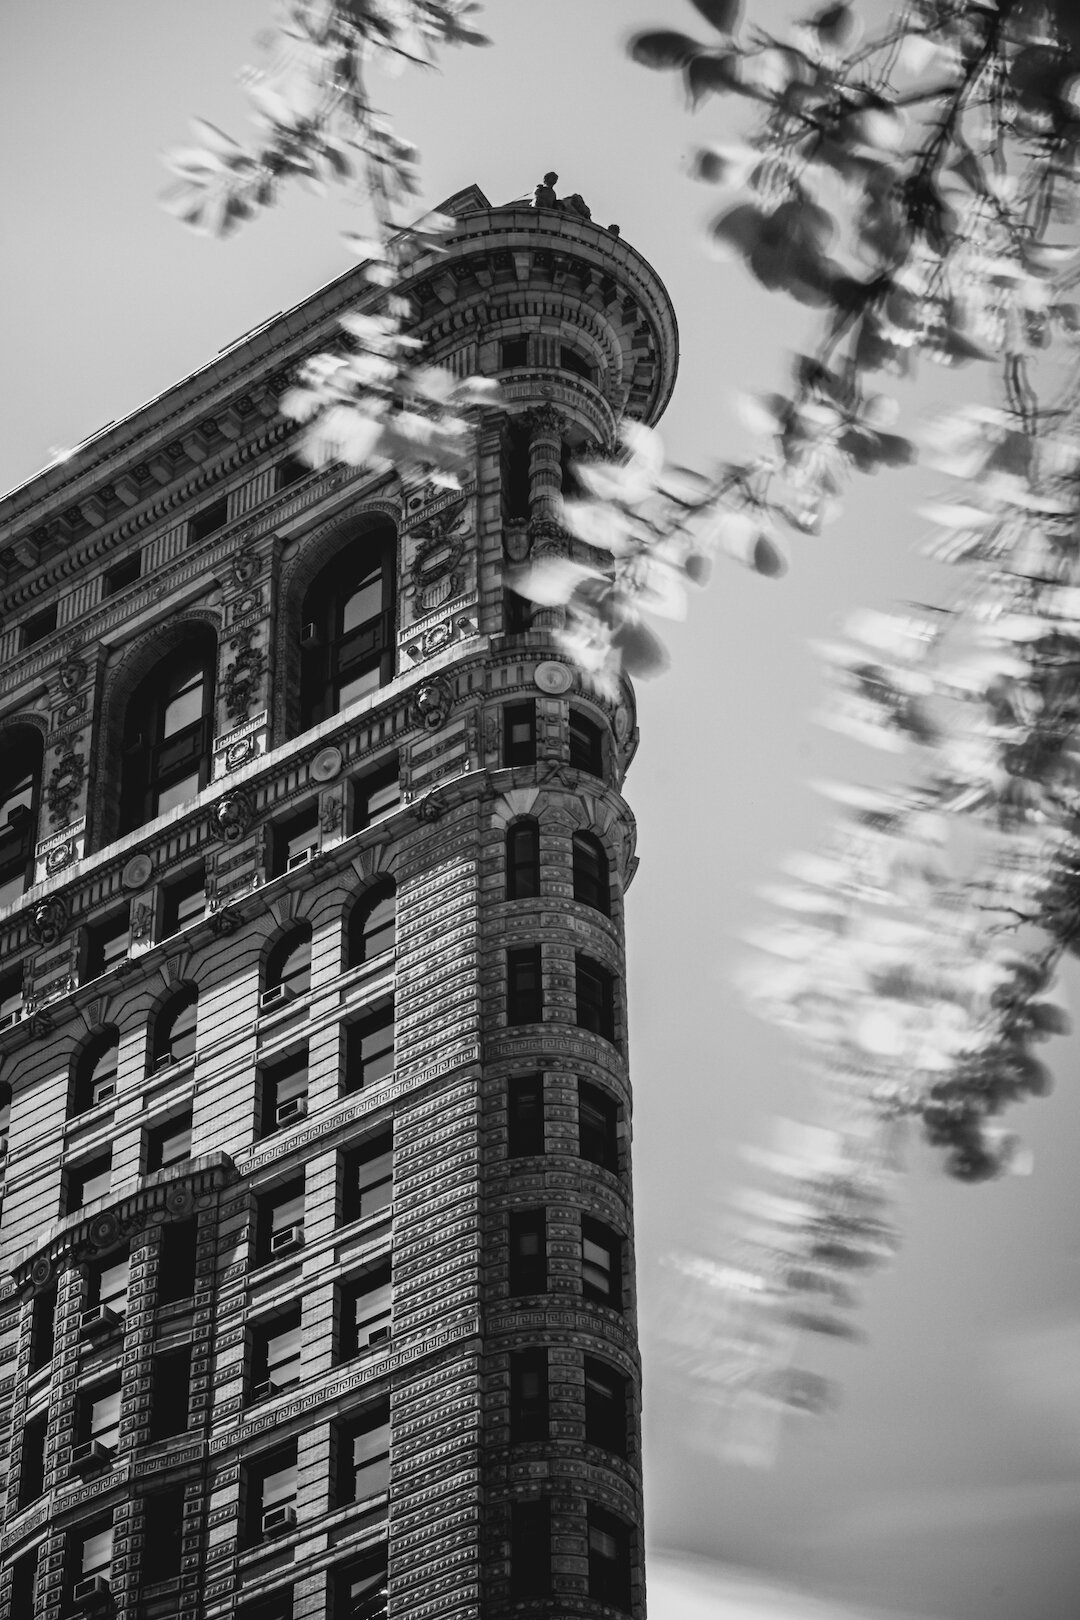
I can’t remember when was the first time I came across this technique, but it wasn’t until a couple of years ago that I learned that I could start out simply by buying a filter instead of having to change my camera internally - thanks to a post a say from Bryan Minear on Twitter. After a lot of research, I decided to buy a filter from Hoya and the results blew my mind right away. For my first experiment, I went down to Madison Square Park (in NYC) with the idea of photographing the iconic Flatiron Building through some nice foliage, which is one of the elements where infrared Photography really shines. This was the first results I got:
When using an infrared filter for the first time, the first thing you’ll notice is that it works very similar to an ND filter, in the sense that it cuts down a lot of stops on your exposure, forcing you to use a tripod and shoot long exposures to get a nice result. Because the image will look extremely dark when you put the filter on, you will also struggle to focus when trying to use autofocus. For that, the best thing to do is to start by figuring out your composition, and once you have the camera fixed on the tripod and ready to start shooting, adjust the focus manually and then you attach the filter and set the proper exposure for the results you are looking for.
The second thing you’ll notice is, when the camera stops shooting, the image you’ll see on the back of the camera will probably be either very dark or in a deep red tone, and that’s because the filter is blocking the “normal” light and colors our eyes as used to see. To get from that to an interesting-looking photograph (either in black and white or in color) you will need to learn a few new tricks on post-processing. I recommend going on YouTube and watching some tutorials on processing infrared photographs on your favorite software. In my case, I used Adobe Lightroom for these.
In terms of camera settings, there’s really not a magical combination that will work for every situation, but you will want to follow the principles of long exposures (more information on this post), meaning low ISO, narrow apertures, and longer shutter speed. Like any other technique, you will make a lot of mistakes until you start learning what works (and not) to your camera/lens/filter.
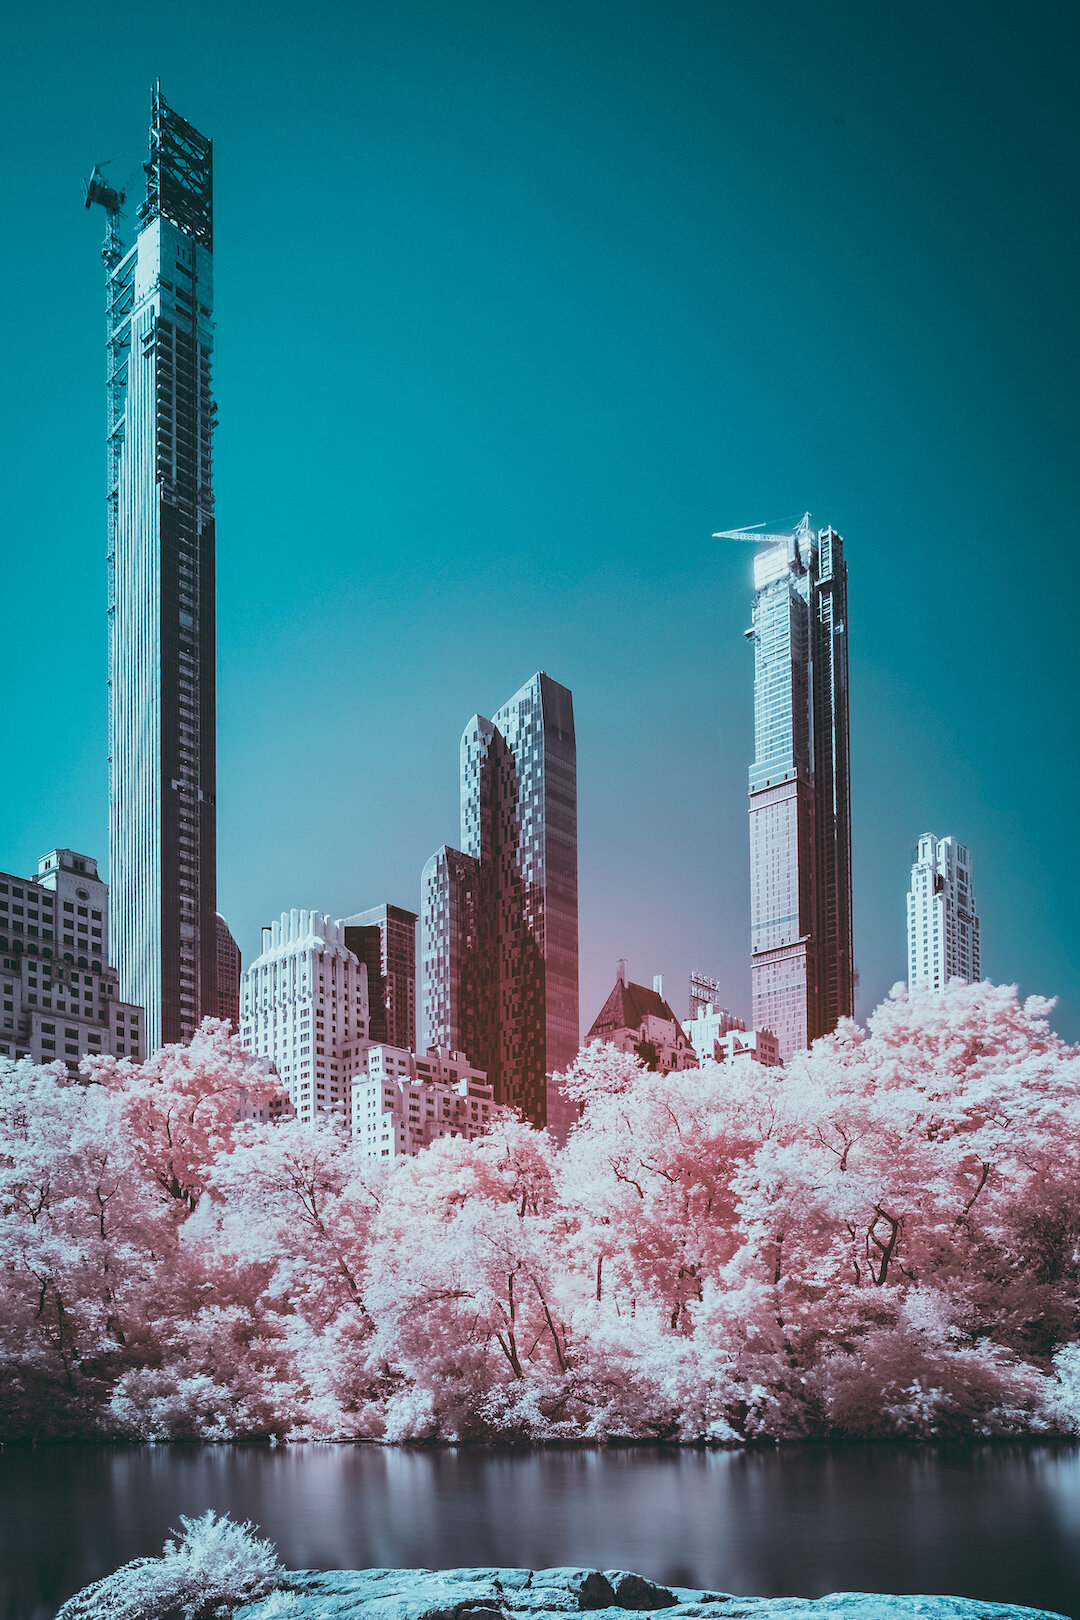
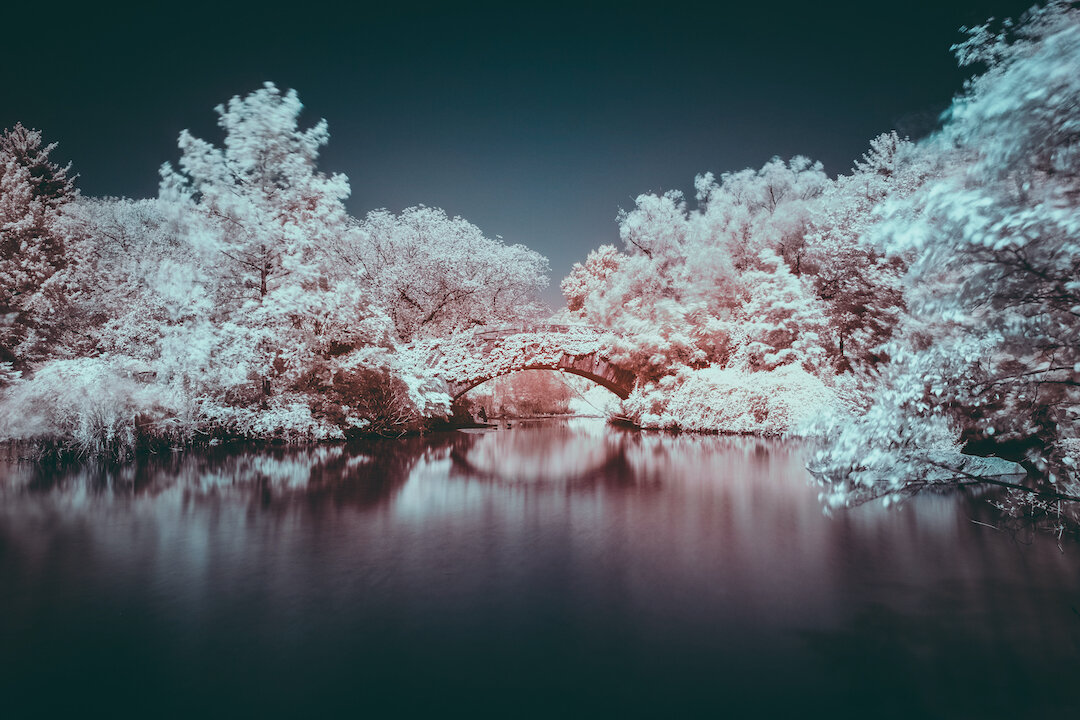
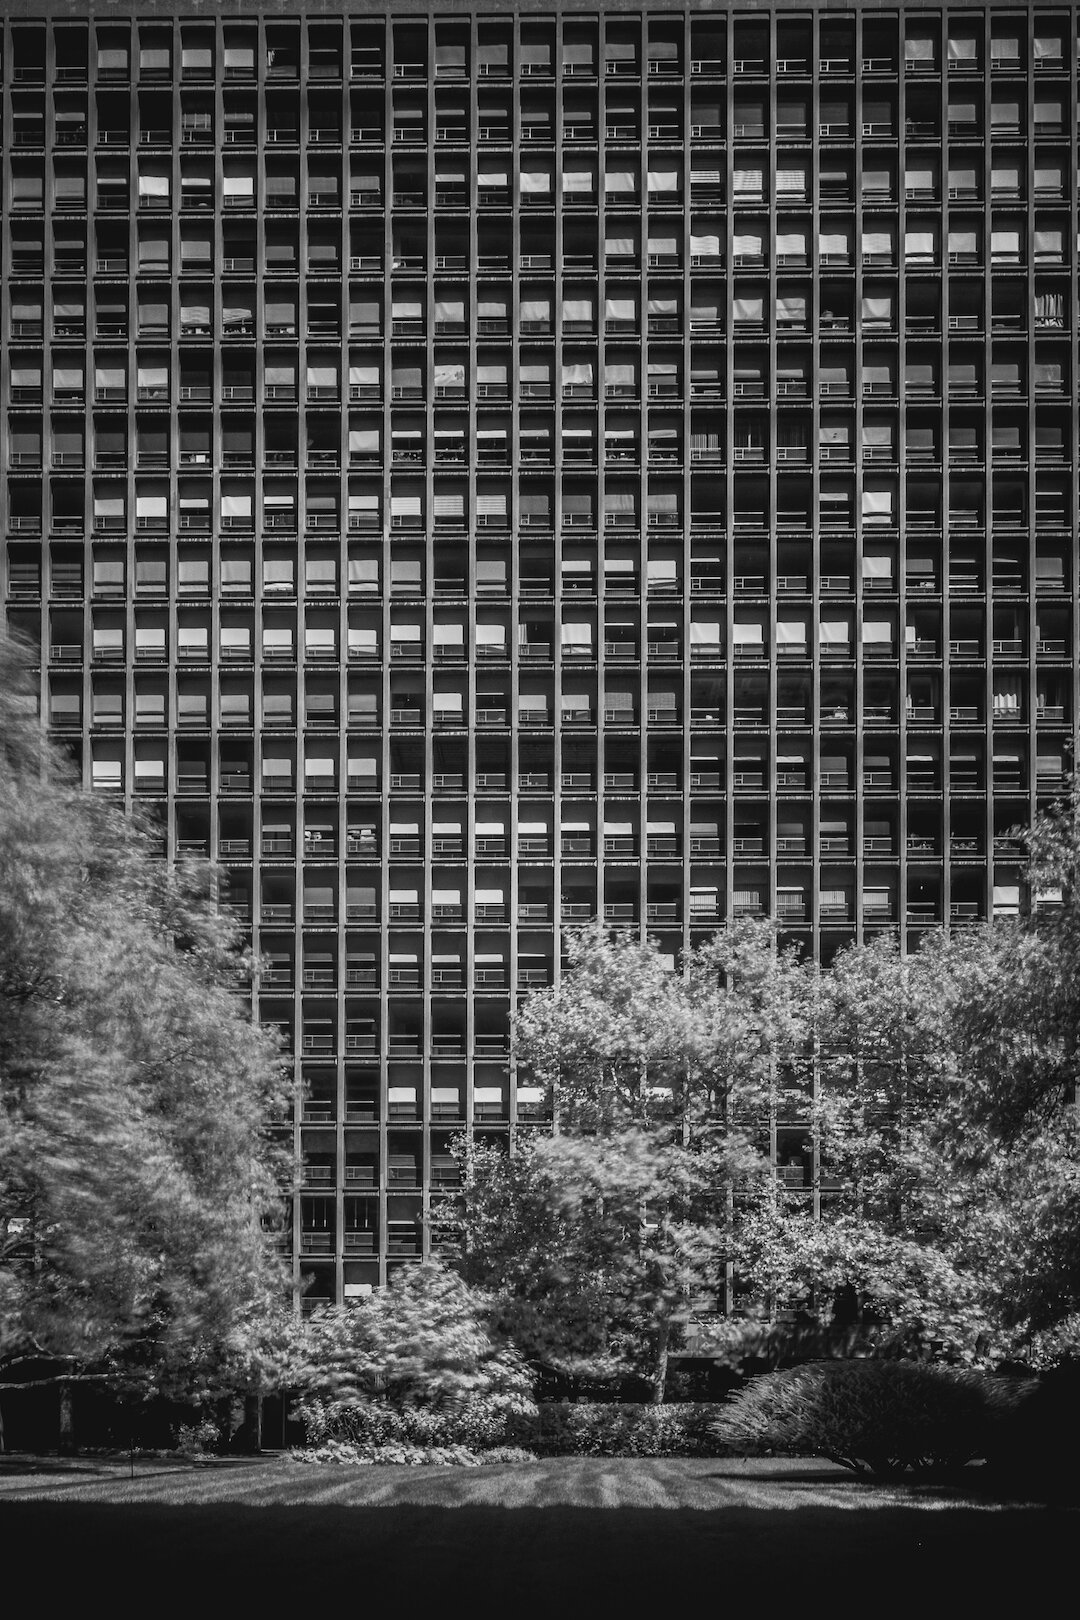
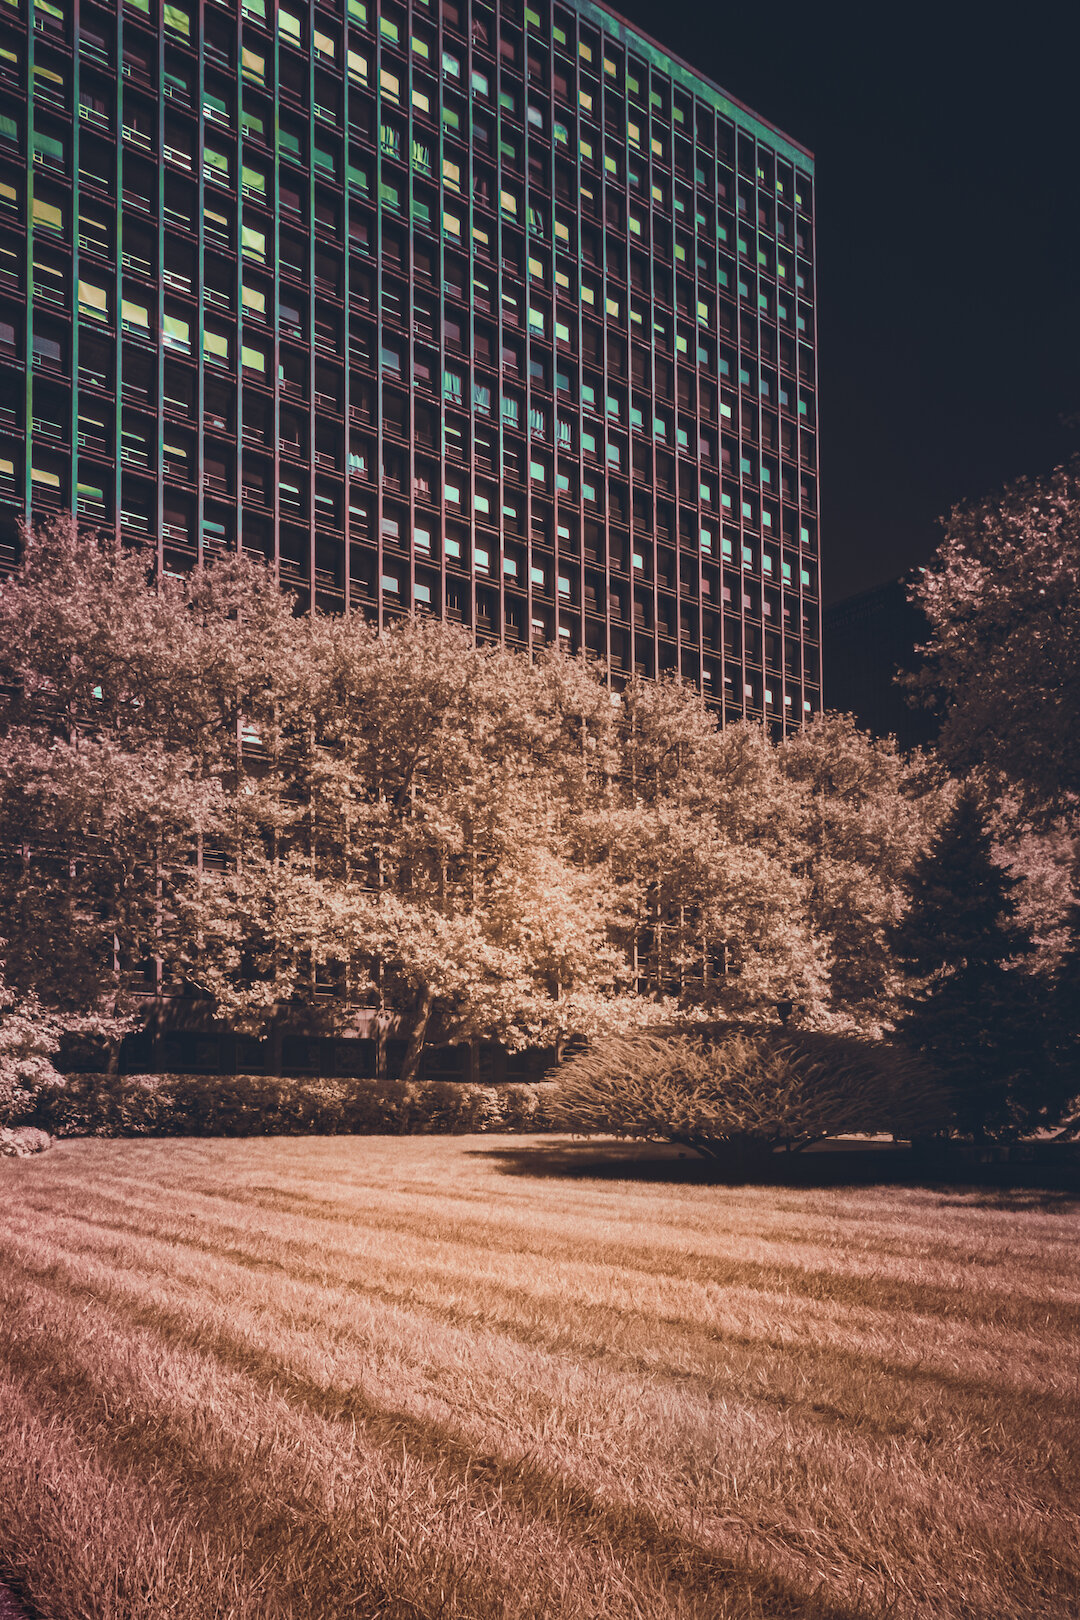
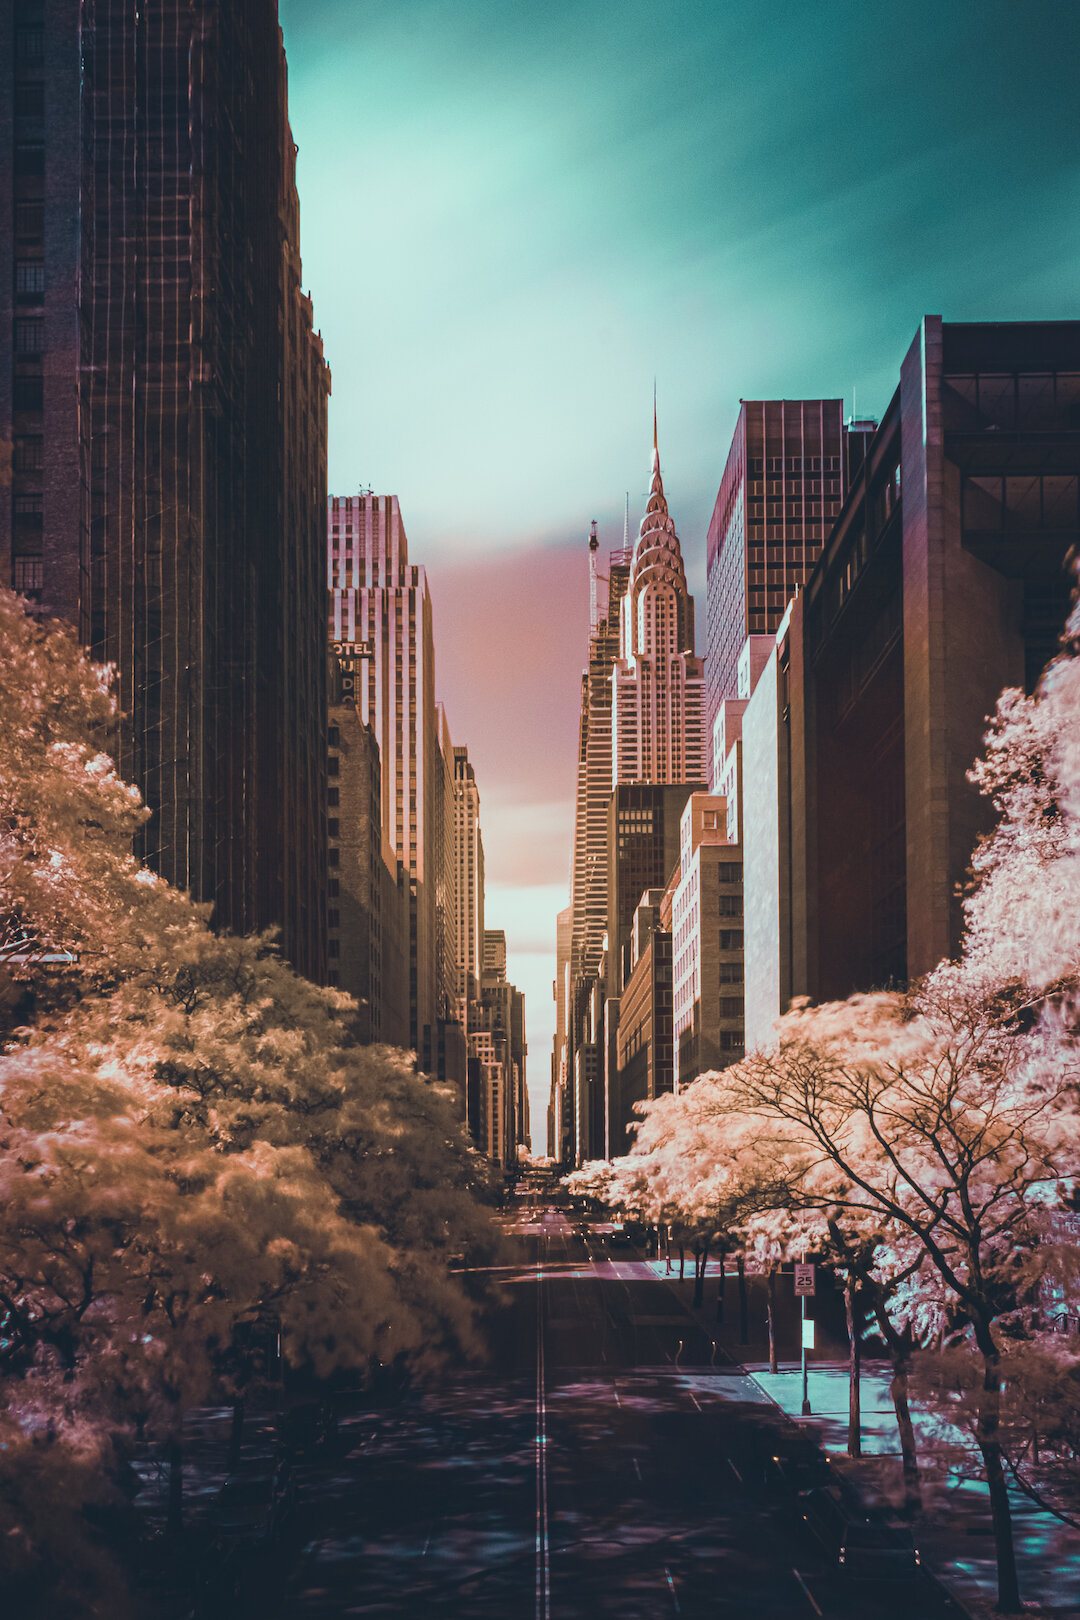
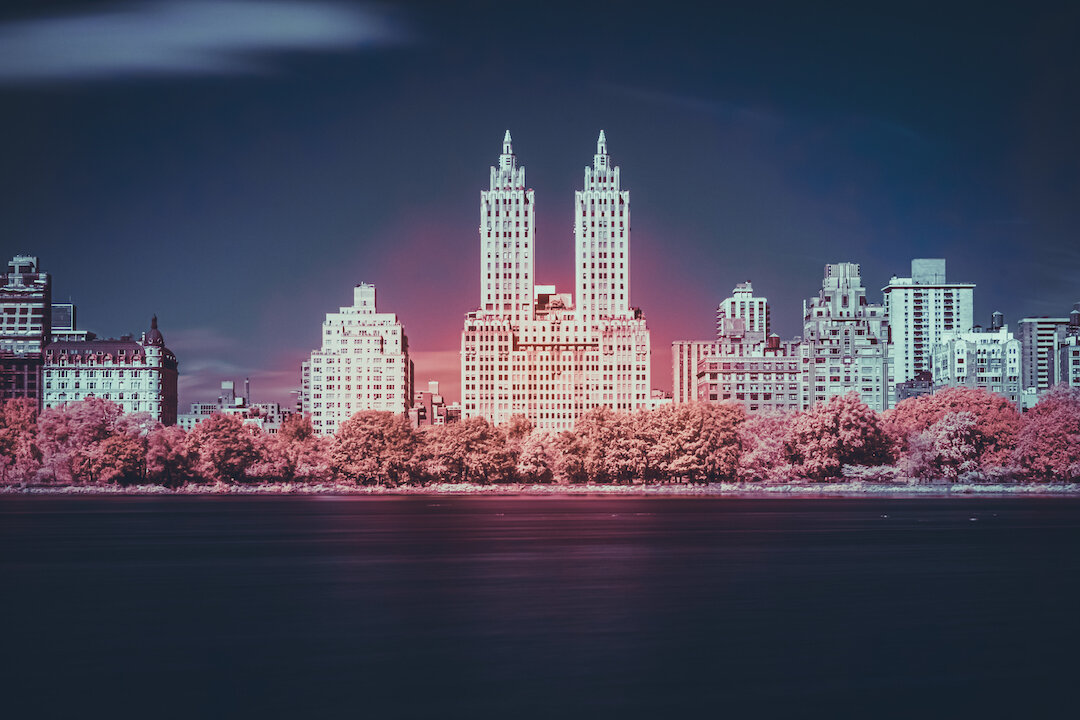
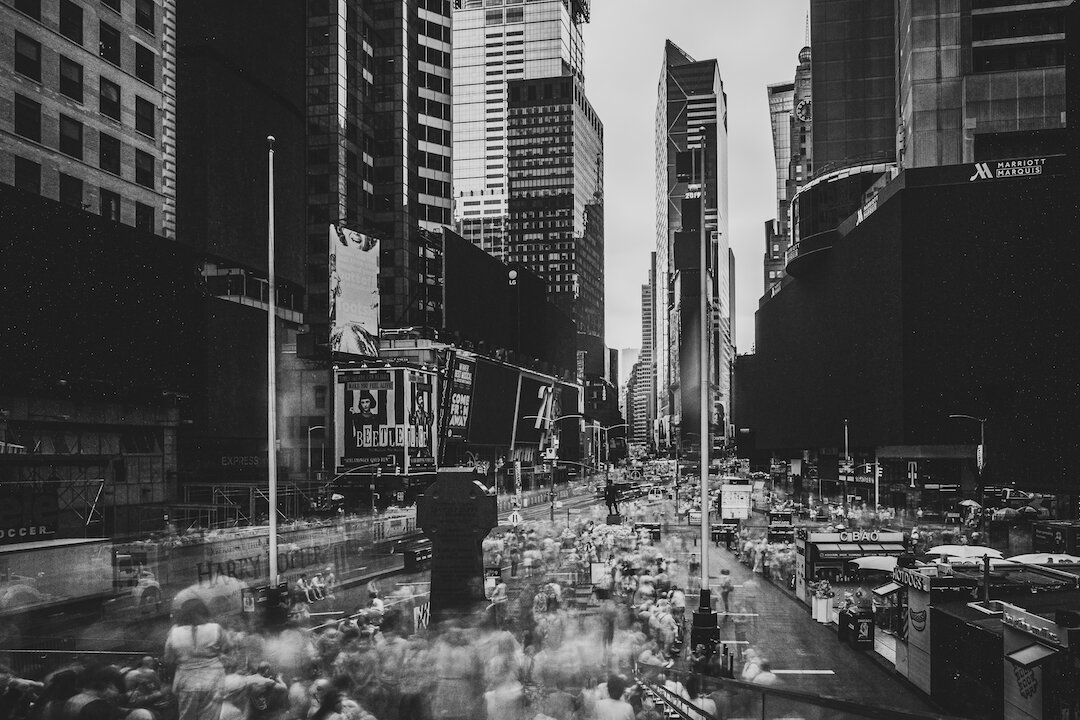
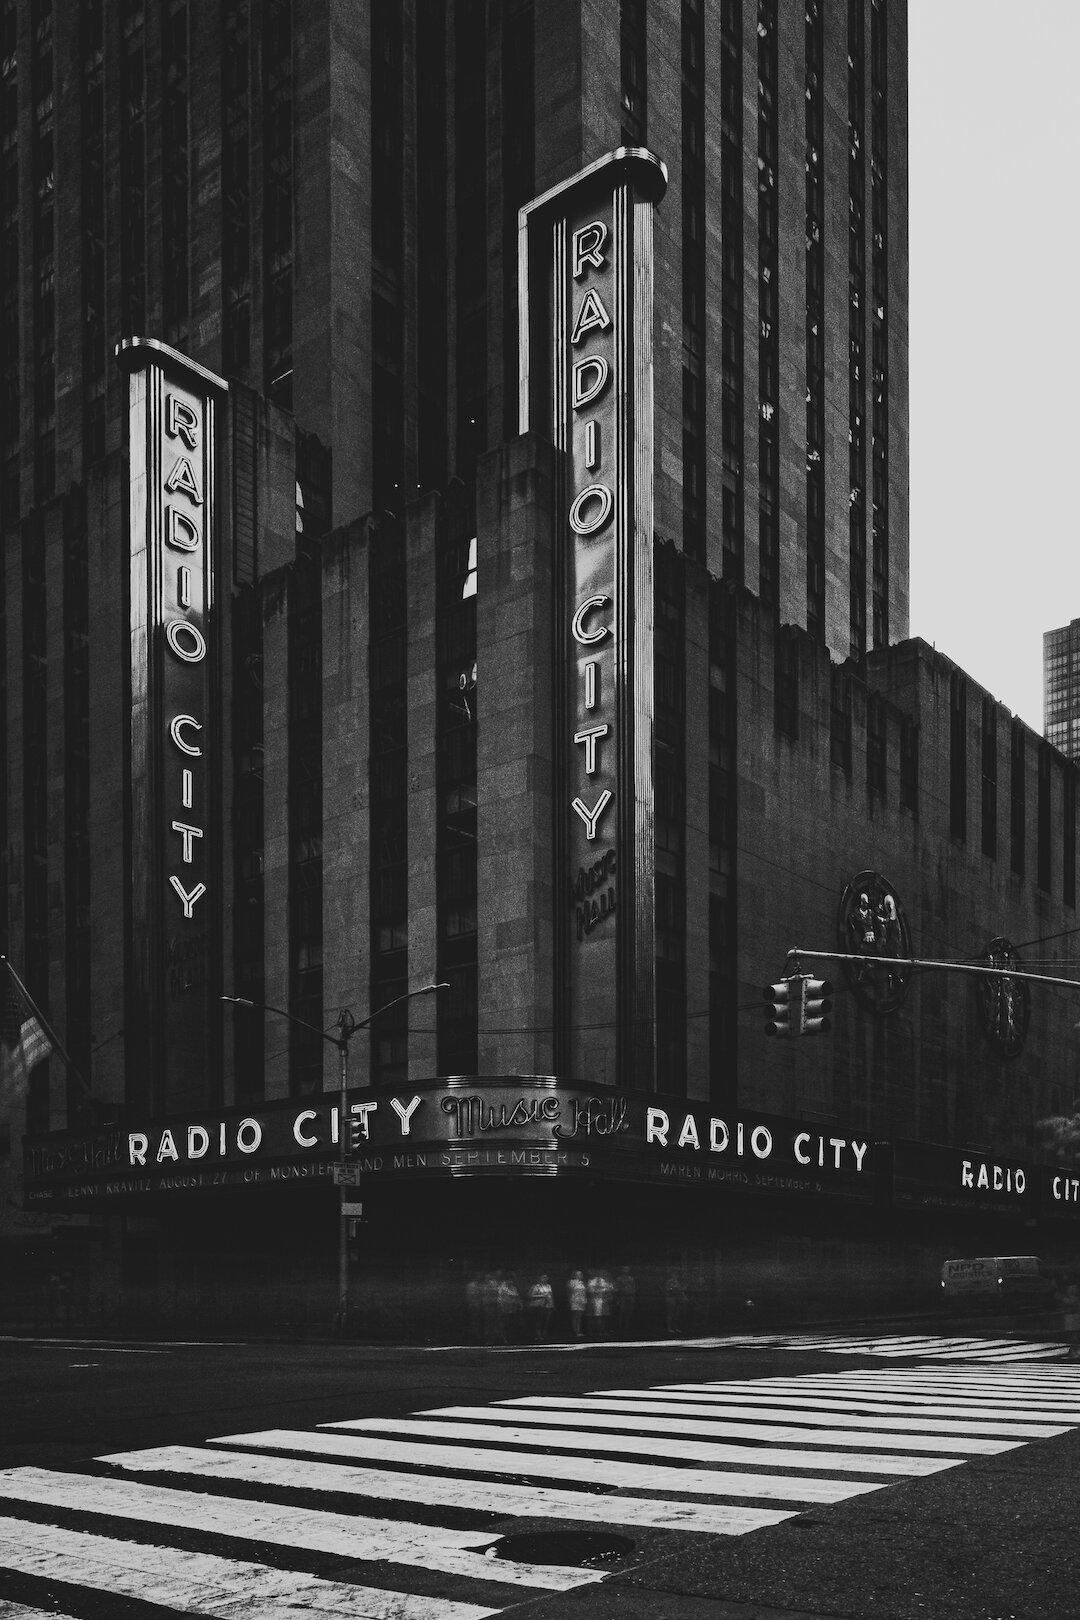
Here are some of my favorite images I created since I’ve bought the Hoya filter, in combination with the Fujifilm X-T2 and the Fujinon XF16-55mm that I shoot with. All processed using Adobe Lightroom:
📸 • Equipment used to take these photographs:
Reconnecting with Photography
Earlier this month something really incredible happened: I finally reconnected with Photography! Not that I haven’t been thinking about Photography during these 6 months of quarantine (should we even be calling this thing quarantine still?). I’ve been actually involved with a few photography-related projects through these months, but for some reason, I was feeling a bit lost about my own personal creative work.
Everything changed when I had to go to the UES for a dentist's appointment and thought I should bring my camera with me just in case. After the appointment, I decided to walk back home instead of taking any kind of transportation, and since I was so close to Central Park, I couldn’t think of any better way to do it that didn’t include walking through the park. I got in by the 72nd street entrance and started to walk with no route in mind, just to see where it would take me. At that point, I was still not feeling particularly inspired by anything on my way enough to turn the camera on and start photographing, until about 5 minutes later when I realized I was walking towards the Bethesda Terrace, one of the most popular areas of the park that also happens to be one of my favorites to photograph. Noticing how empty it was (compared to how things used to be) I knew I had an opportunity there, especially when I put my eyes on the lonely musician seated right in the center of everything. What a perfect opportunity for a symmetrical shot, right?
This ended up being the first photograph I took intentionally, without any pressure or restrictions, after 6 months of isolation. After that, I kept walking south throughout the park and through Midtown, stopping for some other photo opportunities here and there, and time just flew by. I can’t remember the last time I felt that connected with a creative activity of any sort!
Here are a few more shots I’ve taken since then:
(All photos taken with a Fujifilm X-T2 + Fujinon XF16-55mmF2.8 R LM WR)
A Quick Guide to Long-Exposure Photography
The Long Exposure is a very popular Photographic technique vastly explored especially by Landscape and Architectural Photographers, but that can be utilized in many other situations as well. By definition, “a long-exposure (or slow-shutter photography) involves using long-duration shutter speed to sharply capture the stationary elements of images while blurring, smearing, or obscuring the moving elements. Long-exposure photography captures one element that conventional photography does not: an extended period of time.”
Basic Camera Settings:
On a Long Exposure photograph, the most important camera setting is your shutter speed, and that is the first thing you should worry about. There’s not an exact number that characterizes a “long exposure”, so that number will change accordingly with the scene you’re photographing and the results you are trying to achieve. If you want to do a panning holding the camera with your hands, 1/15th may do it, but if you are photographing a landscape and want the clouds to blur out, you will want to put the camera on a tripod and expect to let it open for a few seconds, at least. So once you figure out the shutter speed, the other two elements (aperture and ISO) will adapt accordingly. You will probably want to keep your ISO as low as possible, to avoid noise, and the aperture will vary depending on the lens you are using and which part of the scene you want in focus. But remember that every time you change one element, you must adjust the other two to keep your exposure balanced. In order to have full control of all the elements individually, you will want to be shooting in manual mode.
Here’s an image that perfectly illustrates how different shutter speeds can affect the same subject or scene:
The Classic Look:
The sunset (and beyond) is probably the preferred time of the day for Photographers attempting to do long exposures, the reason I like to call this “The Classic Look”. That’s when you normally see the clouds moving, the water looking very silky, and sometimes a light trail here and there:
Here is another example captured at night, but notice how much faster the shutter speed was, compared to the other images. That’s because bridges are structures that move a lot without us realizing, so a much longer exposure would end up being shaky. In this case, there’s nothing moving on the images, but a longer exposure helped me to capture more light keeping the ISO pretty low and avoiding noise in the photograph:
Zooming In and Out:
For this series, I used the technique of zooming the lens in or out, while the shutter remains open, but in this case, I was holding the camera with my hands and had a much faster shutter speed. Because I couldn’t use a much longer shutter speed, I had to use a wider aperture and much higher ISO, to keep the exposure balanced:
Here are two very different shots taken with the same camera settings from the exact same spot. I always like to show these two together as an example of how the exact same scene, with the exact same camera settings, can offer you such diverse results. It’s all a matter of being creative and trying different things:
Double Exposures:
By now you probably know how much I love Double Exposures, right? So, of course, I’ll take the opportunity to use it anywhere I can. Here are two examples combining Long Exposures with Double Exposures, in the first case blurring the second shot, and in the second image zooming out during the second shot:
Light Painting:
This is my first and only attempt of doing “light painting”, which consists of using handheld lights to paint and/or draw in a scene while the shutter of a camera is left open during a long exposure. Back then I didn’t have a remote control or an app on my phone to control the settings, so the longest I could keep my shutter open was 1 second, which was enough to capture some of the action in a decent way.
Infra-Red:
These next two shots were taken using an effect called Infrared, which it’s basically the ability of your camera to see light in a much longer range than our eyes can see. This can be obtained by using infrared film, infrared filters (attached to digital cameras), or by converting the sensor of a camera to be always seeing light like this. These were taken using an infrared filter in front of the lens, and because the filter cuts all the usual lighting, you are forced to do very long exposures to be able to capture enough lighting passing through the sensor. The final results are timeless black and white images, or the more dreamy ones, sometimes referred to as “false-color”:
You can see more examples of Infra-Red Photography by clicking here.
Photography Gear:
So here’s the basic gear that you’ll need to get started with Long Exposures:
A Camera that allows you to control the settings manually. This is the camera that I currently shoot with.
A Tripod, to keep your camera steady. You want every still object to remain still, and all the moving parts to be captured moving. This is the tripod that I currently use. Not the strongest or tallest one, but it gets very compact and light, perfect to carry around and bring with you when traveling. Make sure you get a tripod that will properly hold the weight of your camera + lens combo.
A Remote Control / a remote trigger / or even an app on your phone that can control your camera. Anything that you can use to avoid you having to press the shutter because even that can cause the camera to shake and ruin your picture. If you don’t have access to a remote or an app on your phone, you should at least use the timer on your camera to delay the shutter to go off a few seconds after you press the button.
A Neutral Density filter, known as “ND" - these are used to reduce the amount of light that gets to the camera, allowing you to do long exposures in bright sunny days. Think of it as putting sunglasses in front of your lens.
An Infra-Red filter, if you plan to experiment with that, this is what I use. Make sure to double-check the size of your lens before buying.
And a lot of Patience! Just imagine that you may be spending a couple of hours on the same spot, trying to nail the shot by repeating various long exposures until you get the perfect one.
Final Thoughts & Inspiration:
Whether you are a beginner, intermediate or advanced, a hobbyist or a professional, Long Exposures are still a great way to practice Photography and learn (even) more about your camera, as it constantly makes you think about all the different settings and forces you to slow down and think about all the aspects of your image. To finish things off, here are a few of the Photographers that inspire me every time I think about Long Exposures:
Bryan Minear, who has a very classic look but with GORGEOUS color processing, which I’m very attracted to.
Clive Carpenter, proving that you don’t always need a breathtaking landscape or intriguing architecture to create interesting long exposures.
Susan Magnano, who does incredible light paining on landscapes and urban environment;
Marc Koegel, with a dramatic black and white look, achieved a lot by very intense post-production;
And last but definitely not least, Reuben Wu, who does an extraordinary job mixing up Landscapes with Light Painting.
Through a Different Lens • Stanley Kubrick Photographs
Through October 28, 2018, the Museum of the city of New York hosts a must-see exhibit for Photography and Film lovers. You probably already know Stanley Kubrick for his classic movies ”2001: A Space Odyssey”, ”A Clockwork Orange”, ”The Shining” and many others. What you may not know is that when he was only 17 years old, he started working for Look magazine as a Photographer documenting a broad of different subjects throughout New York City.
The exhibit showcase more than 120 photographs from that period and it will probably blow your mind!
Check the Museum of the City of New York’s website for more information and plan your visit.
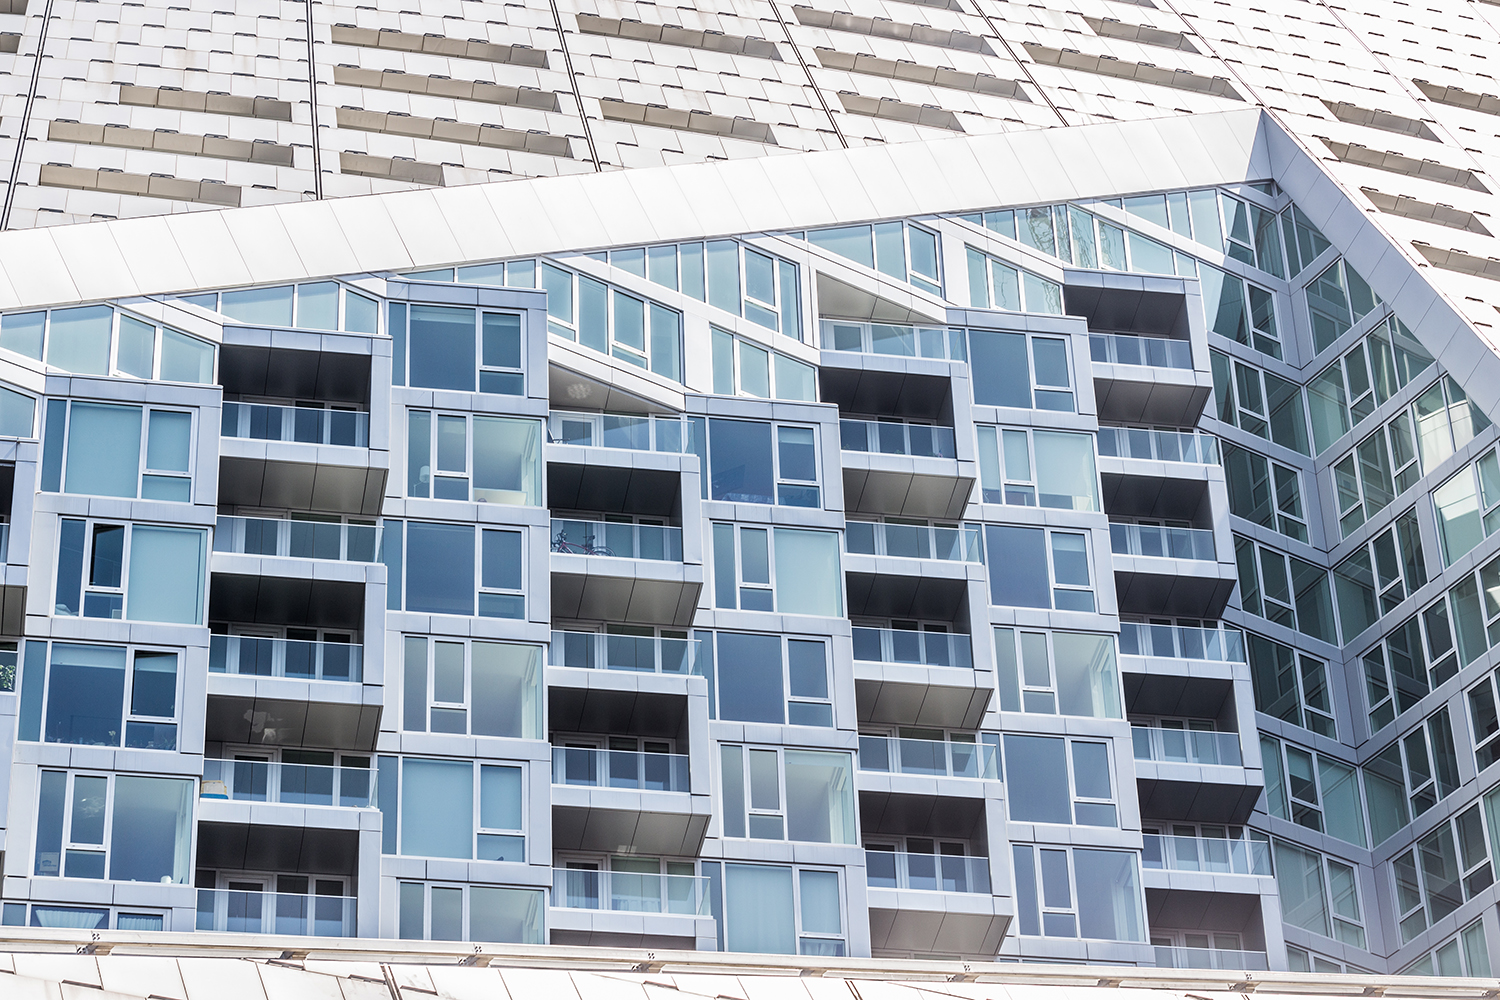
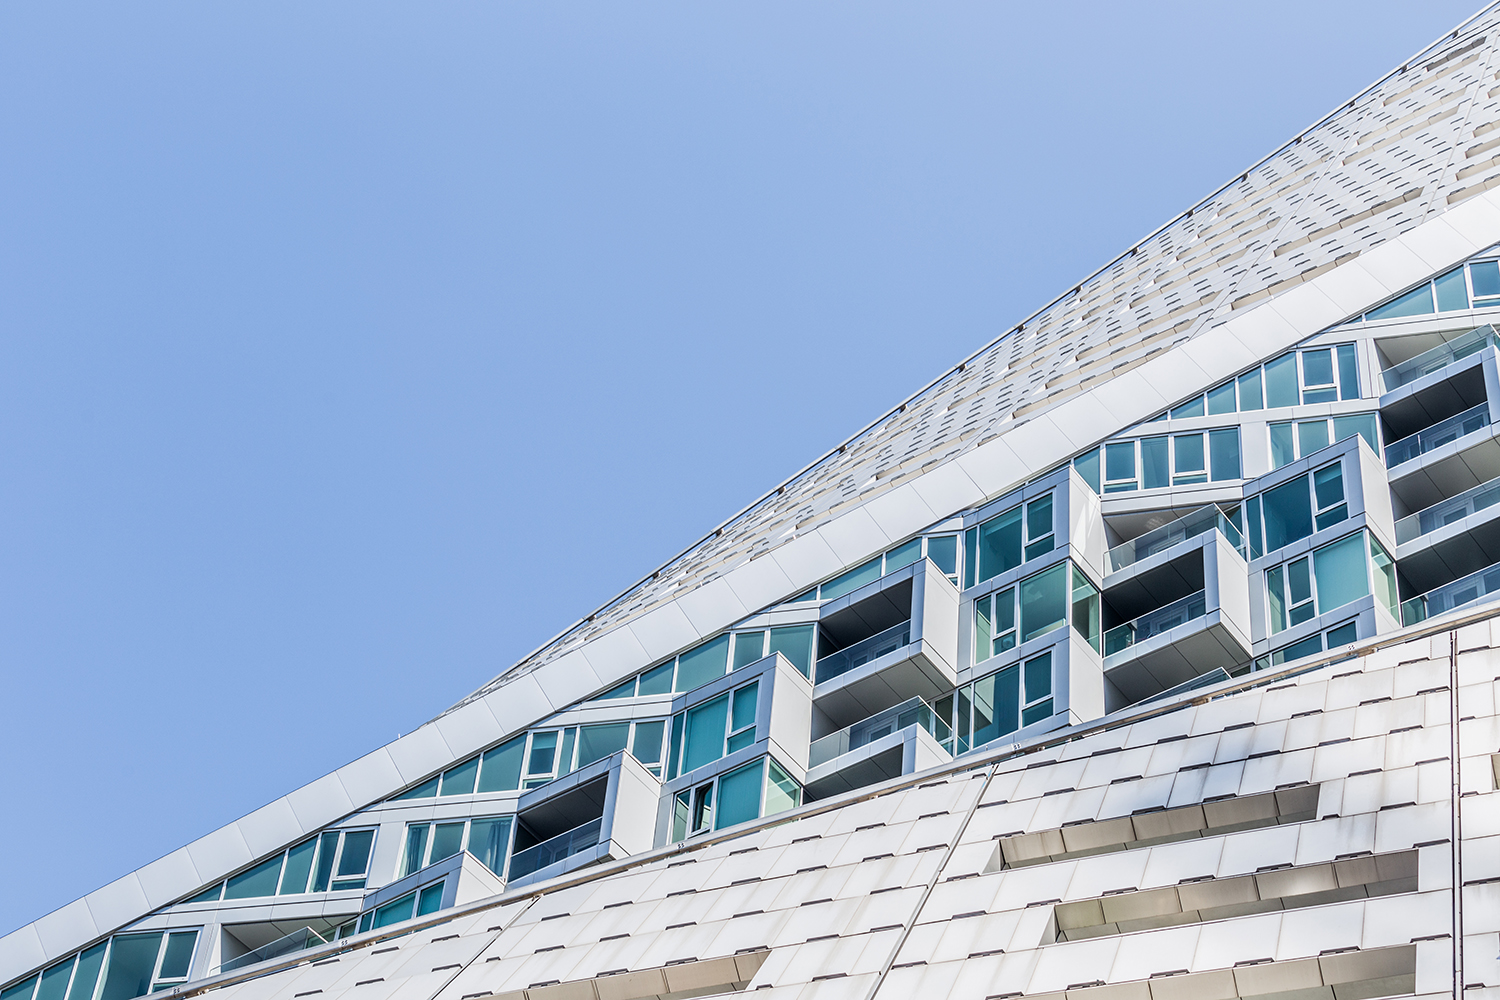
VIΛ 57WEST, New York City
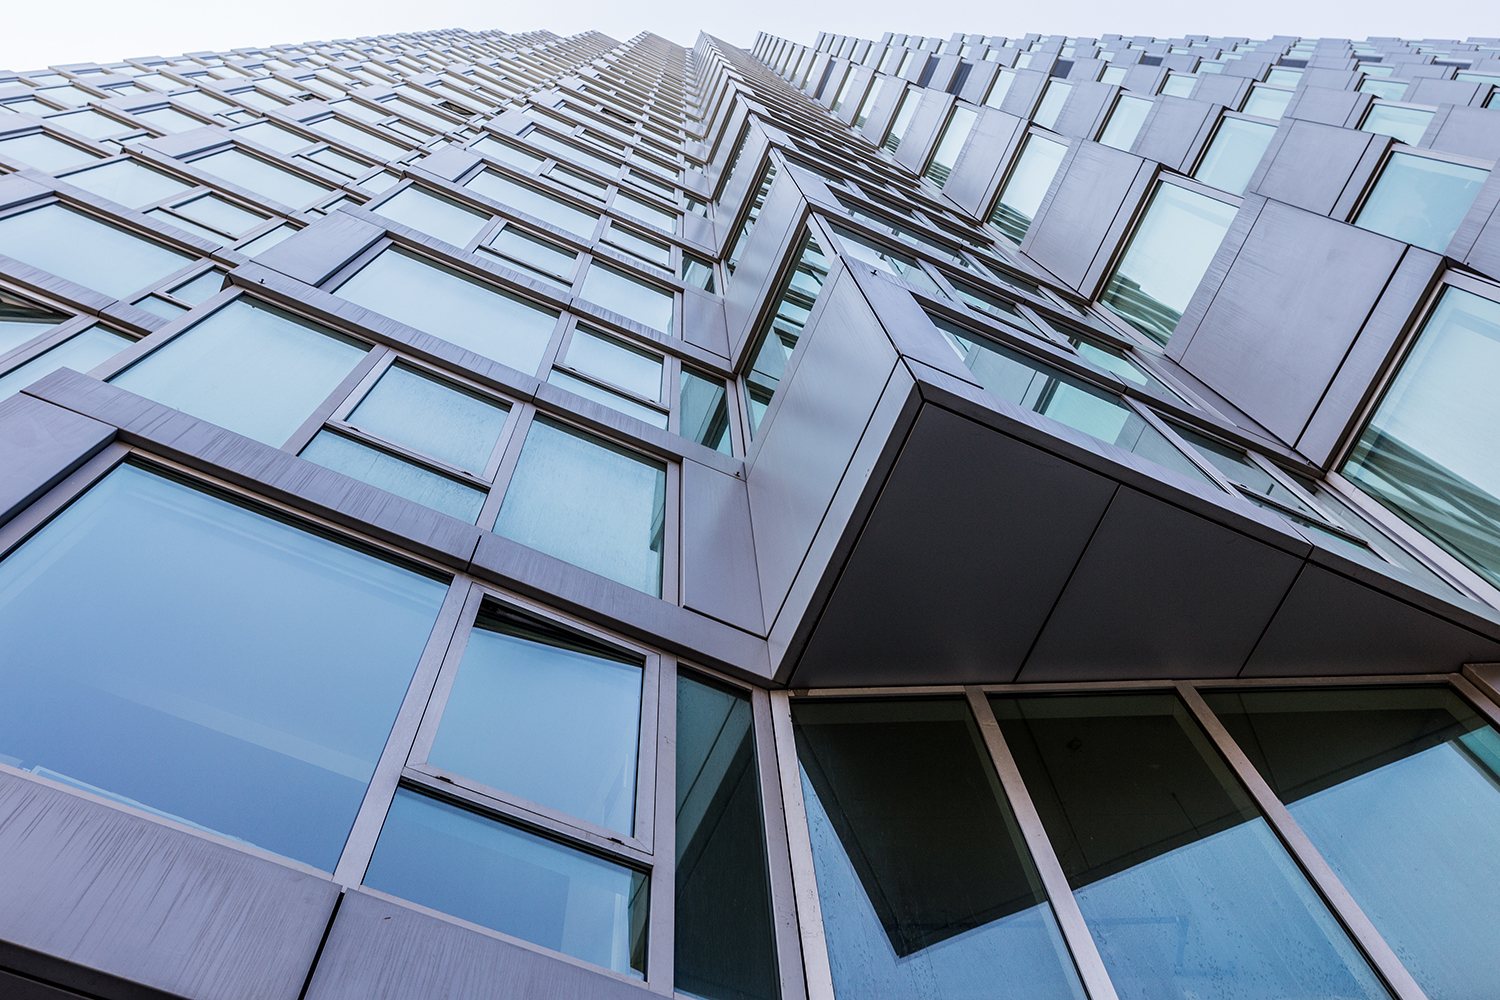
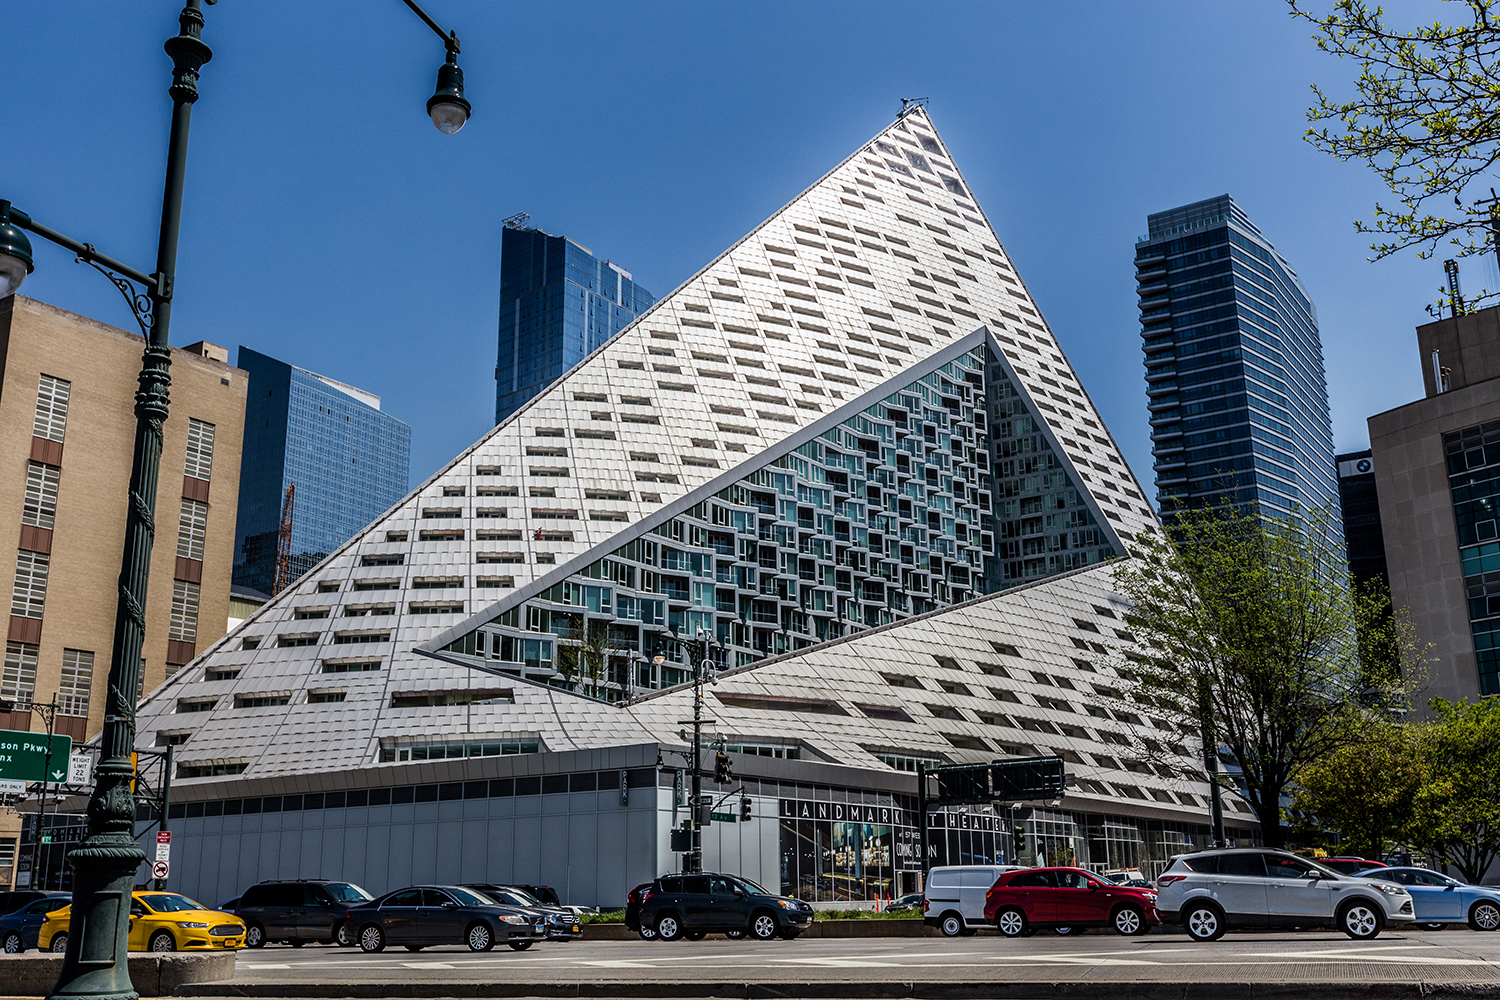
On a recent class I took at ICP, one of the assignments was to shoot a modern building of our choice, exploring the various angles and details. As soon as I've heard the words I already knew which one I wanted to photograph.
The VIΛ 57WEST is one of NYC’s newest residential buildings, located in Hell’s Kitchen, Manhattan, and was designed by the Danish architecture firm Bjarke Ingels Group (BIG).
