[BTS] Foggy Nights

This is a series where I post one image at a time, and share a story “Behind The Shot”, that could be something technical, a challenge, or just an anecdote from the day of. Feel free to explore past entries by clicking here.

This is one of those cases where we have a picture in our minds and have to wait for the perfect conditions to get it. I’ve always been obsessed with looking at photographs of NYC covered in fog, specifically the bridges, which are by far some of my favorite subjects to shoot in the city. It all happened back in 2018, on a foggy night just before summer started. The forecast was predicting another foggy night and I decided that was finally going to be the day where I’d be able to shoot the world-famous Brooklyn Bridge, at night, covered in the fog. I grabbed my trusty camera, a tripod, and biked down to the bridge as quickly as I could. This is one of the few angles I’ve tried and probably one of my favorite photographs I’ve ever taken of the bridge!

For the fellow Photography enthusiasts out there, here’s the equipment and settings used for this shot:

Fujifilm X-T2 + Fujinon 16-55mm 2.8 • 1s f/4.5 ISO 100


This is one of 10 photographs currently available at my print shot, in case you’re interested:

Just click here to see more details.


If you enjoy posts like this, you may enjoy the Newsletter I send every two weeks:

.

[BTS] One World Framed

This is a series where I post one image at a time, and share a story “Behind The Shot”, that could be something technical, a challenge, or just an anecdote from the day of. Feel free to explore past entries by clicking here.

When visiting DUMBO, in NYC, 11 out of 10 people like to stop at Washington Street to photograph the classic view of the Empire State Building framed underneath the Manhattan Bridge, even if more than half of those same people don’t even realize that. They are probably just looking to get the bridge in the background. But one day, a few years ago, while walking near the bridge more towards the water, I realized that by looking at the other side, I could actually frame the World Trade Center right underneath the bridge instead, running away from the cliche (that I’m also guilty from, of course) and creating an equally interesting image, if not even more. What do you think?

For the fellow Photography enthusiasts out there, here’s the equipment and settings used for this shot:

Fujifilm X-T2 + Fujinon 16-55mm 2.8 • 1/500 f/6 ISO 500


This is one of 10 photographs currently available at my print shot, in case you’re interested:

Click here to see more details.


[BTS] Snowed Under

Starting a new series today where I’ll be posting one image at a time, and sharing a story “Behind The Shot”, that could be something technical, a challenge, or just an anecdote from the day of. Feel free to explore past entries by clicking here.

I’ve always been fascinated by New York City photographs during a snowstorm, but even though I’ve been living here for 7 years, it was only a couple of years ago that I started to venture myself out with my camera during snowstorms. For this particular shot, I found myself walking around DUMBO (in Brooklyn), and decided to try one of my favorite points of view completely covered in snow, and I couldn’t be happier with what I’ve got. This is looking under the Manhattan Bridge from the Brooklyn side. I rarely process my photographs in black and white, but there’s just something about it that makes it so timeless. You really can’t go wrong with that!

For the fellow Photography enthusiasts out there, here’s the equipment and settings used for this shot:

Fujifilm X-T2 + Fujinon 16-55mm 2.8 • 1/400 f/6.4 ISO 400


This is one of 10 photographs currently available at my print shot, in case you’re interested:

Just click here to see more details.


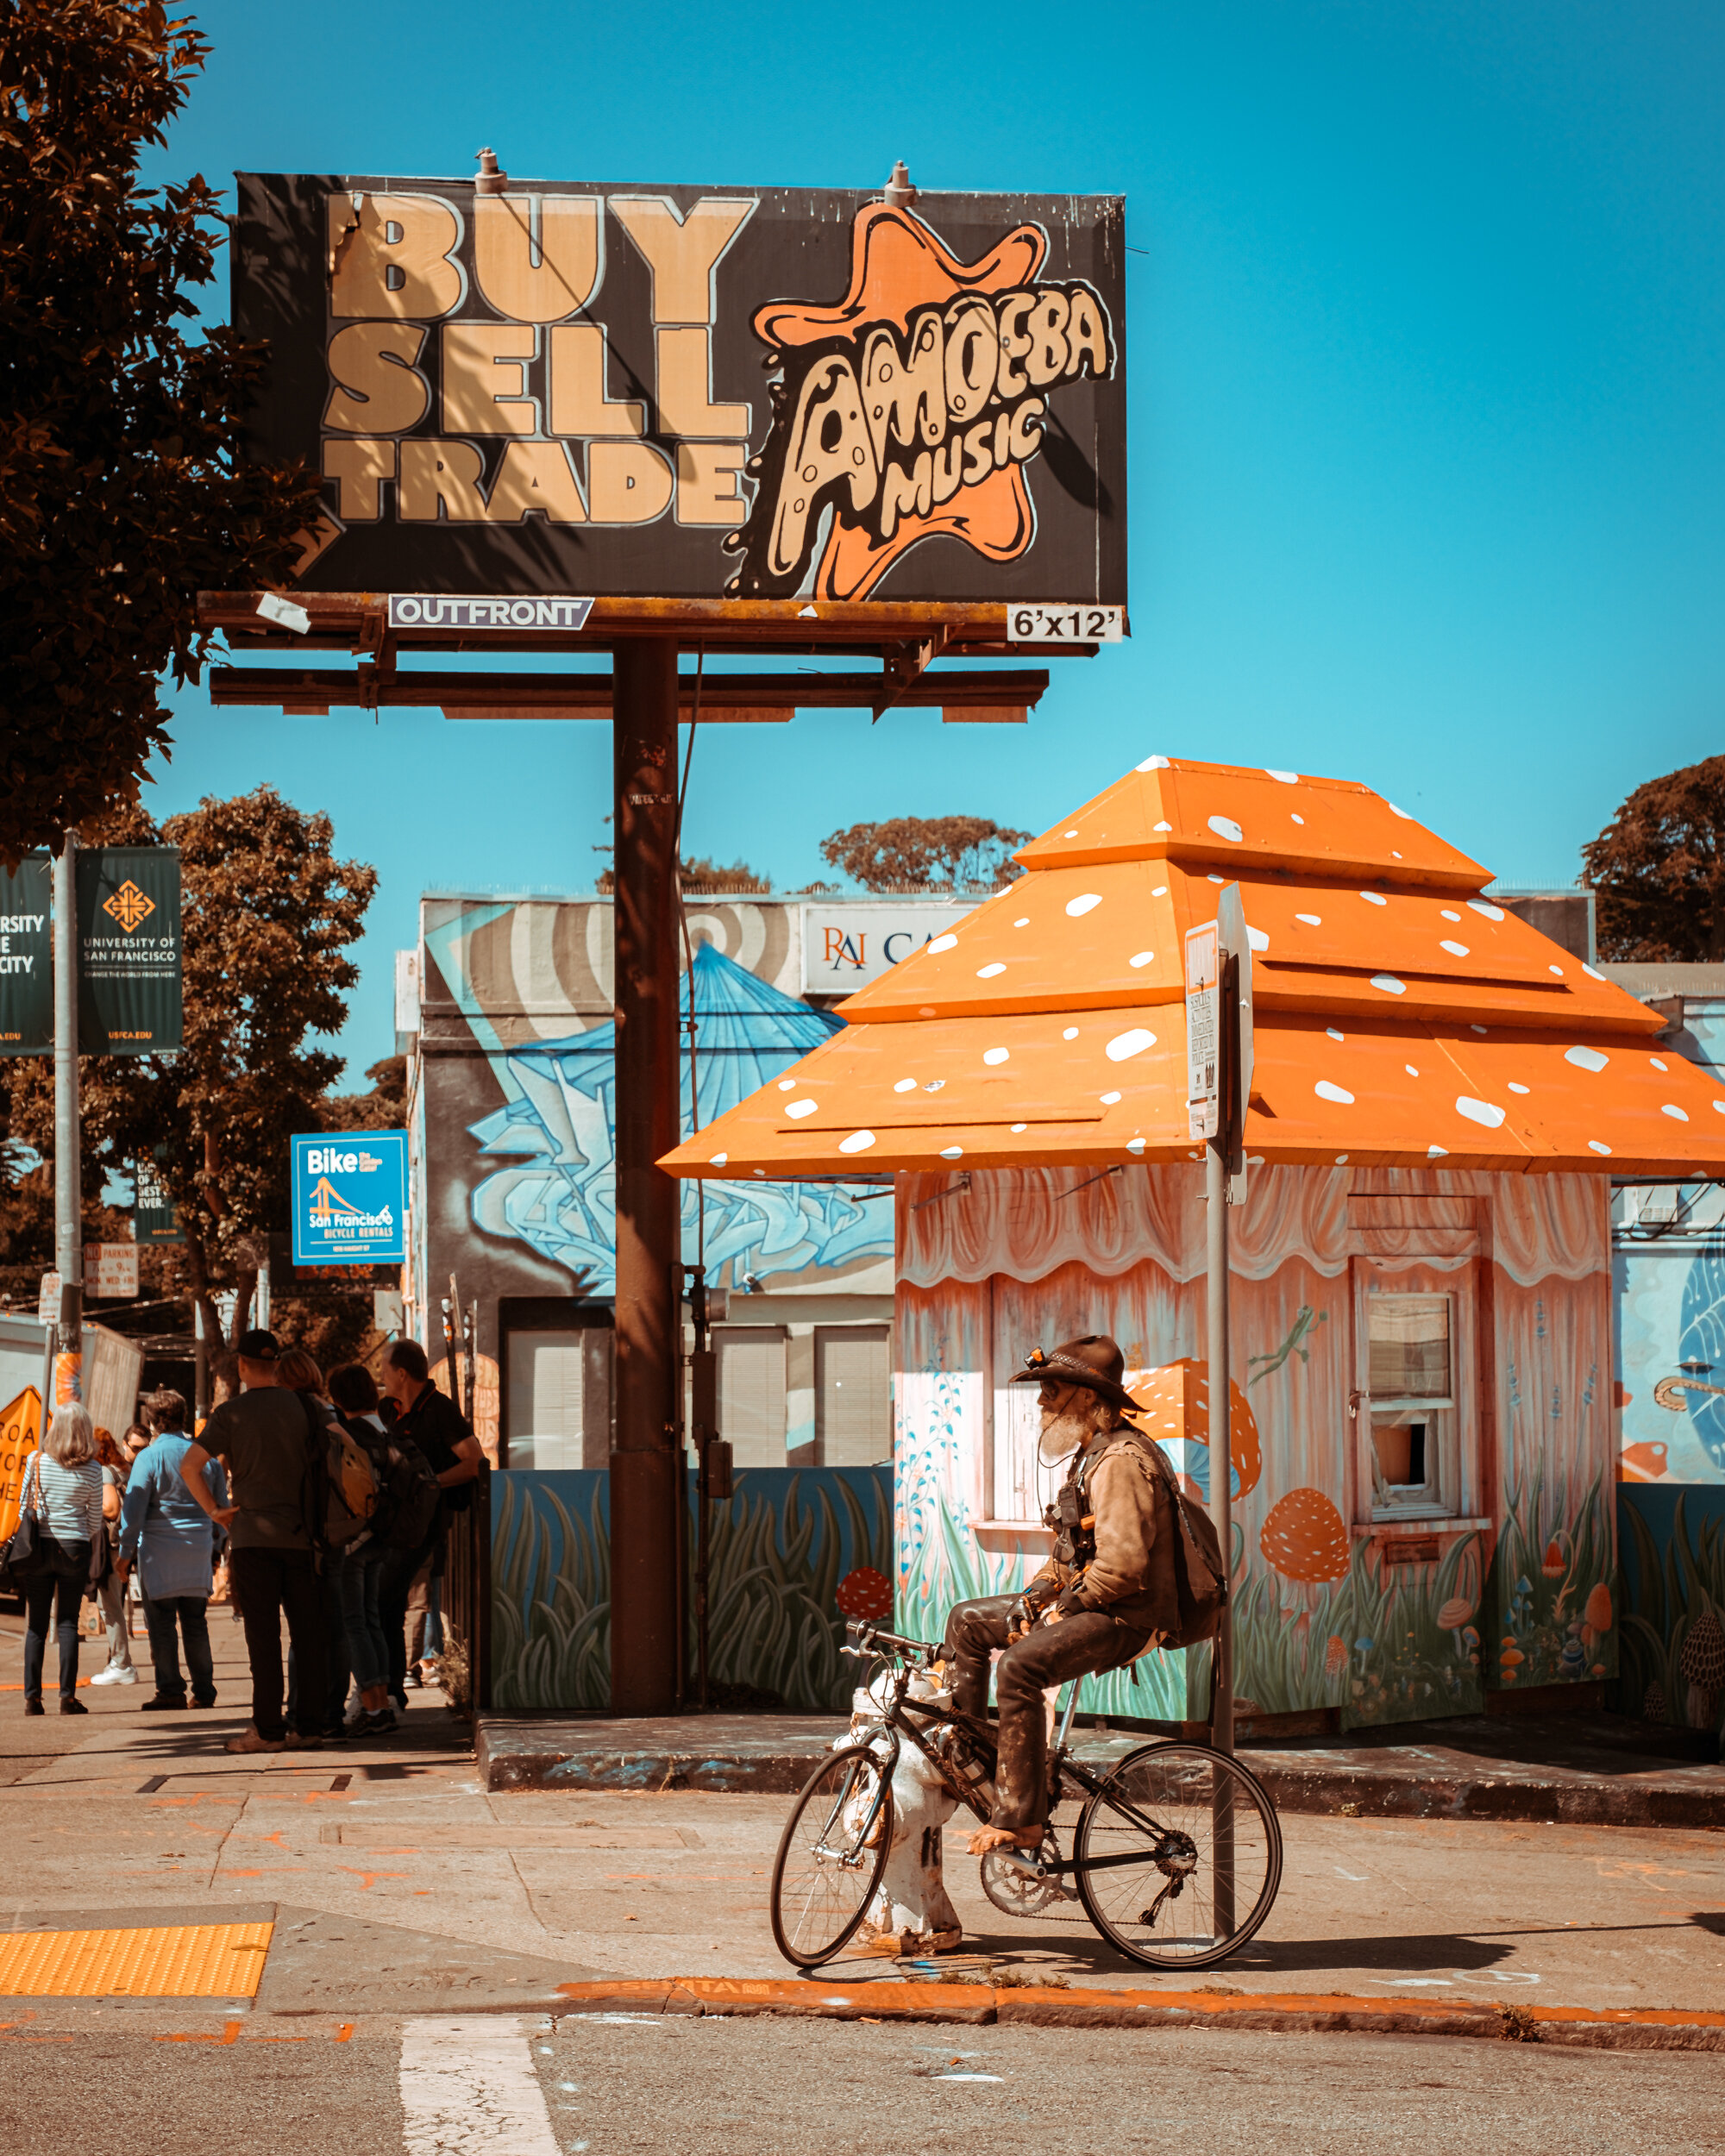
San Francisco with the Fujifilm X-T2

One year ago I went to San Francisco for the first time (disregarding the one time I was in the city for just one afternoon) and coincidentally I’ve been thinking a lot about that trip, maybe because we’re living in a time where traveling seems such a distant concept right now... I had a blast walking around and exploring the city, and realized I haven’t really shared that many pictures from it. So here we go, hope you enjoy it!

DSCF0794.jpg

(All photos taken with a Fujifilm X-T2 + Fujinon XF16-55mmF2.8 R LM WR)


A Quick Guide to Long-Exposure Photography

The Long Exposure is a very popular Photographic technique vastly explored especially by Landscape and Architectural Photographers, but that can be utilized in many other situations as well. By definition, “a long-exposure (or slow-shutter photography) involves using long-duration shutter speed to sharply capture the stationary elements of images while blurring, smearing, or obscuring the moving elements. Long-exposure photography captures one element that conventional photography does not: an extended period of time.”

Basic Camera Settings:

On a Long Exposure photograph, the most important camera setting is your shutter speed, and that is the first thing you should worry about. There’s not an exact number that characterizes a “long exposure”, so that number will change accordingly with the scene you’re photographing and the results you are trying to achieve. If you want to do a panning holding the camera with your hands, 1/15th may do it, but if you are photographing a landscape and want the clouds to blur out, you will want to put the camera on a tripod and expect to let it open for a few seconds, at least. So once you figure out the shutter speed, the other two elements (aperture and ISO) will adapt accordingly. You will probably want to keep your ISO as low as possible, to avoid noise, and the aperture will vary depending on the lens you are using and which part of the scene you want in focus. But remember that every time you change one element, you must adjust the other two to keep your exposure balanced. In order to have full control of all the elements individually, you will want to be shooting in manual mode.

Here’s an image that perfectly illustrates how different shutter speeds can affect the same subject or scene:
1865711_orig.jpg

The Classic Look:

The sunset (and beyond) is probably the preferred time of the day for Photographers attempting to do long exposures, the reason I like to call this “The Classic Look”. That’s when you normally see the clouds moving, the water looking very silky, and sometimes a light trail here and there:

© Leonardo Mascaro • Fujifilm X-T2 + Fujinon XF16-55mm (13s / f 22 / ISO 100)

© Leonardo Mascaro • Fujifilm X-T2 + Fujinon XF16-55mm (60s / f 22 / ISO 100)

Here is another example captured at night, but notice how much faster the shutter speed was, compared to the other images. That’s because bridges are structures that move a lot without us realizing, so a much longer exposure would end up being shaky. In this case, there’s nothing moving on the images, but a longer exposure helped me to capture more light keeping the ISO pretty low and avoiding noise in the photograph:

© Leonardo Mascaro • Fujifilm X-T2 + Fujinon XF16-55mm (1s / f4 / ISO 200)

© Leonardo Mascaro • Canon 6D + Canon 16/35mm (3.2s / f 5.6 / ISO 100)


Zooming In and Out:

For this series, I used the technique of zooming the lens in or out, while the shutter remains open, but in this case, I was holding the camera with my hands and had a much faster shutter speed. Because I couldn’t use a much longer shutter speed, I had to use a wider aperture and much higher ISO, to keep the exposure balanced:

© Leonardo Mascaro • Fujifilm X-T2 + Fujinon XF16-55mm (1/30 / f 2.8 / ISO 800)

Here are two very different shots taken with the same camera settings from the exact same spot. I always like to show these two together as an example of how the exact same scene, with the exact same camera settings, can offer you such diverse results. It’s all a matter of being creative and trying different things:

© Leonardo Mascaro • Fujifilm X-T2 + Fujinon XF16-55mmF2.8 (10s / f 16 / ISO 200)

© Leonardo Mascaro • Fujifilm X-T2 + Fujinon XF16-55mmF2.8 (10s / f 16 / ISO 200)


Double Exposures:

By now you probably know how much I love Double Exposures, right? So, of course, I’ll take the opportunity to use it anywhere I can. Here are two examples combining Long Exposures with Double Exposures, in the first case blurring the second shot, and in the second image zooming out during the second shot:

© Leonardo Mascaro • Canon 6D + Canon EF 70-200 2.8 (30s / f 22 / ISO 100)

© Leonardo Mascaro • Canon 6D + Canon 16-35mm (1s / f 22 / ISO 100)


Light Painting:

This is my first and only attempt of doing “light painting”, which consists of using handheld lights to paint and/or draw in a scene while the shutter of a camera is left open during a long exposure. Back then I didn’t have a remote control or an app on my phone to control the settings, so the longest I could keep my shutter open was 1 second, which was enough to capture some of the action in a decent way.

© Leonardo Mascaro • (1s / f 4.5 / ISO 100)


Infra-Red:

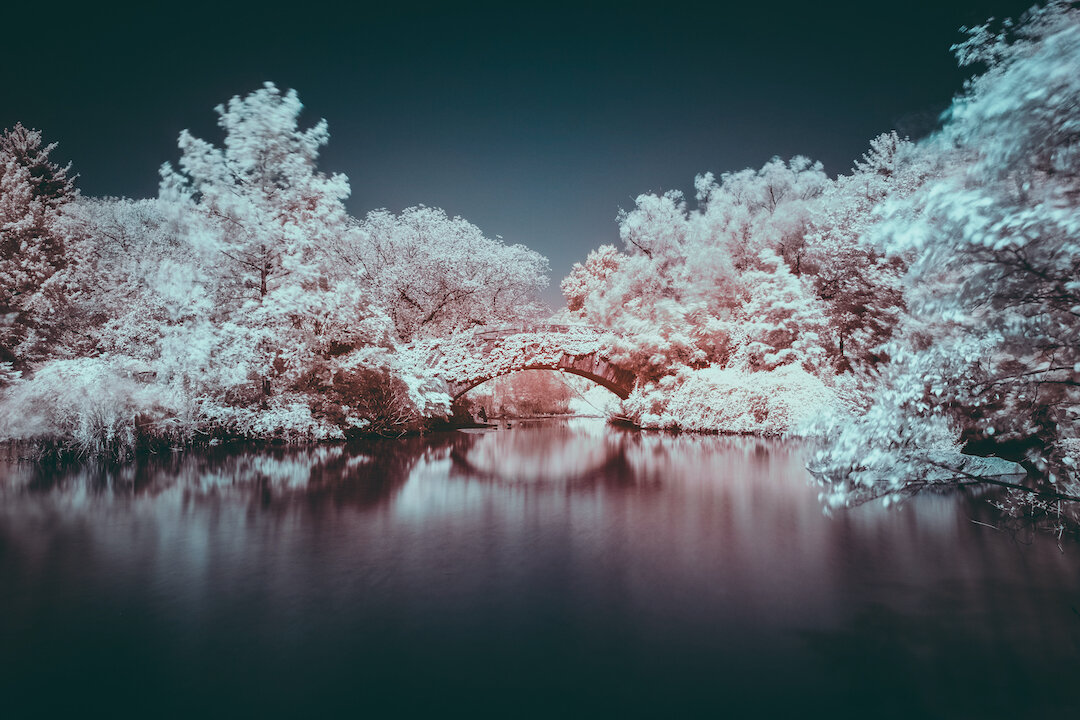
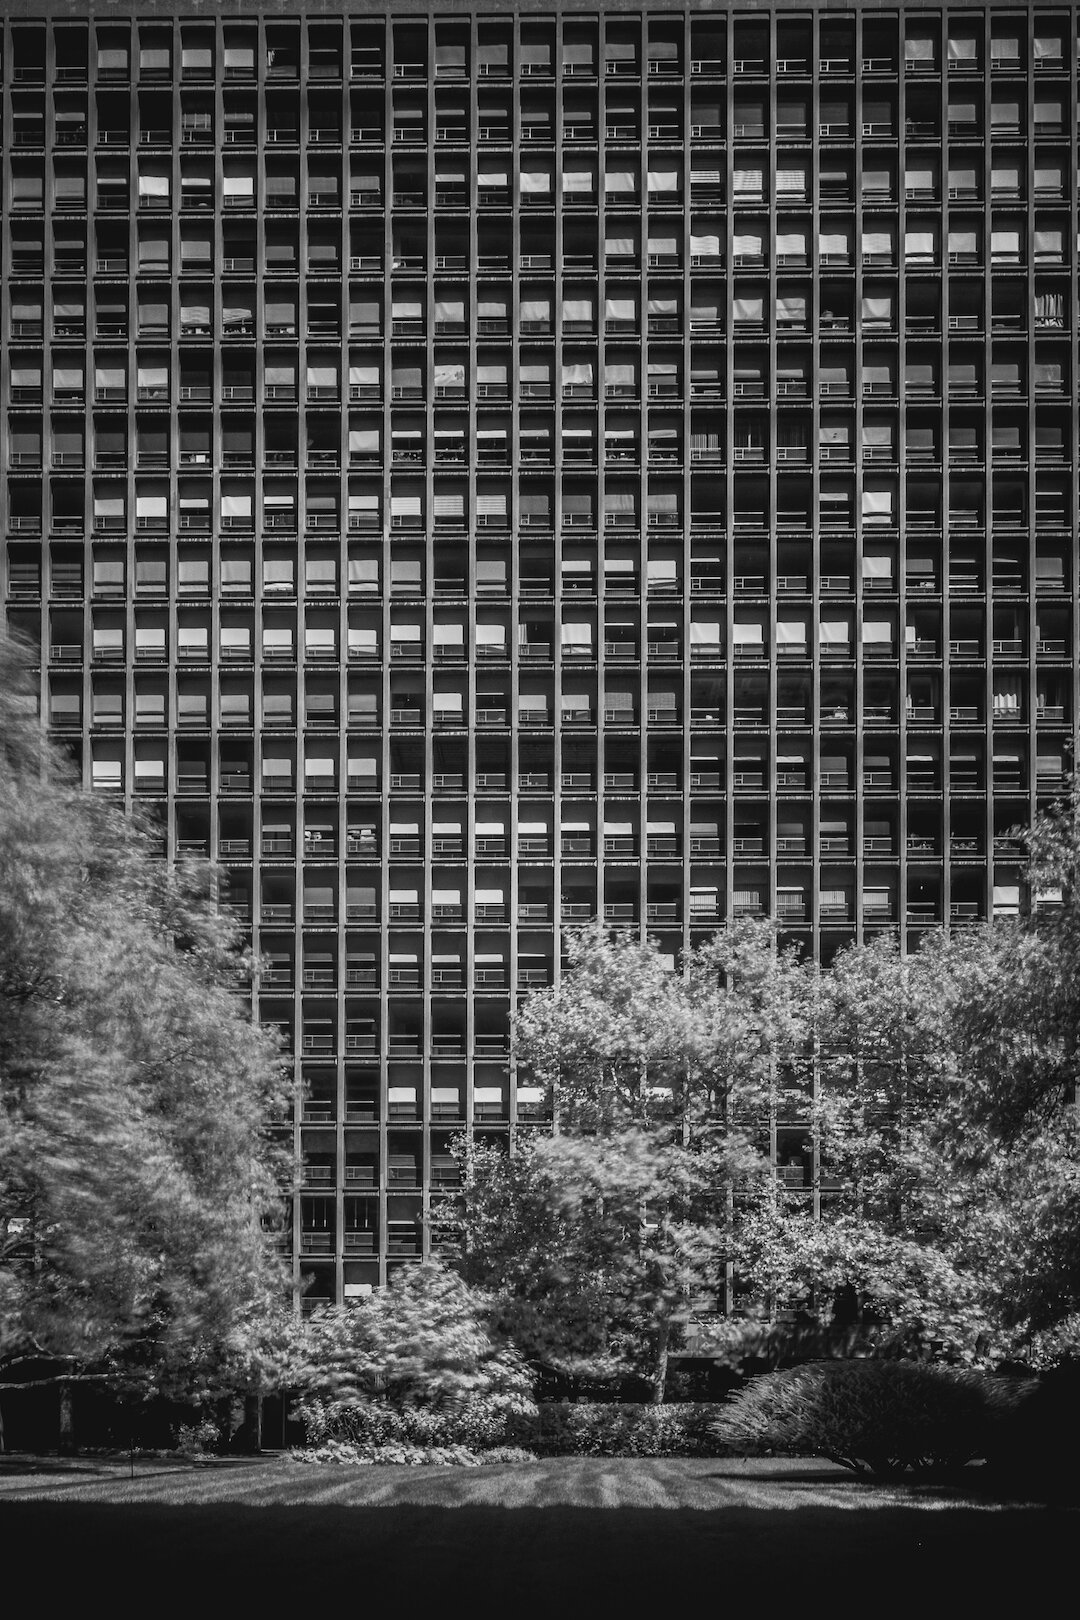
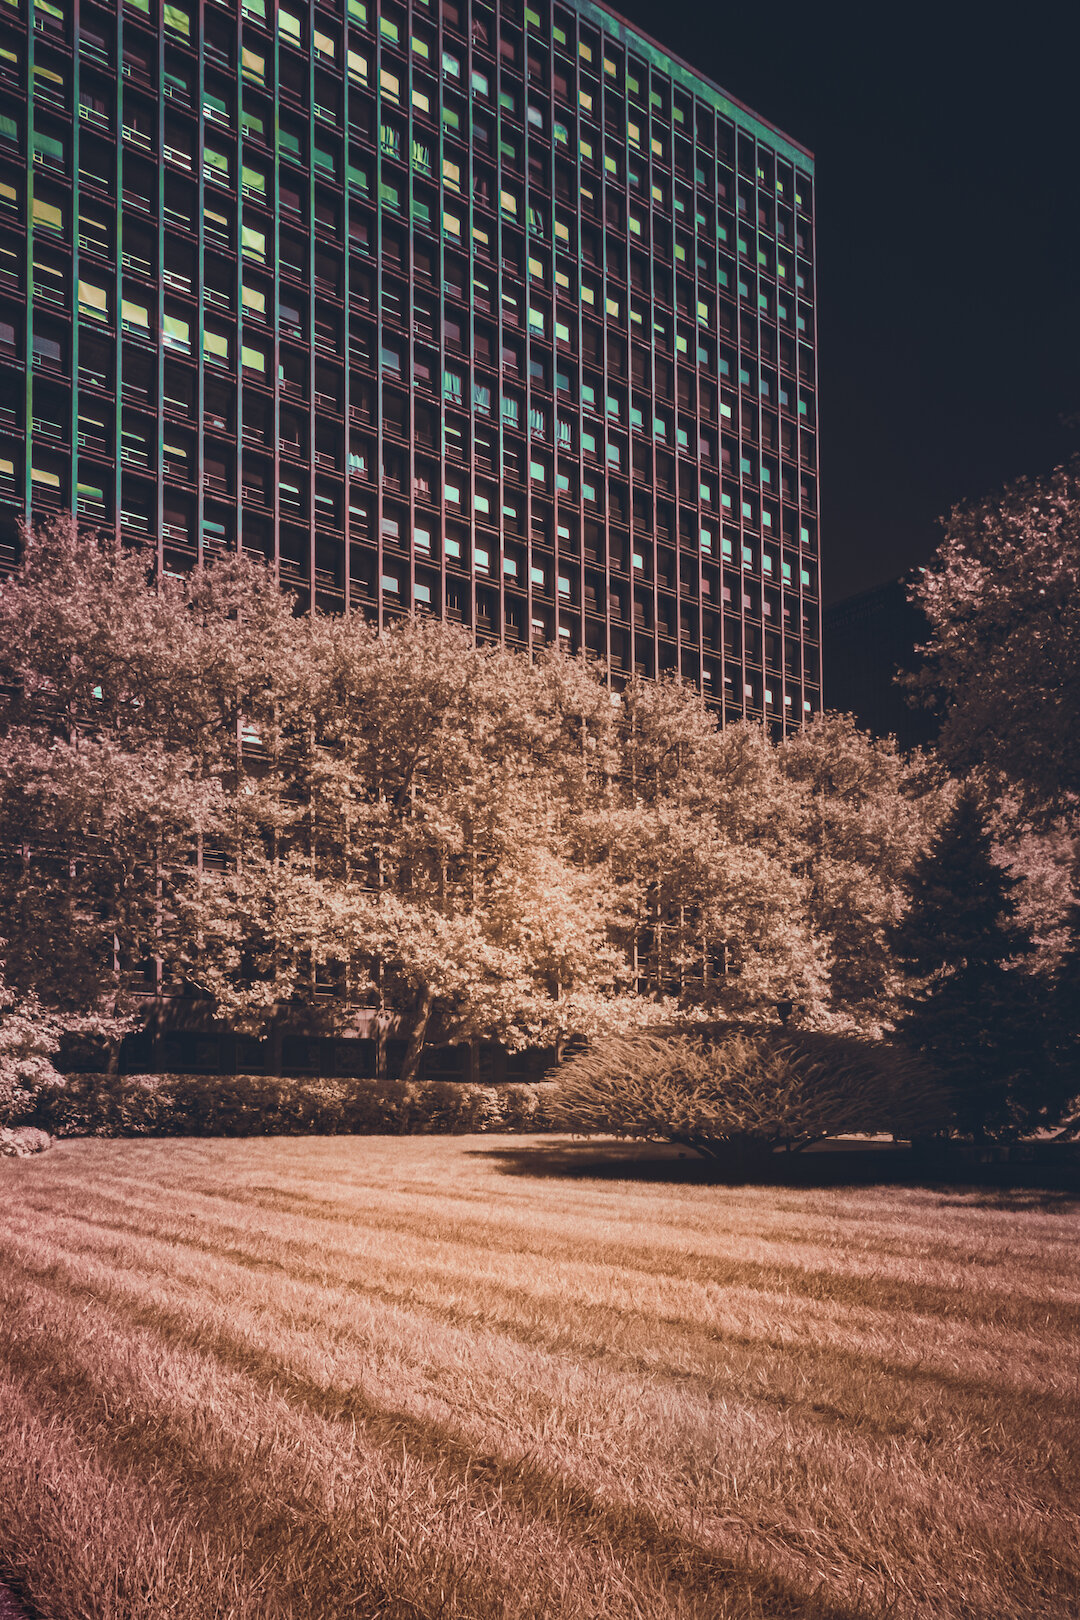
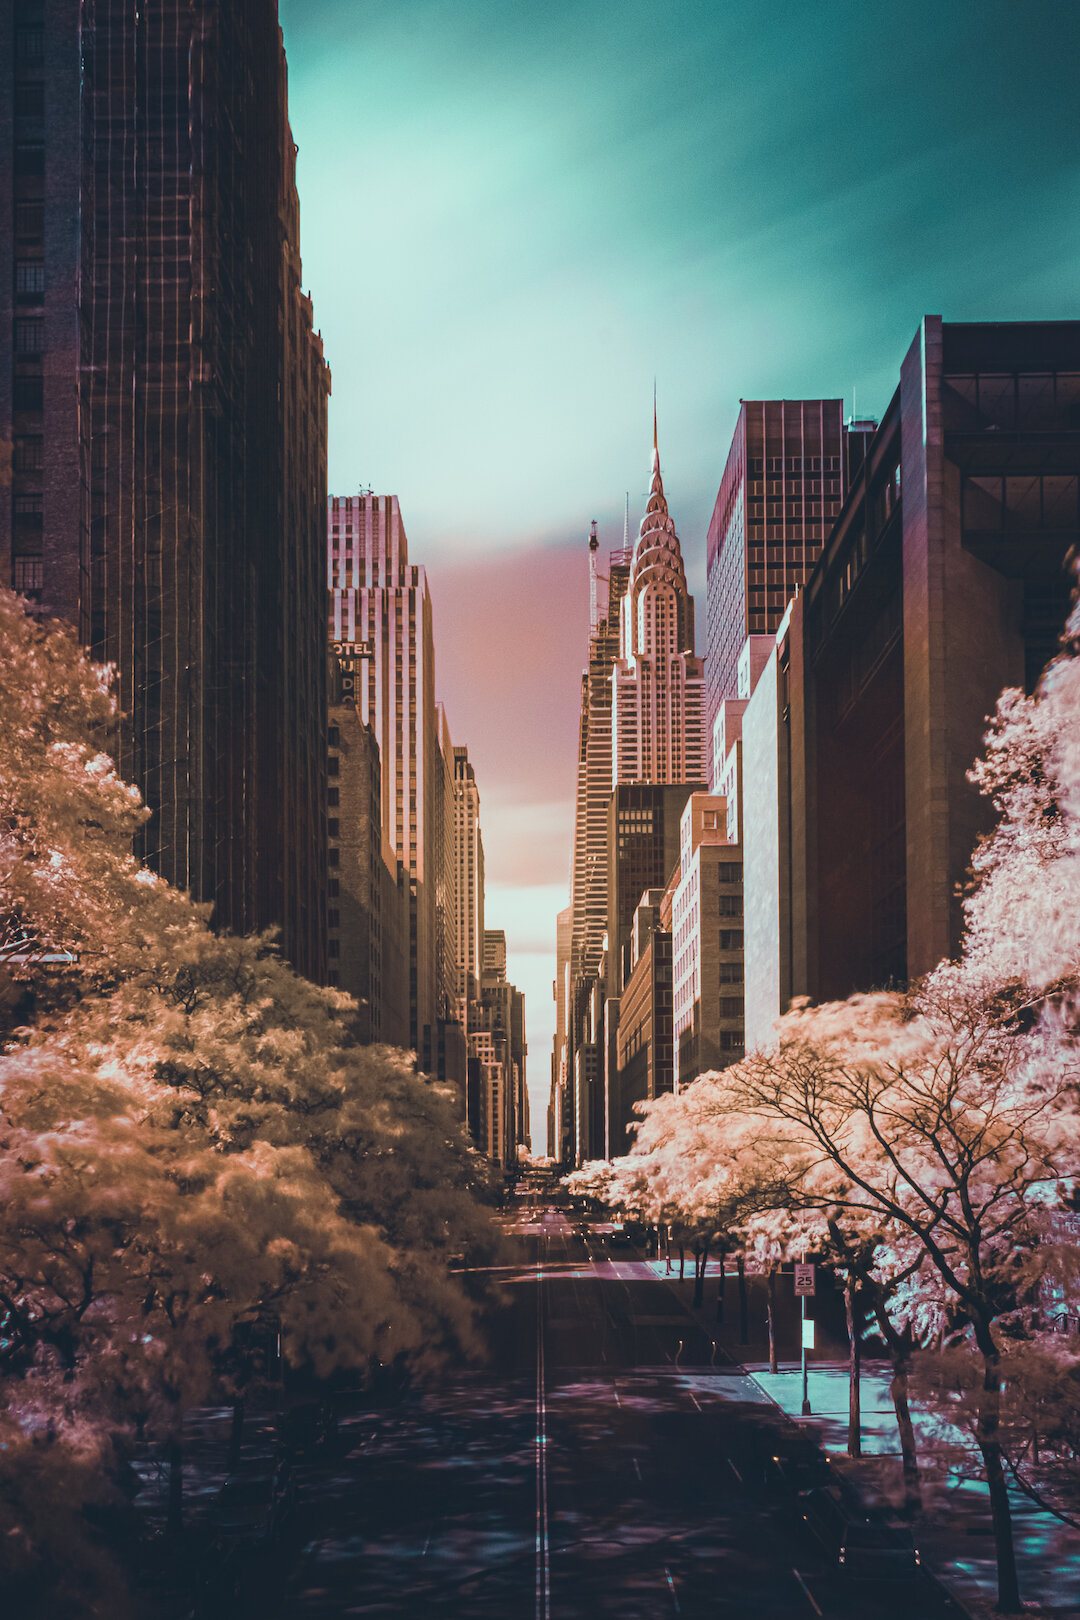
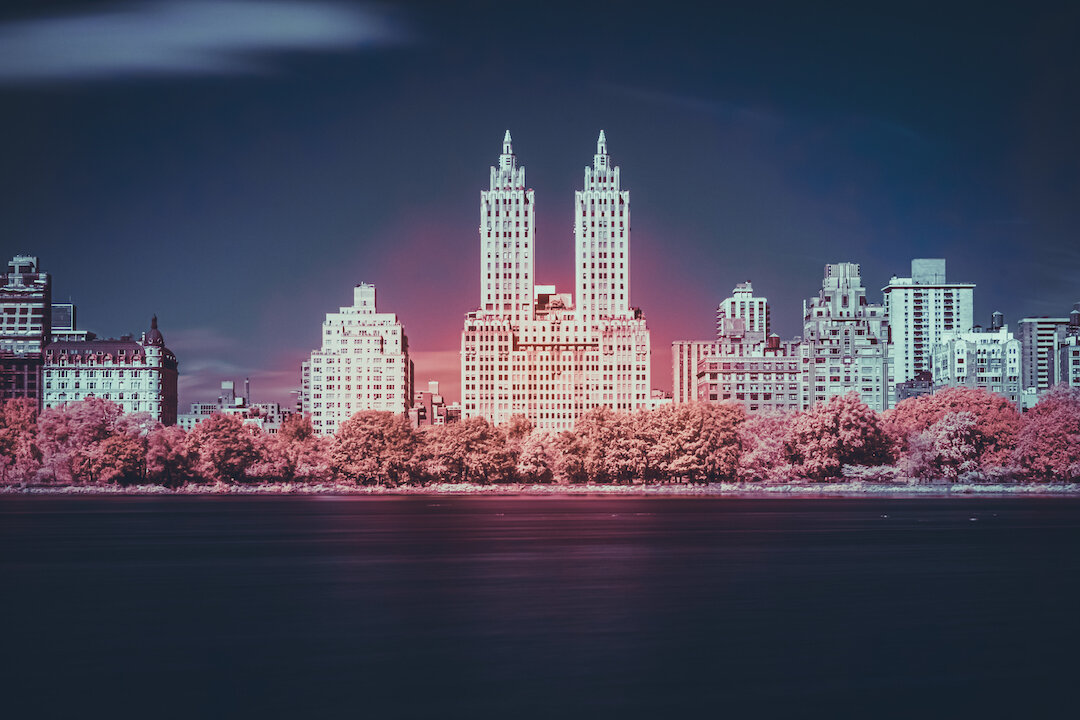
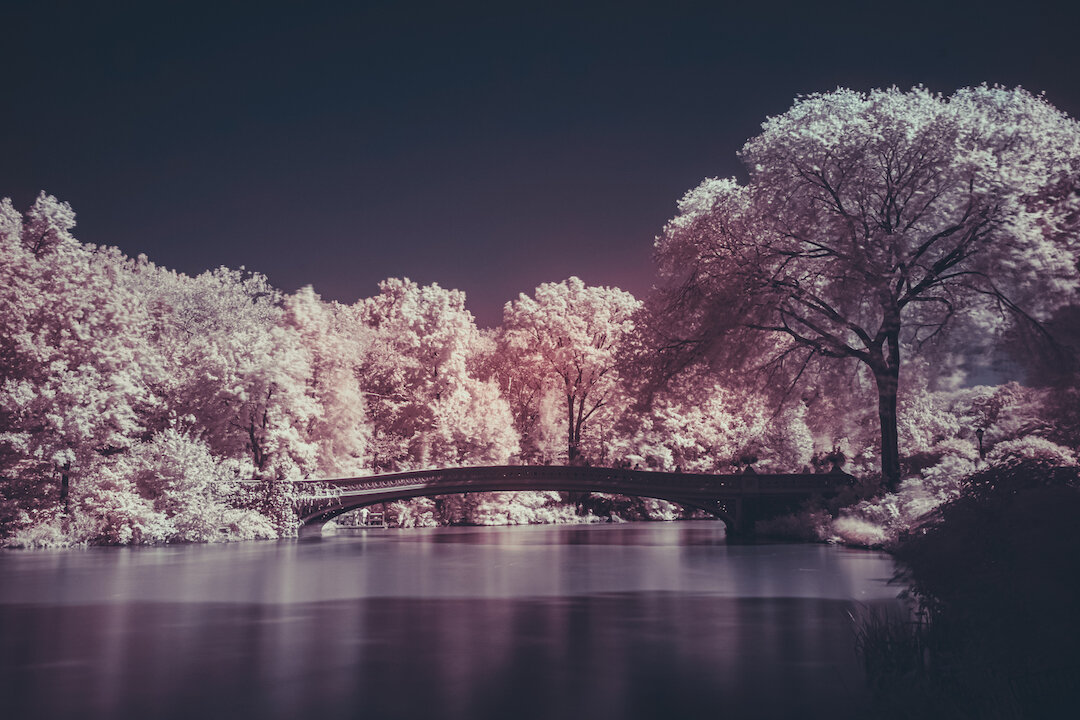
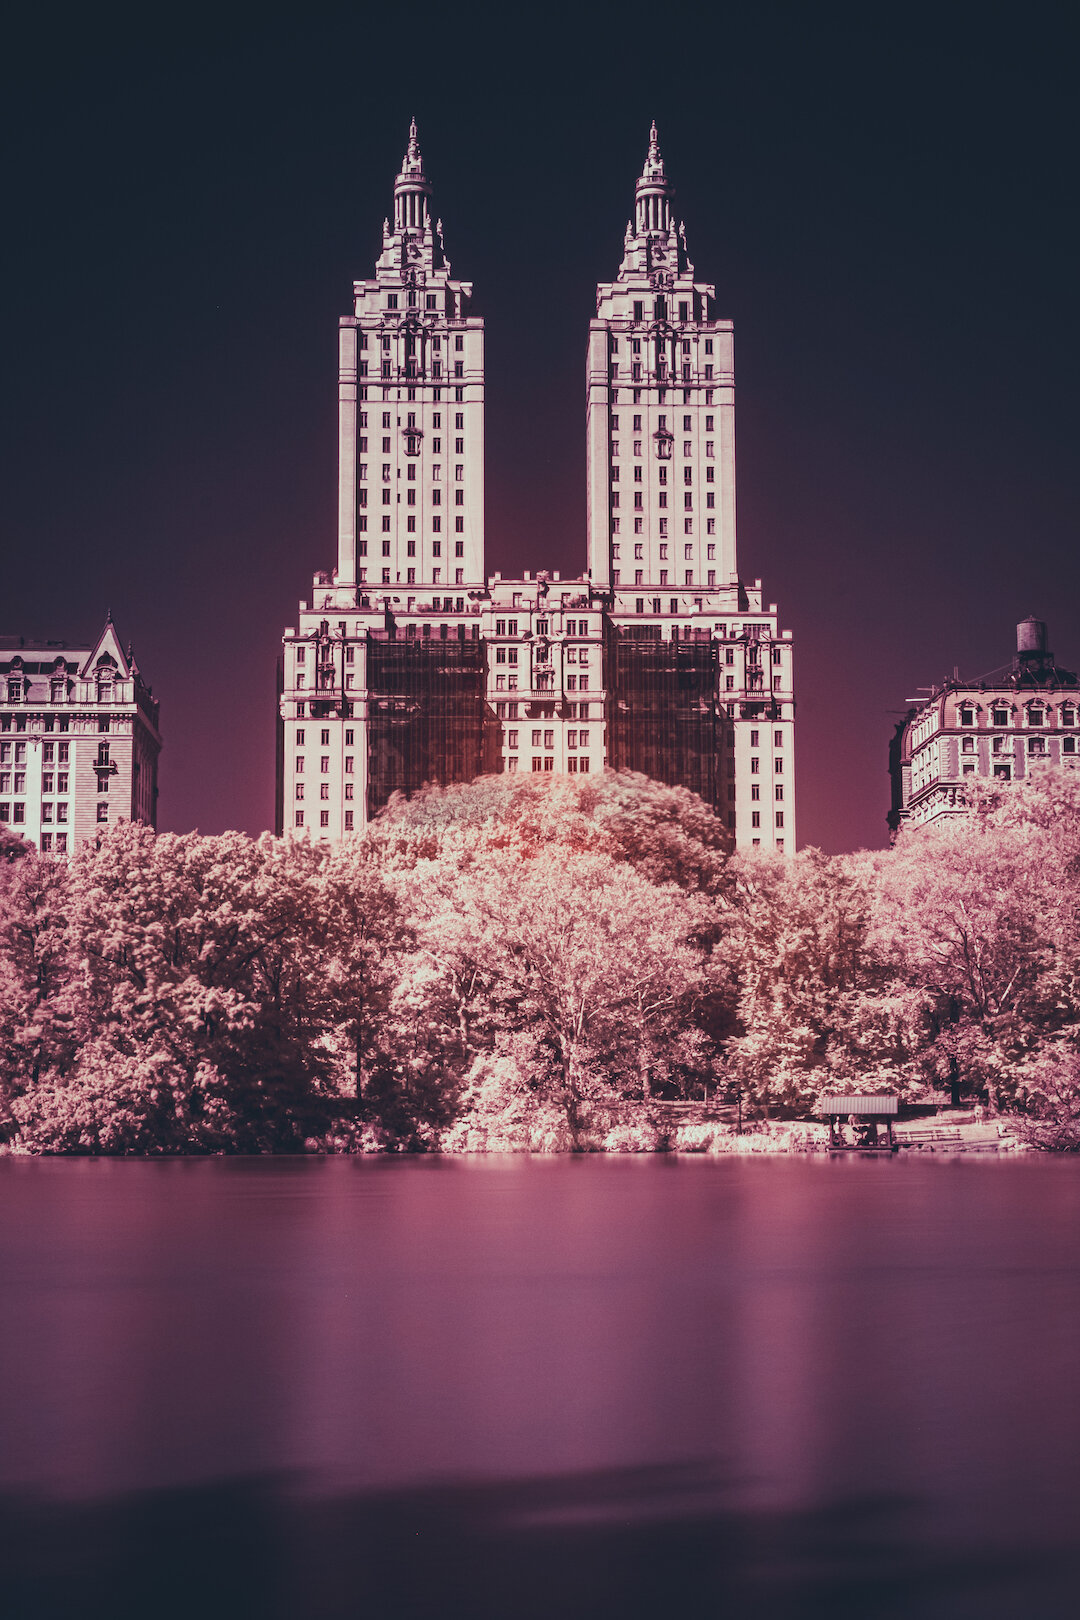
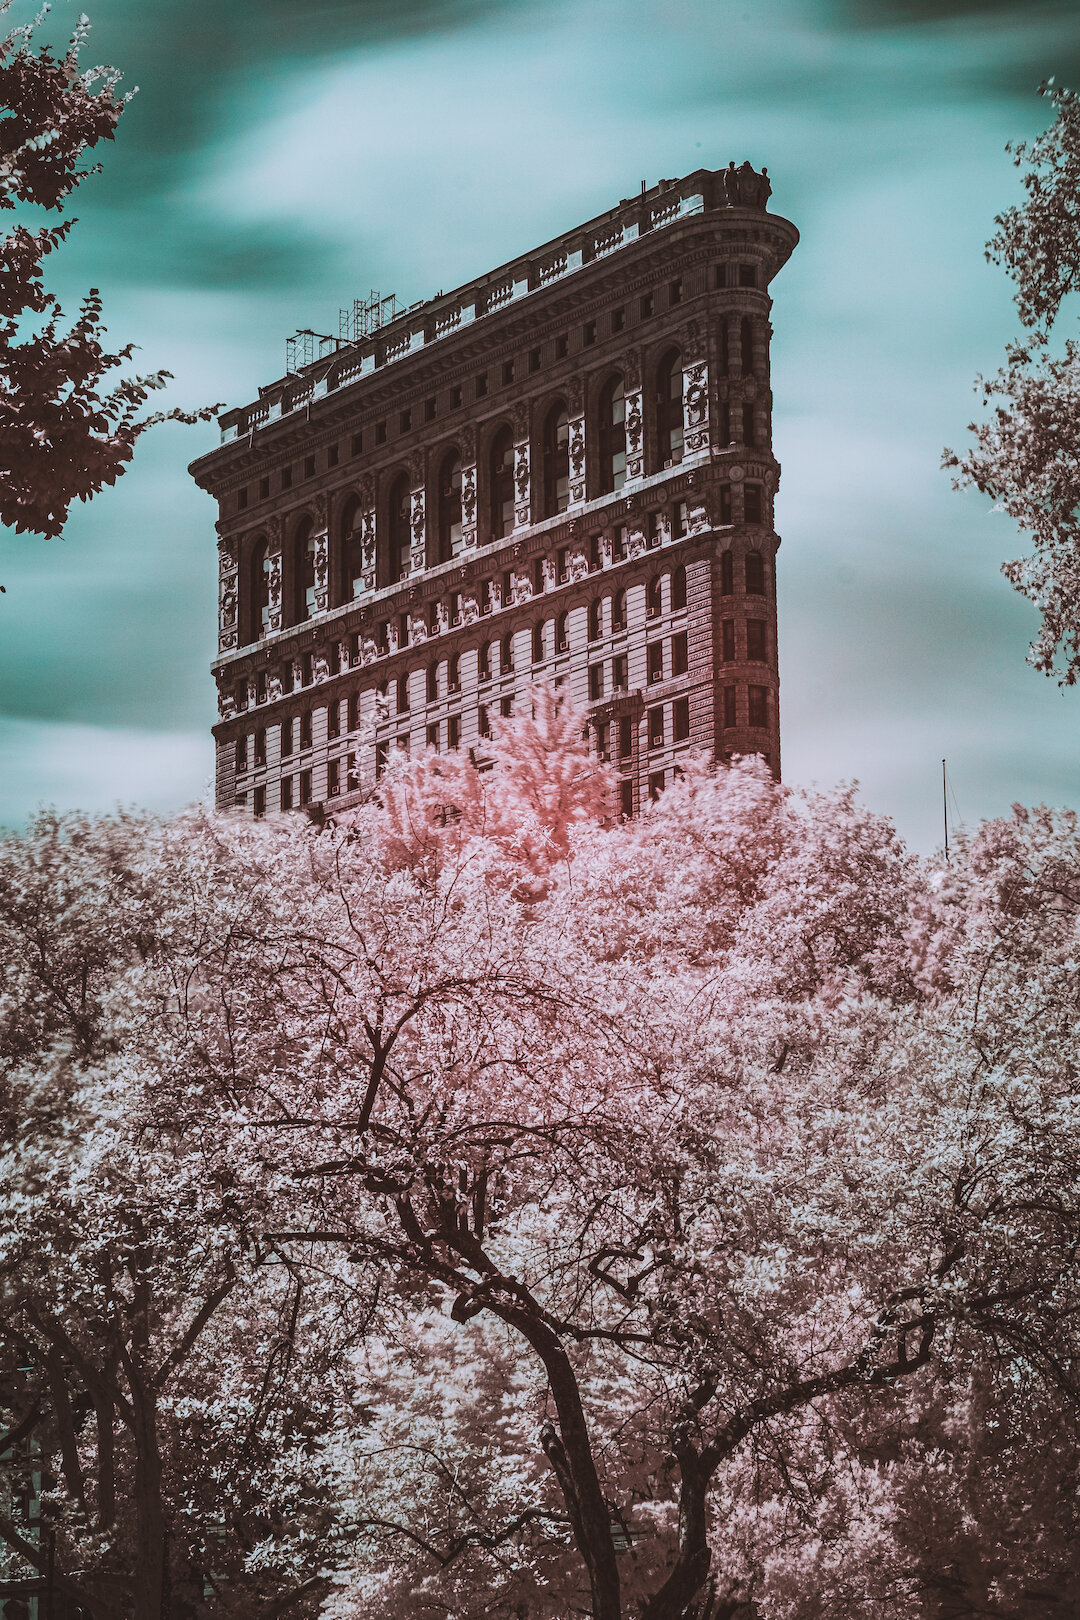
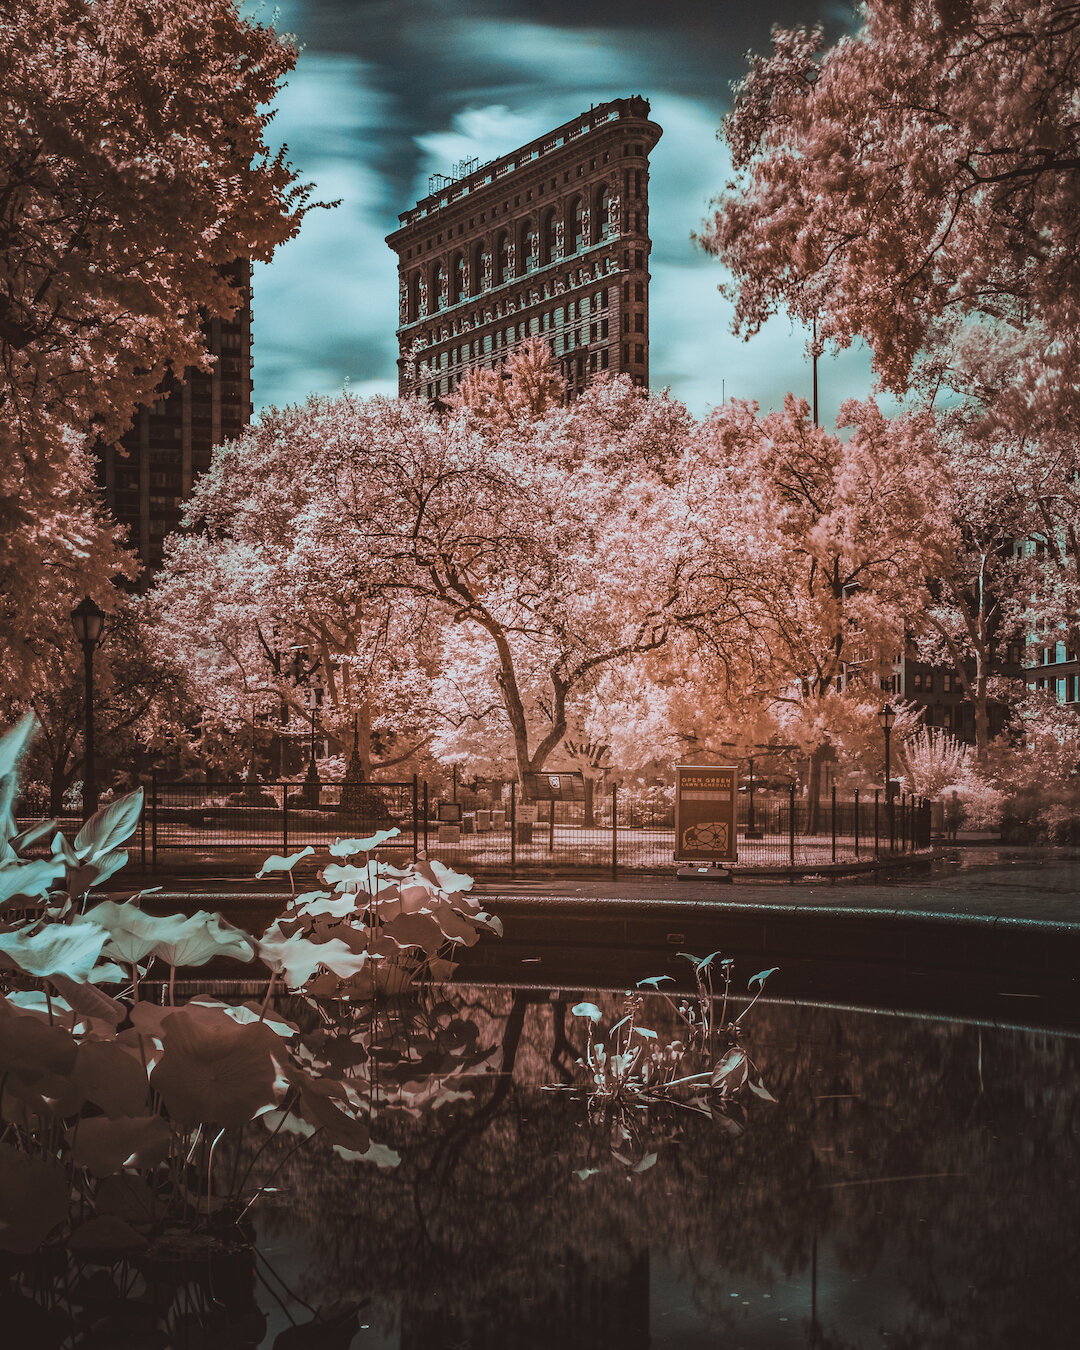
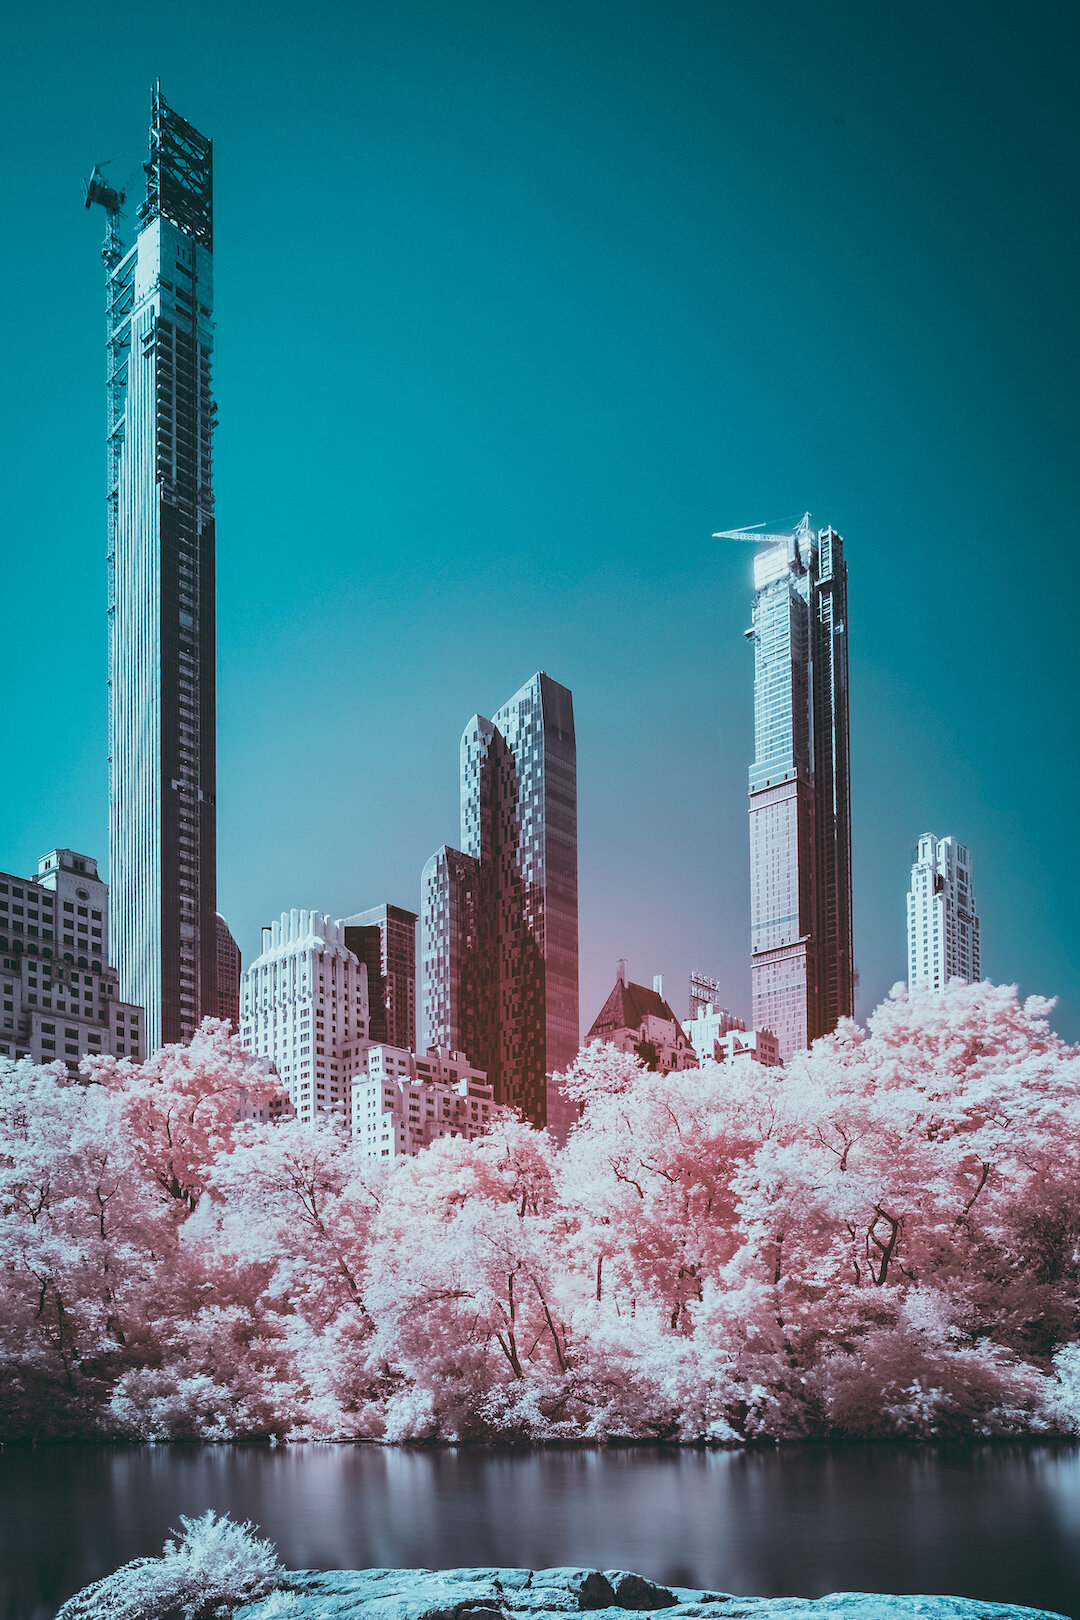
These next two shots were taken using an effect called Infrared, which it’s basically the ability of your camera to see light in a much longer range than our eyes can see. This can be obtained by using infrared film, infrared filters (attached to digital cameras), or by converting the sensor of a camera to be always seeing light like this. These were taken using an infrared filter in front of the lens, and because the filter cuts all the usual lighting, you are forced to do very long exposures to be able to capture enough lighting passing through the sensor. The final results are timeless black and white images, or the more dreamy ones, sometimes referred to as “false-color”:

© Leonardo Mascaro • Fujifilm X-T2 + Fujinon XF16-55mm (60s / f 16 / ISO 400) with an infrared filter.

© Leonardo Mascaro • Fujifilm X-T2 + Fujinon XF16-55mm (30s / f 11 / ISO 200) with an infrared filter.

You can see more examples of Infra-Red Photography by clicking here.


Photography Gear:

So here’s the basic gear that you’ll need to get started with Long Exposures:

  • A Camera that allows you to control the settings manually. This is the camera that I currently shoot with.

  • A Tripod, to keep your camera steady. You want every still object to remain still, and all the moving parts to be captured moving. This is the tripod that I currently use. Not the strongest or tallest one, but it gets very compact and light, perfect to carry around and bring with you when traveling. Make sure you get a tripod that will properly hold the weight of your camera + lens combo.

  • A Remote Control / a remote trigger / or even an app on your phone that can control your camera. Anything that you can use to avoid you having to press the shutter because even that can cause the camera to shake and ruin your picture. If you don’t have access to a remote or an app on your phone, you should at least use the timer on your camera to delay the shutter to go off a few seconds after you press the button.

  • A Neutral Density filter, known as “ND" - these are used to reduce the amount of light that gets to the camera, allowing you to do long exposures in bright sunny days. Think of it as putting sunglasses in front of your lens.

  • An Infra-Red filter, if you plan to experiment with that, this is what I use. Make sure to double-check the size of your lens before buying.

  • And a lot of Patience! Just imagine that you may be spending a couple of hours on the same spot, trying to nail the shot by repeating various long exposures until you get the perfect one.


Final Thoughts & Inspiration:

Whether you are a beginner, intermediate or advanced, a hobbyist or a professional, Long Exposures are still a great way to practice Photography and learn (even) more about your camera, as it constantly makes you think about all the different settings and forces you to slow down and think about all the aspects of your image. To finish things off, here are a few of the Photographers that inspire me every time I think about Long Exposures:

  • Bryan Minear, who has a very classic look but with GORGEOUS color processing, which I’m very attracted to.

  • Clive Carpenter, proving that you don’t always need a breathtaking landscape or intriguing architecture to create interesting long exposures.

  • Susan Magnano, who does incredible light paining on landscapes and urban environment;

  • Marc Koegel, with a dramatic black and white look, achieved a lot by very intense post-production;

  • And last but definitely not least, Reuben Wu, who does an extraordinary job mixing up Landscapes with Light Painting.


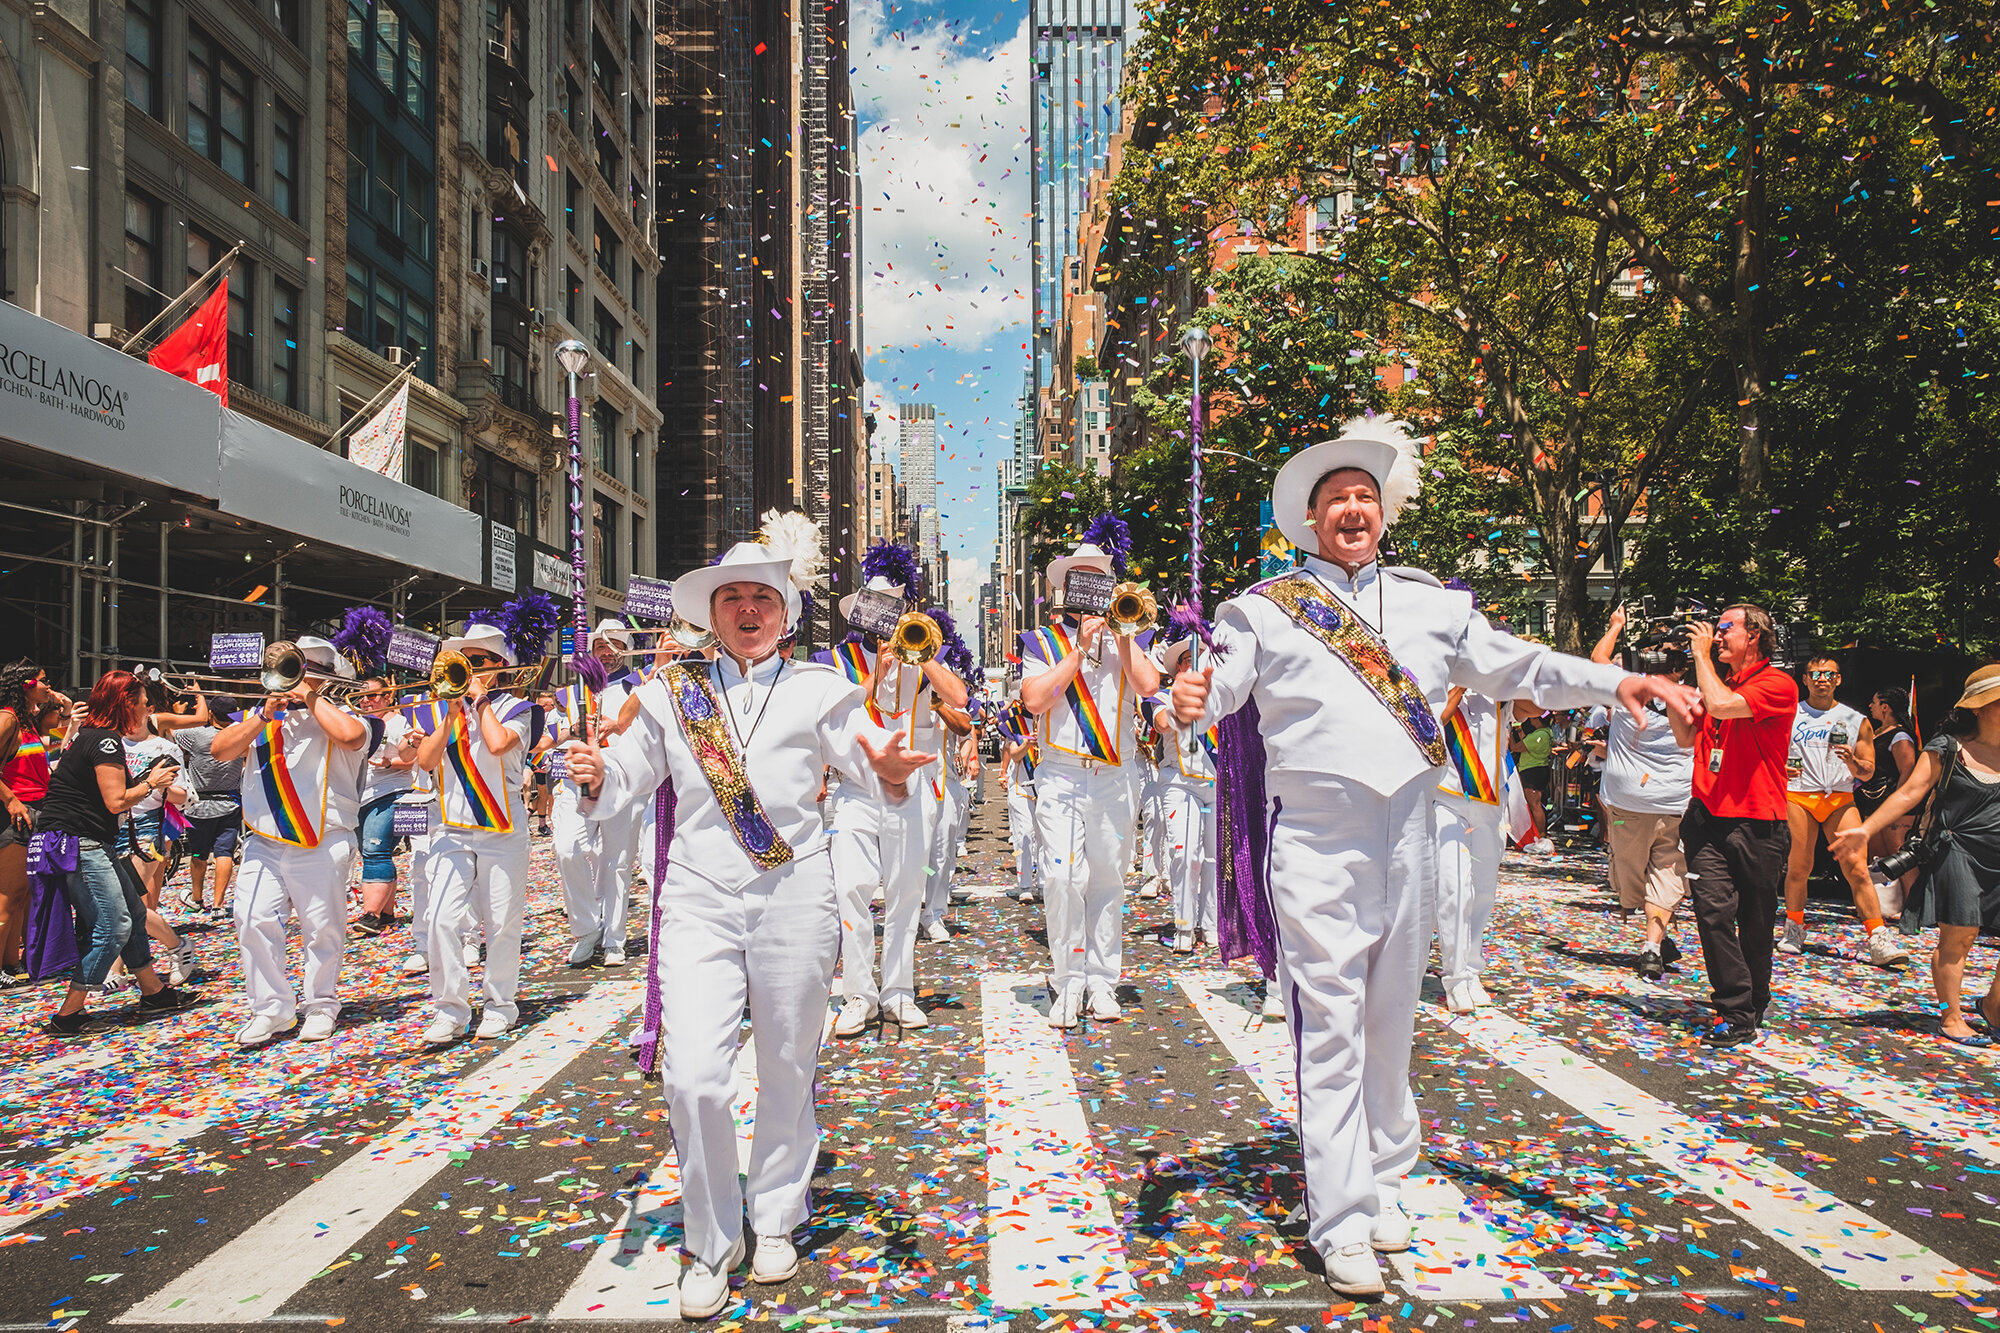
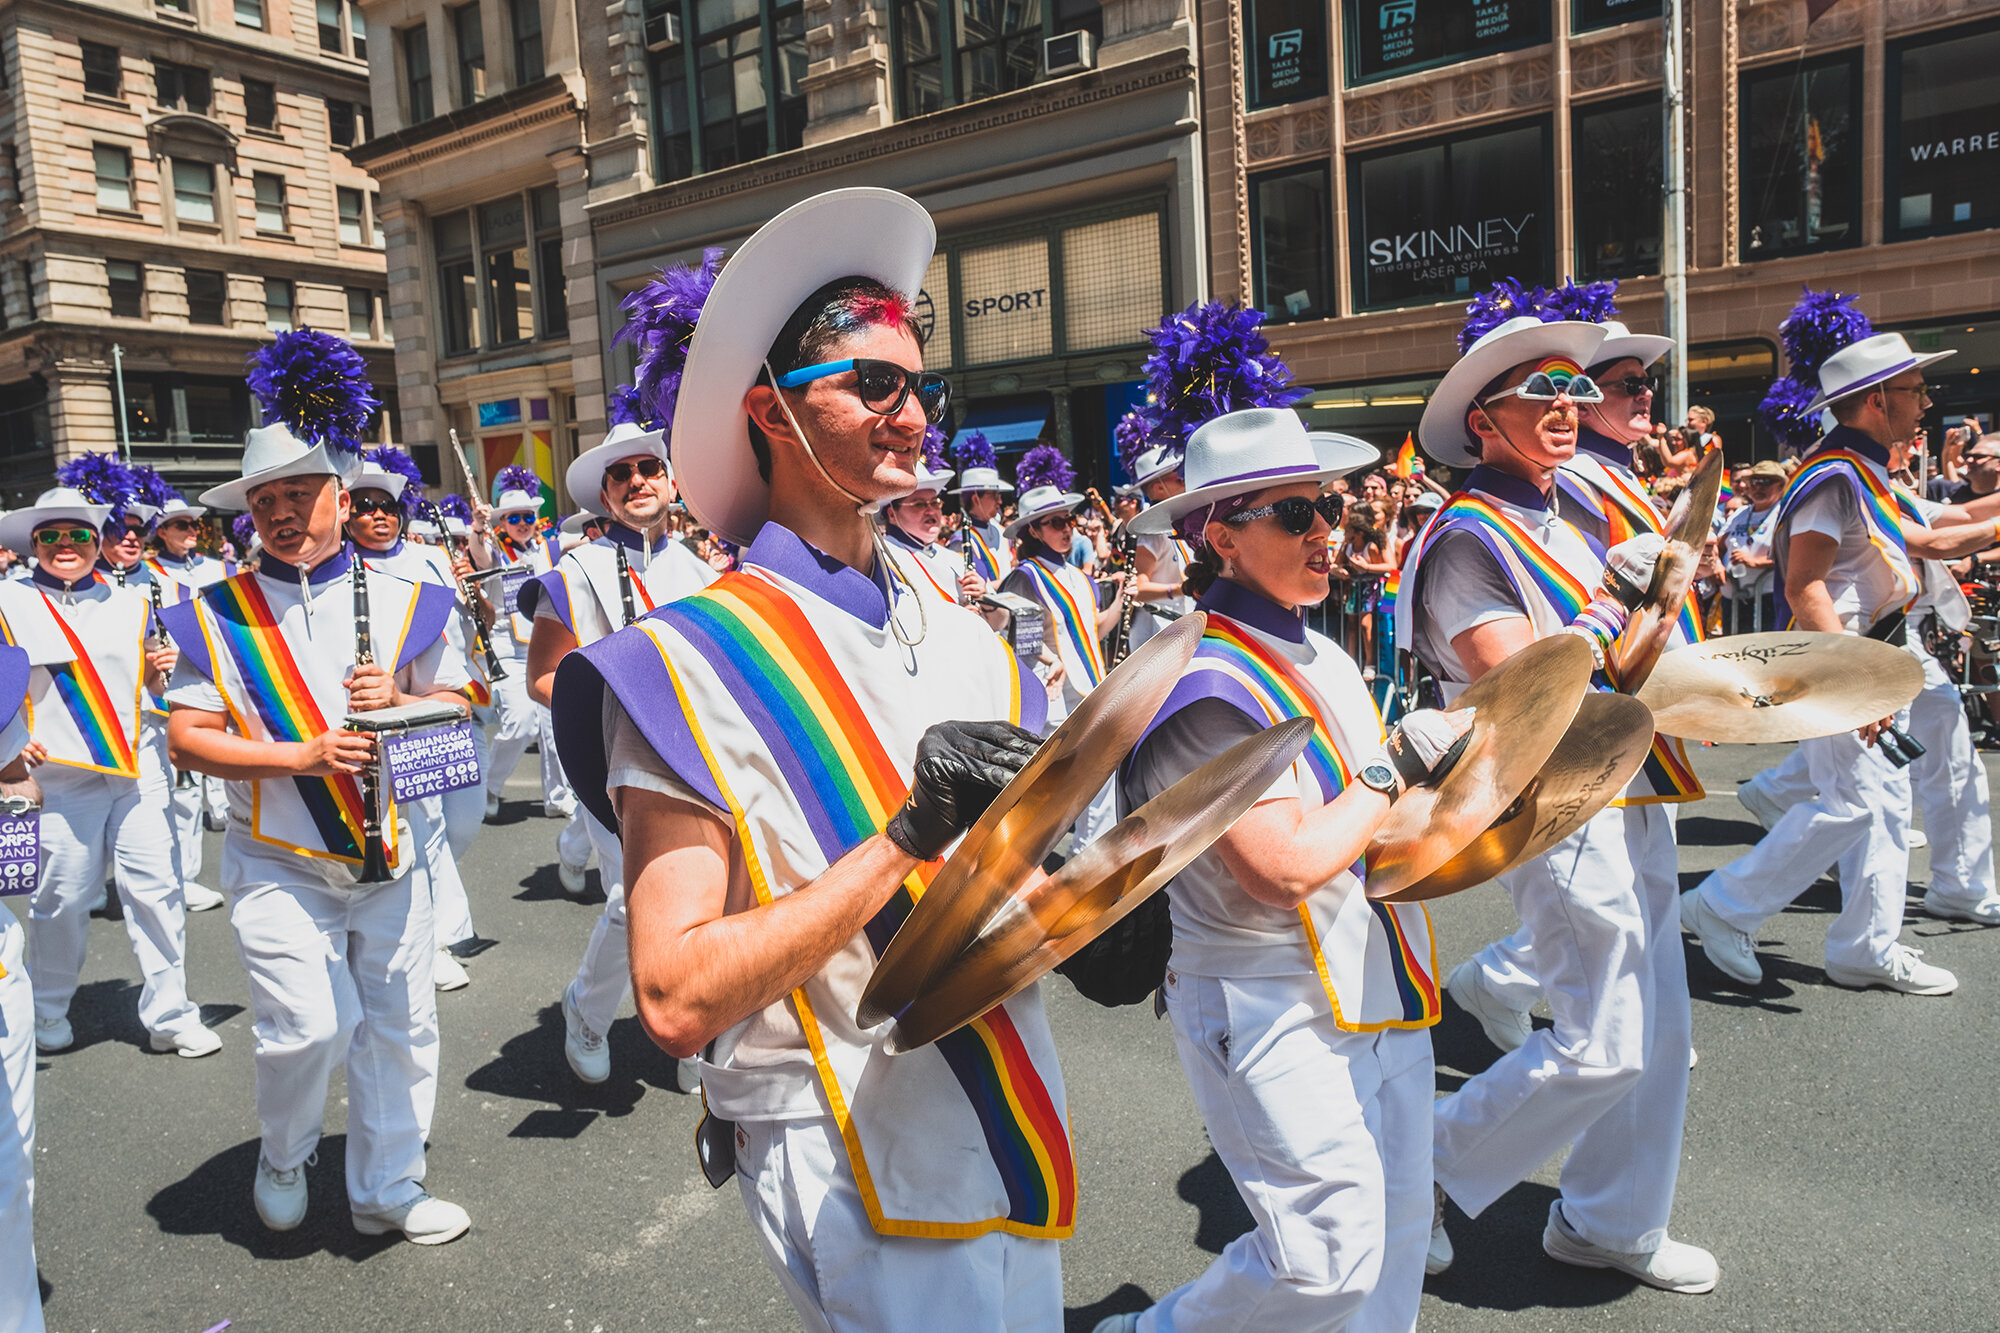
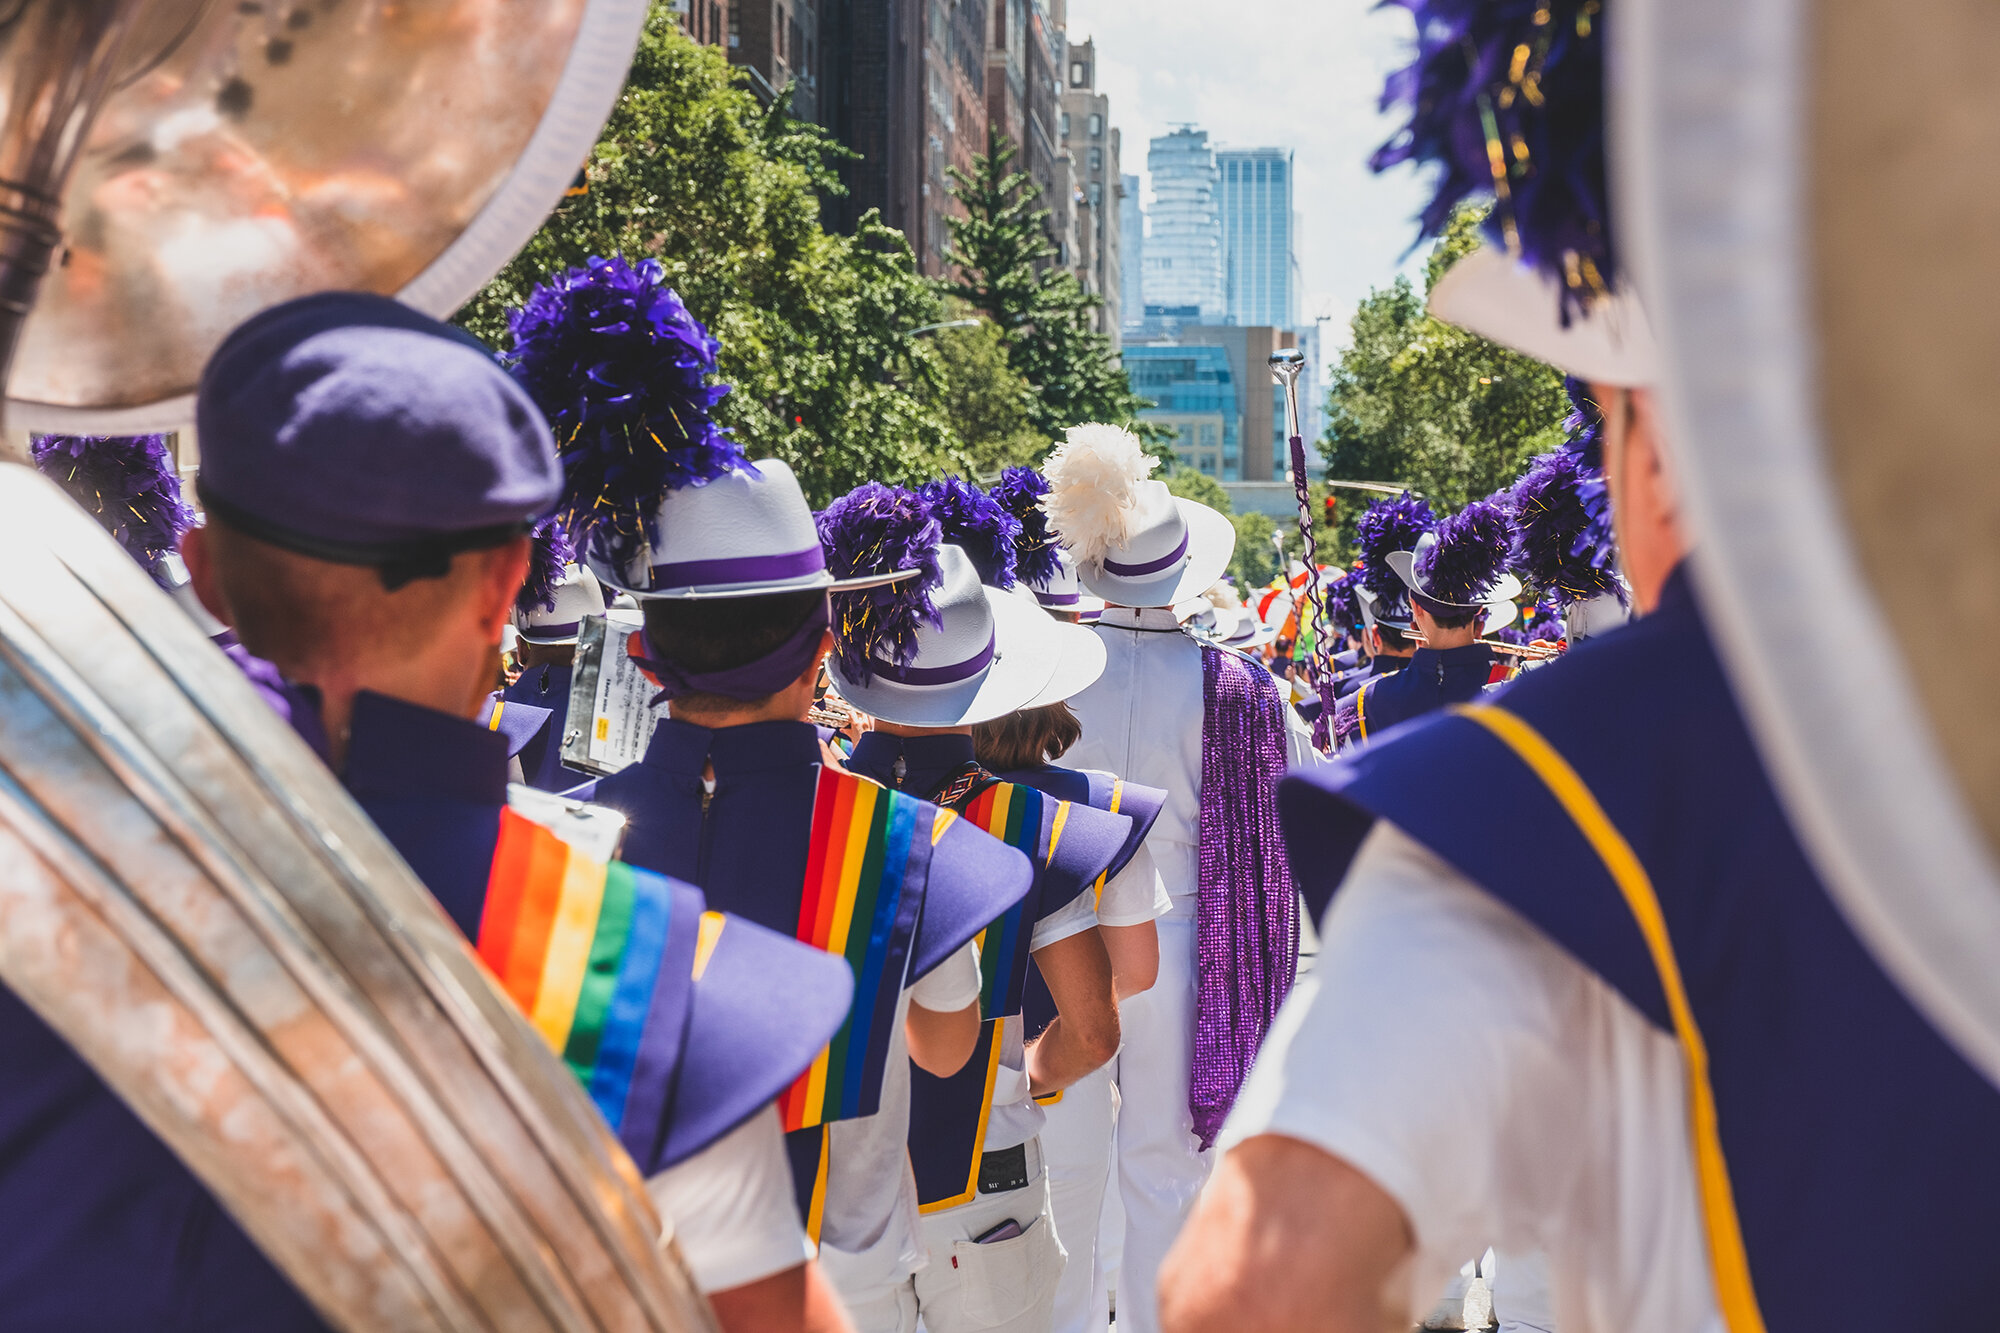
NYC Pride 2019 with The Lesbian and Gay Big Apple Corps

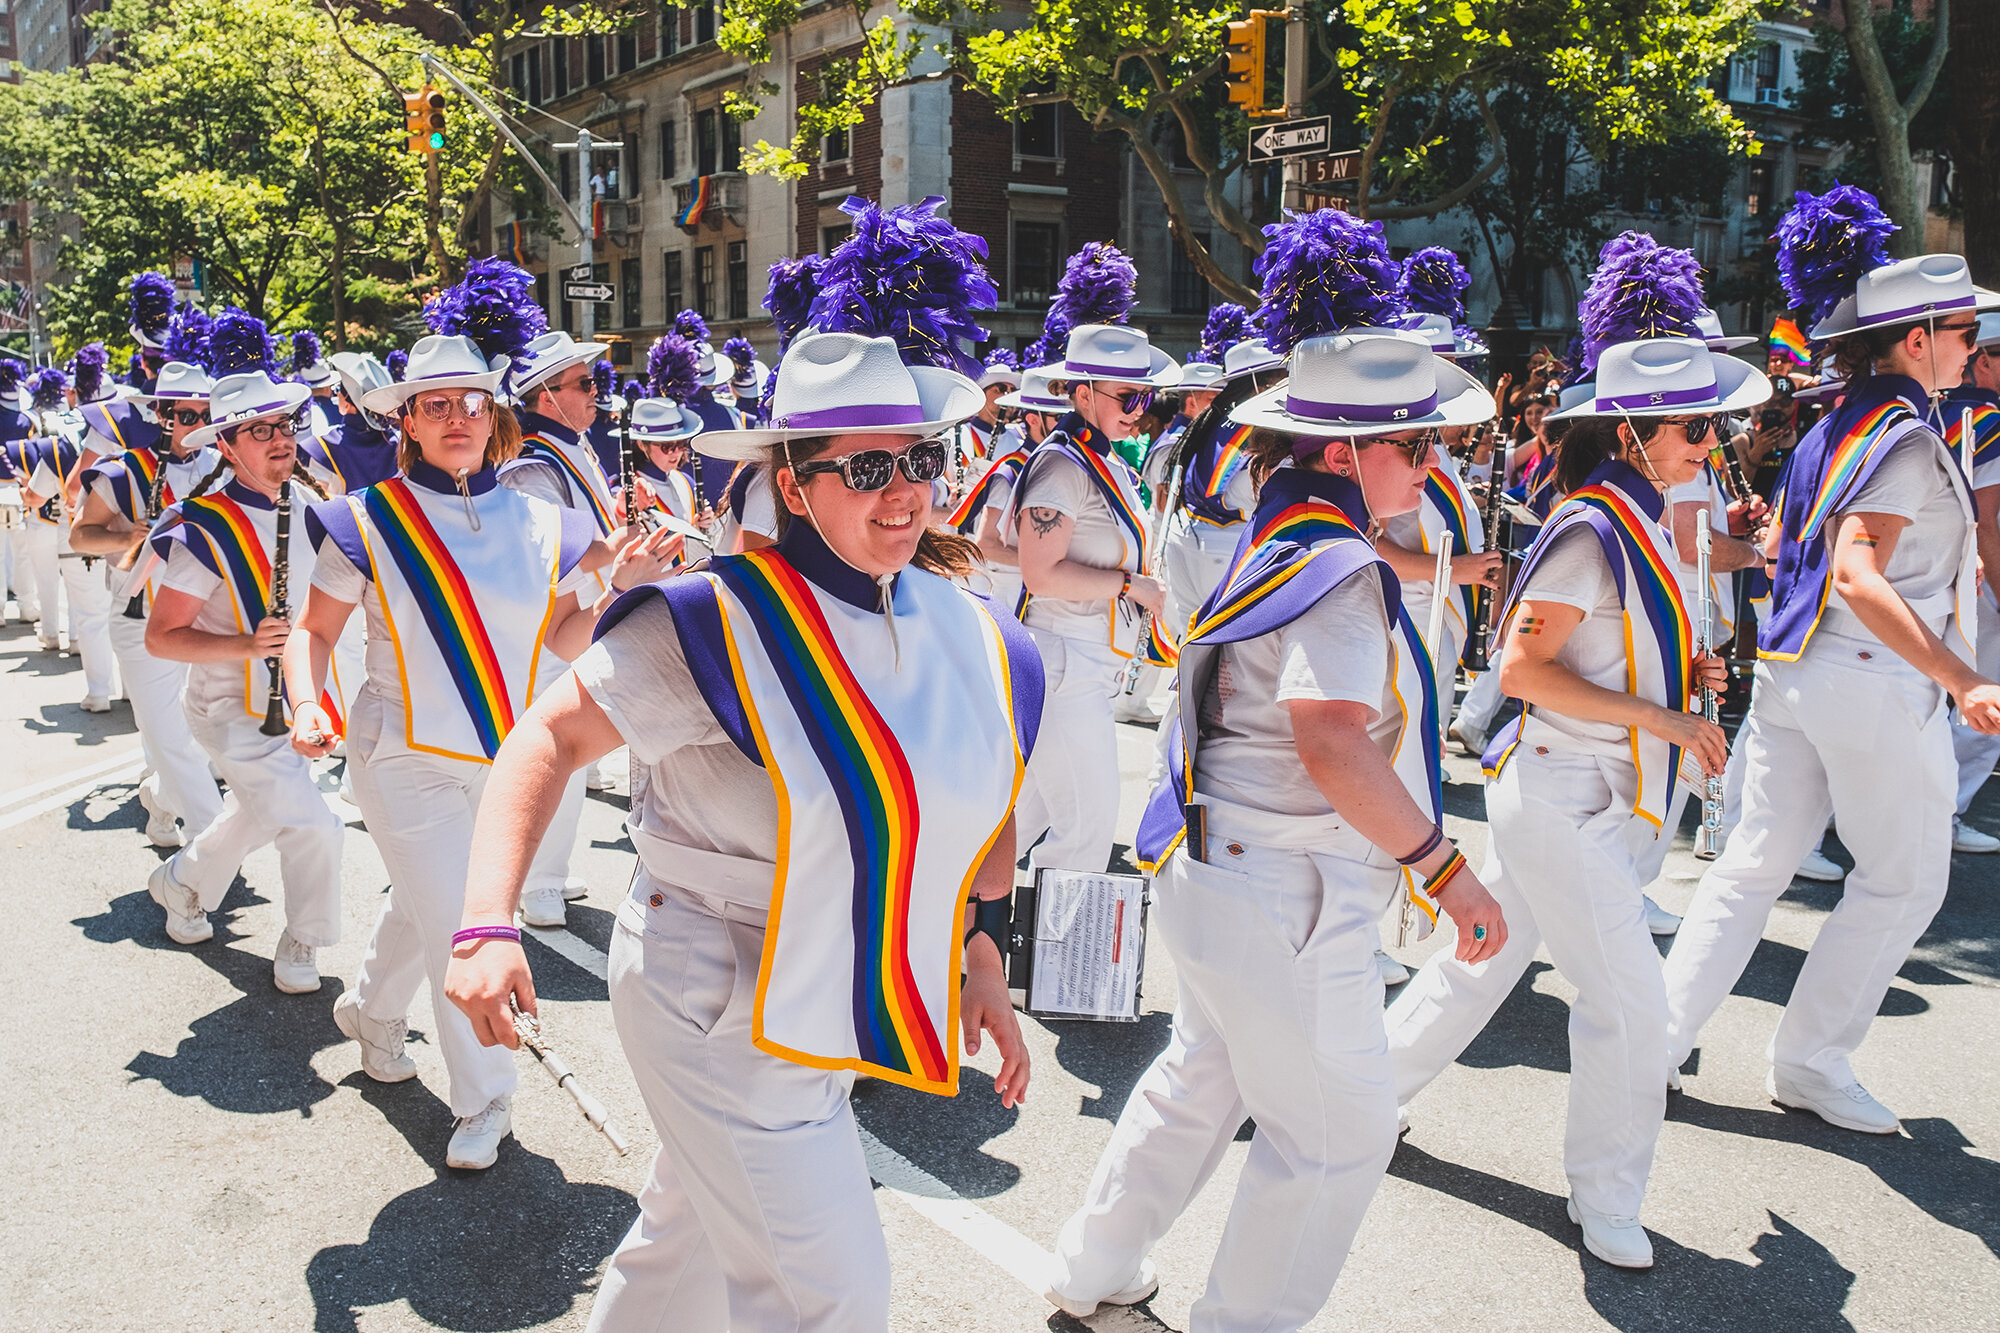
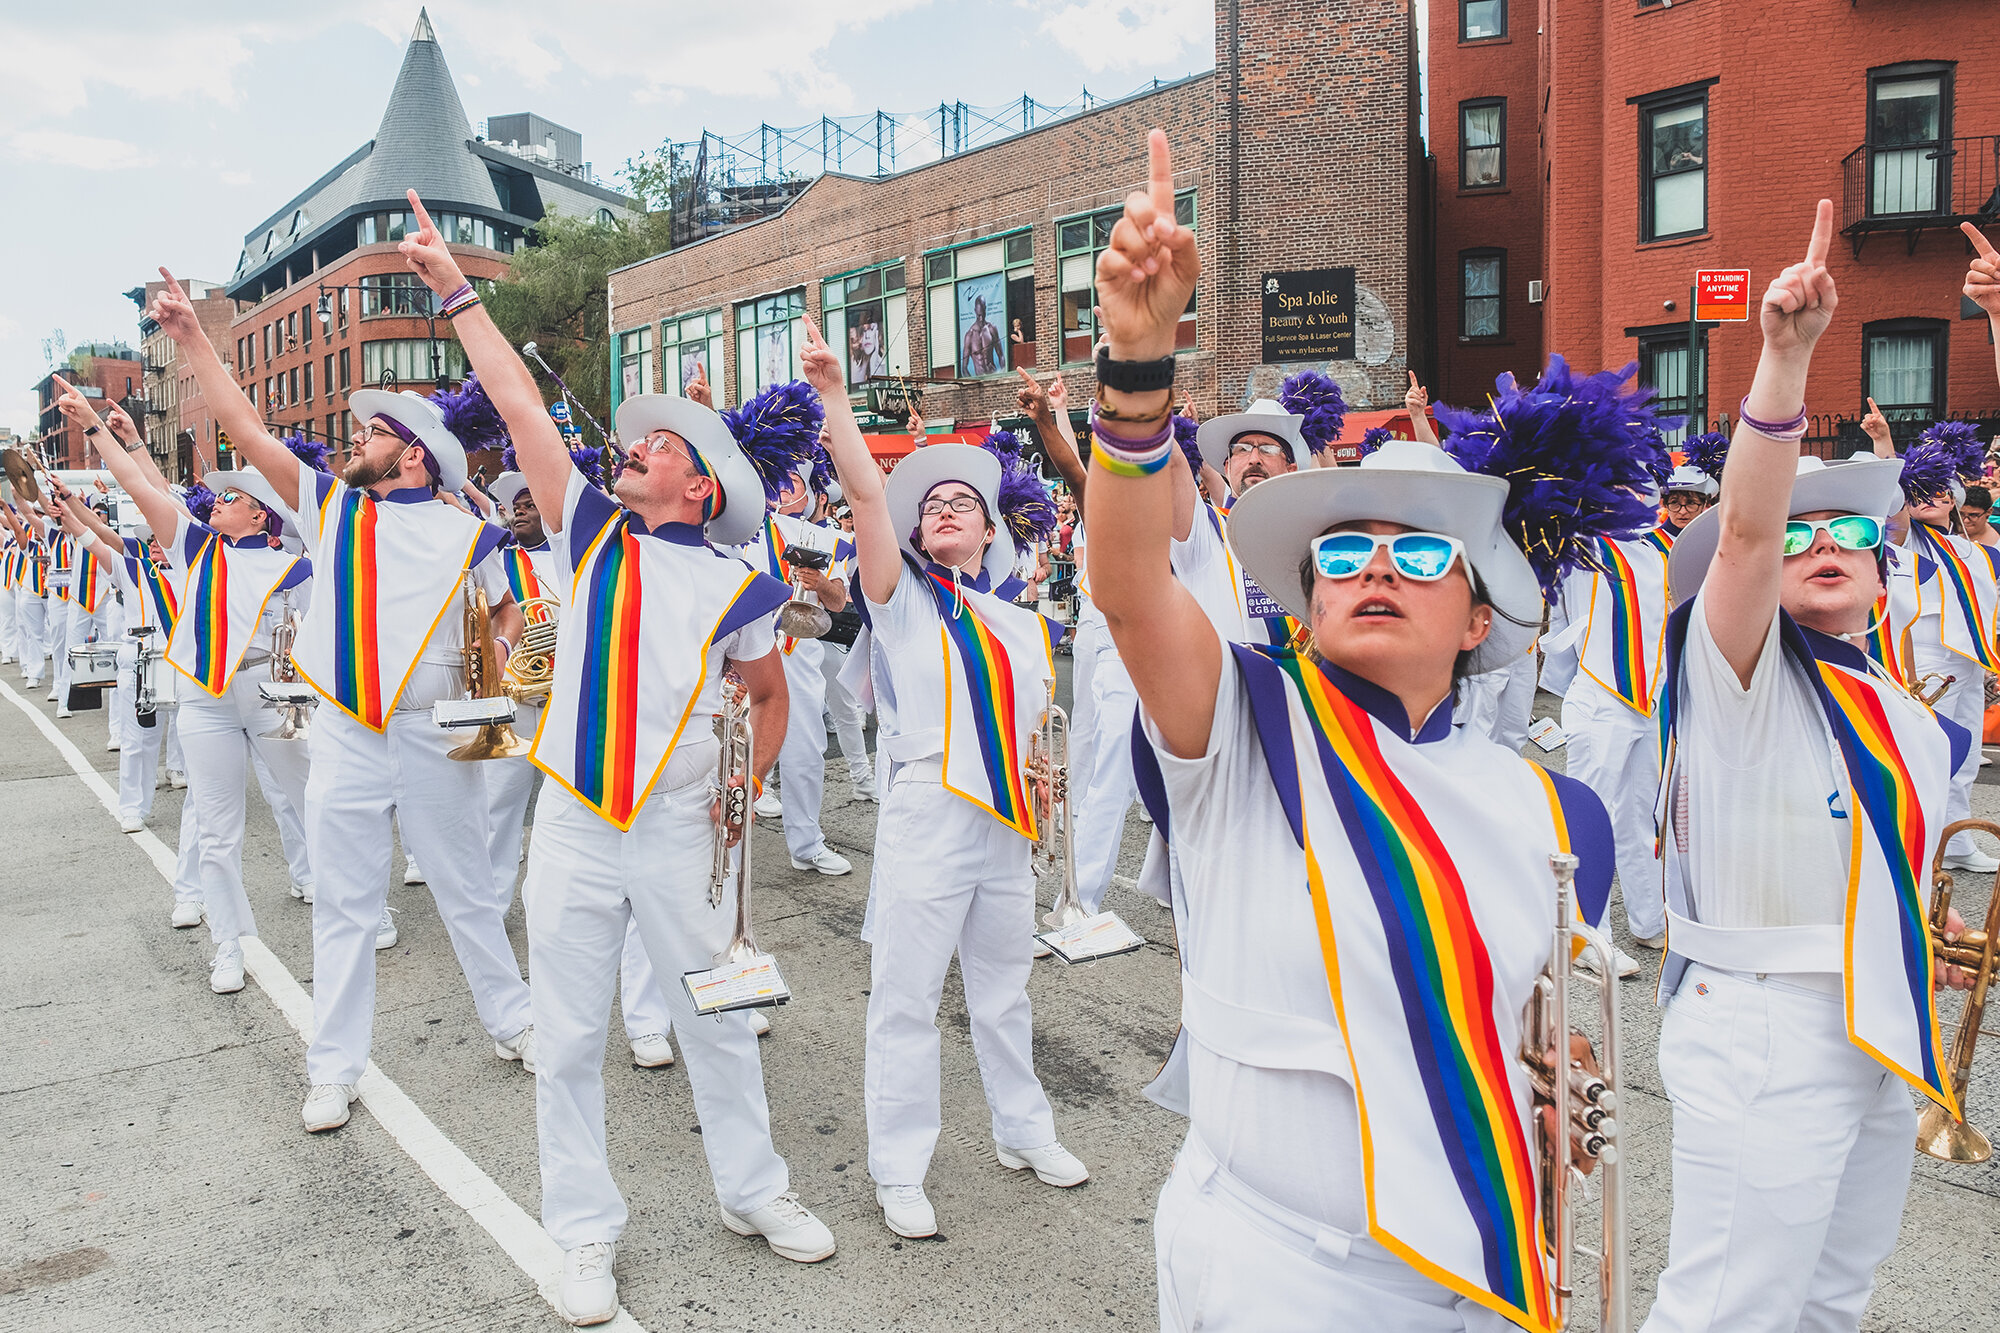
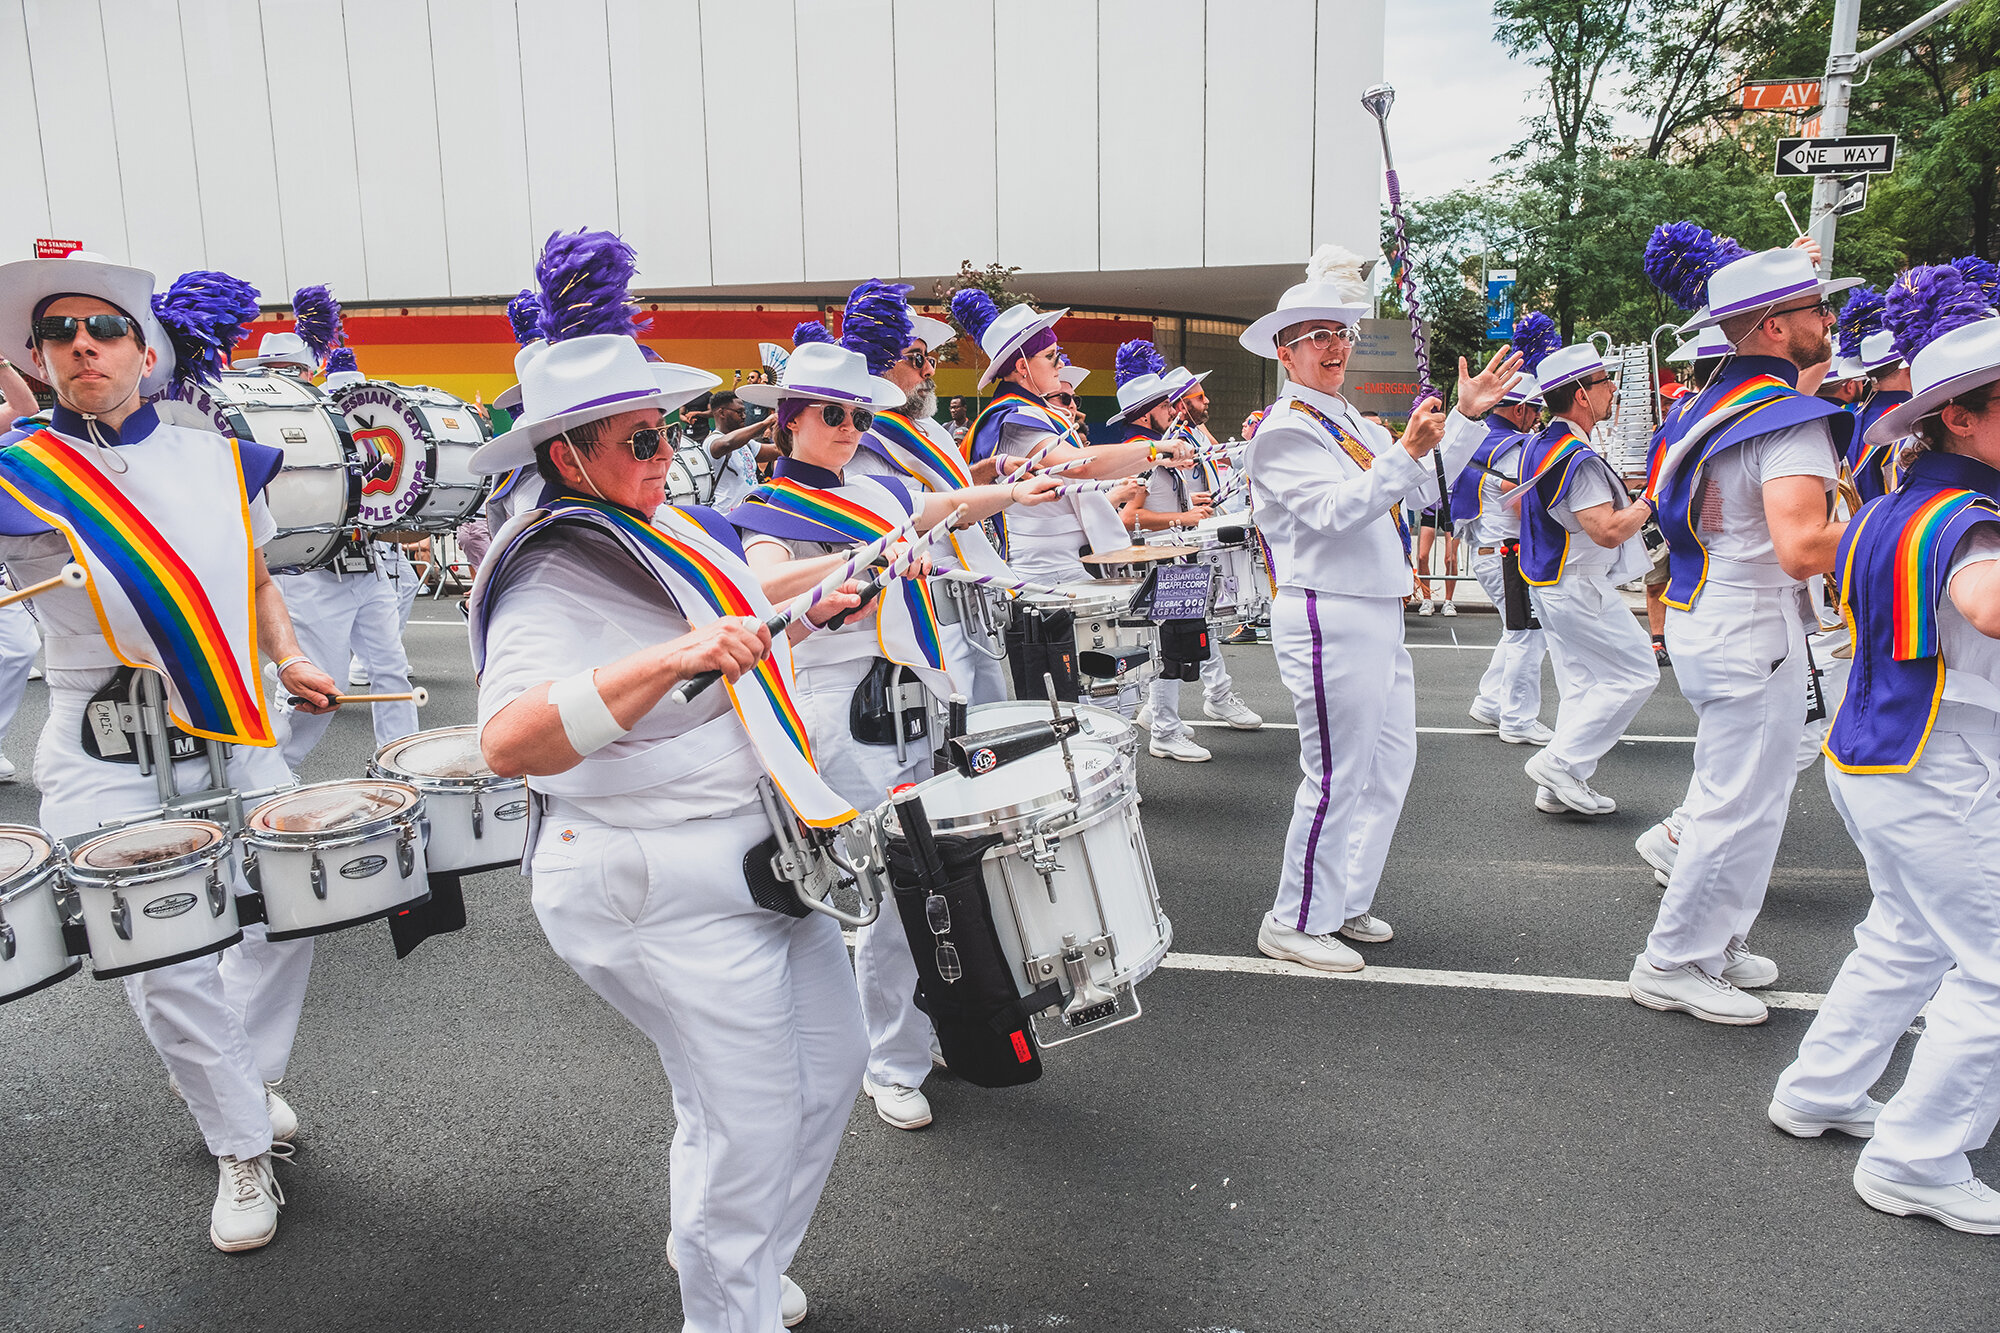
One year ago I had one of the most incredible experiences of my life, personally and professionally, when I accepted the invitation to join The Lesbian & Gay Big Apple Corps marching at the NYC Pride Parade. It was not only my first time walking from beginning to end, but also my first time photographing the event officially. What an amazing opportunity to do so amongst such talented and incredible people. Unfortunately, the event got canceled this year, but I decided to post my favorite photos here as a way to celebrate, remember, and thank LGBAC for the opportunity! I just can’t wait for the day we’ll be able to go back to the streets and celebrate life again!

20190630_BigAppleCorpsBand_LeonardoMascaro-8736.jpg

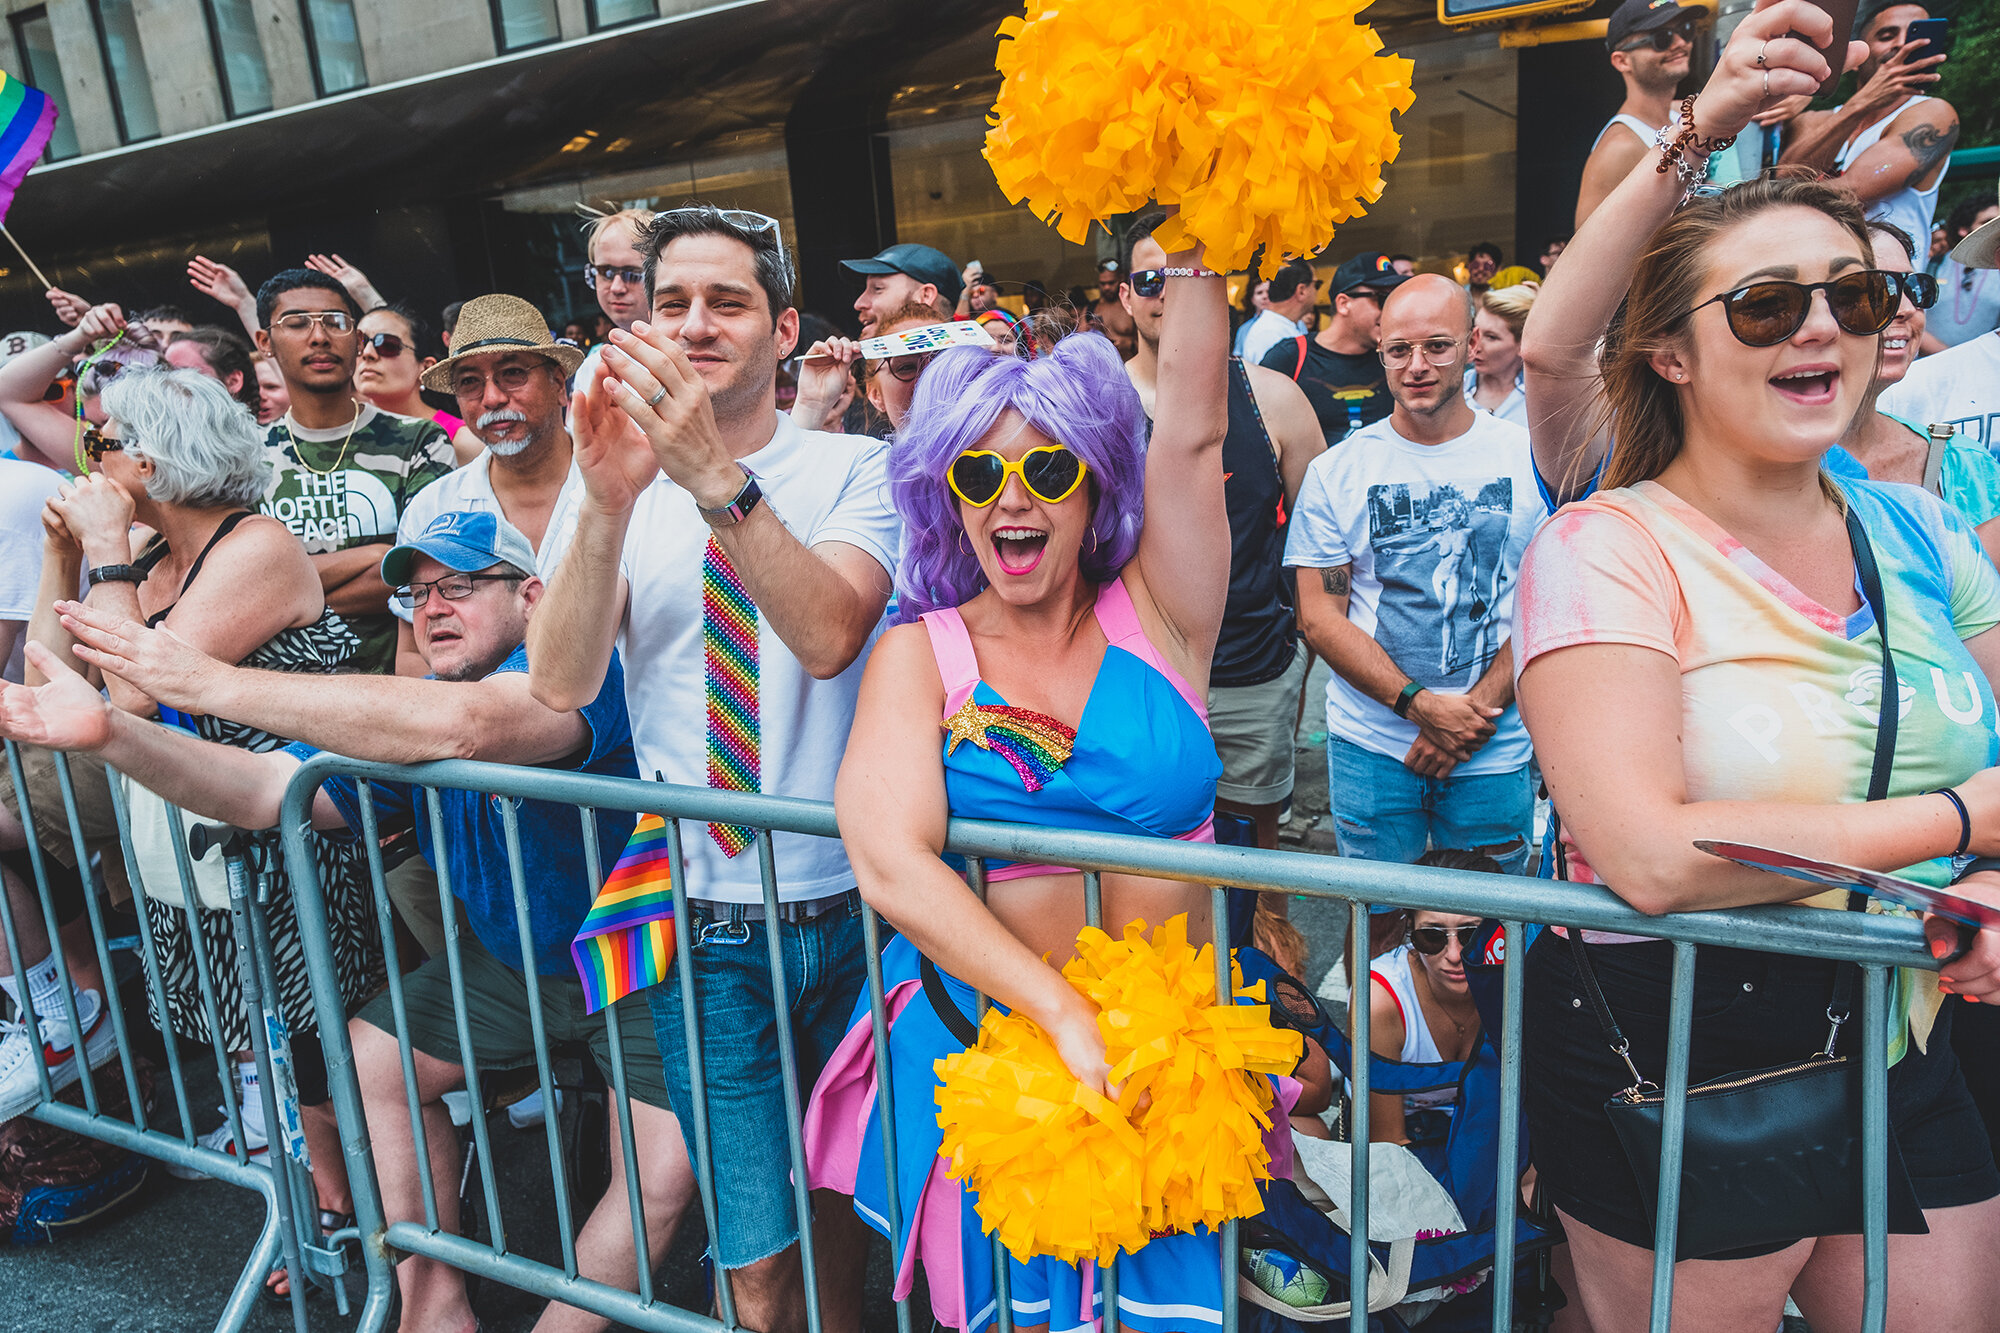
And last, but definitely not least, here’s a showcase of the incredible audience who stands on the sidewalk and put out the real show!

In-Camera Multiple Exposure With the Fujifilm X-T2

Multiple Exposure in Photography is not a new technique by any means, but it’s definitely still very enjoyable and, surprisingly, not explored by that many Photographers.

In a film camera, a ‘multiple exposure” consisted in pressing the shutter to take a photograph, but instead of advancing the film to the next frame, you would recompose, press the shutter again, and that second image would superimpose the first one, creating the most various effects depending on the lighting conditions and subject matter. Later on, with the advent of Photoshop, people started experimenting the same effects in the digital world, by simply layering different photographs on top of one another and playing with opacity, masks, bleeding modes, etc.

(old Victorian ‘ghost photography’)

(old Victorian ‘ghost photography’)

But what most people don’t realize is that a lot of the current digital cameras are also capable of creating the same ‘multiple exposure’ effect natively, without the need of a post processing software. I remember when I upgraded my DSLR from an entry level to a full-frame model, the one key feature that I knew my next camera would absolutely have to have it was a multiple exposure setting. I haven’t looked back since then, and it’s something that I am constantly experimenting with, on my personal projects, and also for some of my clients that are also attracted by that look.

(© Leonardo Mascaro - 1/200 sec at f/3.2, ISO 1600 - 70mm (EF 70-200mm f/2.8)

(© Leonardo Mascaro - 1/200 sec at f/3.2, ISO 1600 - 70mm (EF 70-200mm f/2.8)

The difference between DSLR and Mirrorless system for Multiple Exposures:

I always loved shooting multiple exposures on a DSLR camera, but there’s one thing on the mirrorless system that makes it even more enjoyable: the electronic viewfinder! When you’re shooting multiple exposures on a DSLR with an optical viewfinder, you have no idea how both images will blend, unless you are looking at the back at the camera, instead of the viewfinder, which is not always a good idea. With a mirrorless camera, like the Fujifilm X-T2, assuming that you are using the electronic viewfinder (highly recommended), once you take the first shot, you will be looking at it while framing the second one, until you fire the shutter for the second time. It’s magical to see the effect being created right in front of you even before you actually do it!

(© Leonardo Mascaro - 1/500 sec at f/16, ISO 800 - 55mm (XF16-55mm f/2.8)

(© Leonardo Mascaro - 1/500 sec at f/16, ISO 800 - 55mm (XF16-55mm f/2.8)

The only minor issue, for me, is that the Fujifilm camera automatically converts your double exposure file into a JPEG (even if you camera is set to shoot RAW only), as with other DSLRs I tested, the camera maintains the file as RAW, allowing you have much more control in post processing later on. Hope they are able to change that in the near future.


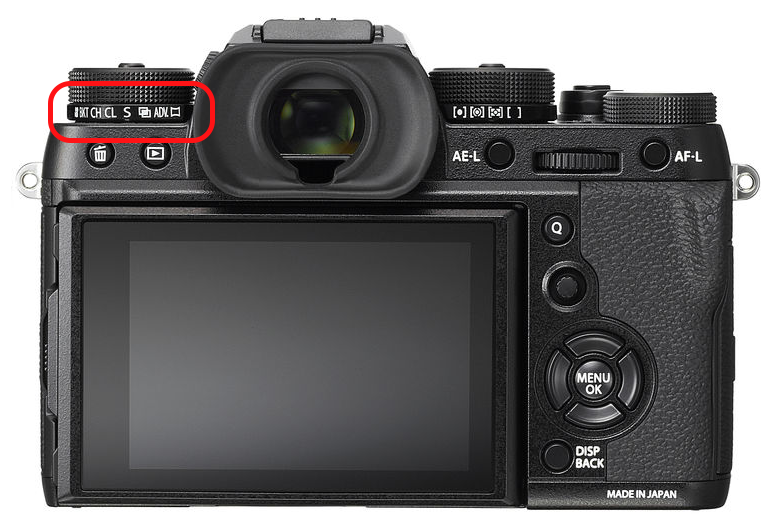
“So where do I find the multiple exposures setting in my Fujifilm X-T2 camera?”, you may be asking… Well, they couldn’t make it easier than this:

All you need to do is turn the bottom of the left dial from S (single frame) to the icon right next to it with the two “overlapping” photos, and you are ready to start experimenting! Take your first shot, accept it or retry (if you’re not happy with your first frame), and look for the second shot to be combined.

(© Leonardo Mascaro - 1/500 sec at f/16, ISO 800 - 55mm (XF16-55mm f/2.8)

(© Leonardo Mascaro - 1/500 sec at f/16, ISO 800 - 55mm (XF16-55mm f/2.8)

Many people will say that it’s much easier to jump into Photoshop and combine as many layers as you want with endless possibilities, but I personally still think that it’s way more interesting and fun when you are in a location and create unique images with what you have available right there for you. Here are more images to inspire you to try and have fun next time you’re out photographing:

(© Leonardo Mascaro - 1/500 sec at f/16, ISO 800 - 16mm (XF16-55mm f/2.8)

(© Leonardo Mascaro - 1/500 sec at f/16, ISO 800 - 16mm (XF16-55mm f/2.8)

(© Leonardo Mascaro - 1/500 sec at f/4, ISO 200 - 55mm (XF16-55mm f/2.8)

(© Leonardo Mascaro - 1/500 sec at f/4, ISO 200 - 55mm (XF16-55mm f/2.8)

(© Leonardo Mascaro - 1/640 sec at f/8, ISO 100 - 55mm (XF16-55mm f/2.8)

(© Leonardo Mascaro - 1/640 sec at f/8, ISO 100 - 55mm (XF16-55mm f/2.8)

Back from the Southwest!

Hey NYC!

(Grand Canyon, 2017 © Leonardo Mascaro)

Just got back from an amazing journey through the Southwest of the US. I'm ready to go back to work and very excited to what's next. Still got a few dates open in September and October, so let's make Fall even better than what Summer was!

Will be posting a lot of pictures from this trip on my website soon, hang tight!